This post may contain affiliate links.
Lots of pictures in this one!
This week, I was able to spend a fair amount of time in the wood shop. With this also being a holiday weekend, I was able to get quite a bit done on the console table. Here’s how it went while I completely ignored any trappings of “black Friday”.
If you remember, last week, I had a rough sketch and a truckload of wood. I used that to make a set of 3 legs. I repeated that process two more times, and pretty soon I had the nine legs I need to make an 8 legged table. Here they are.
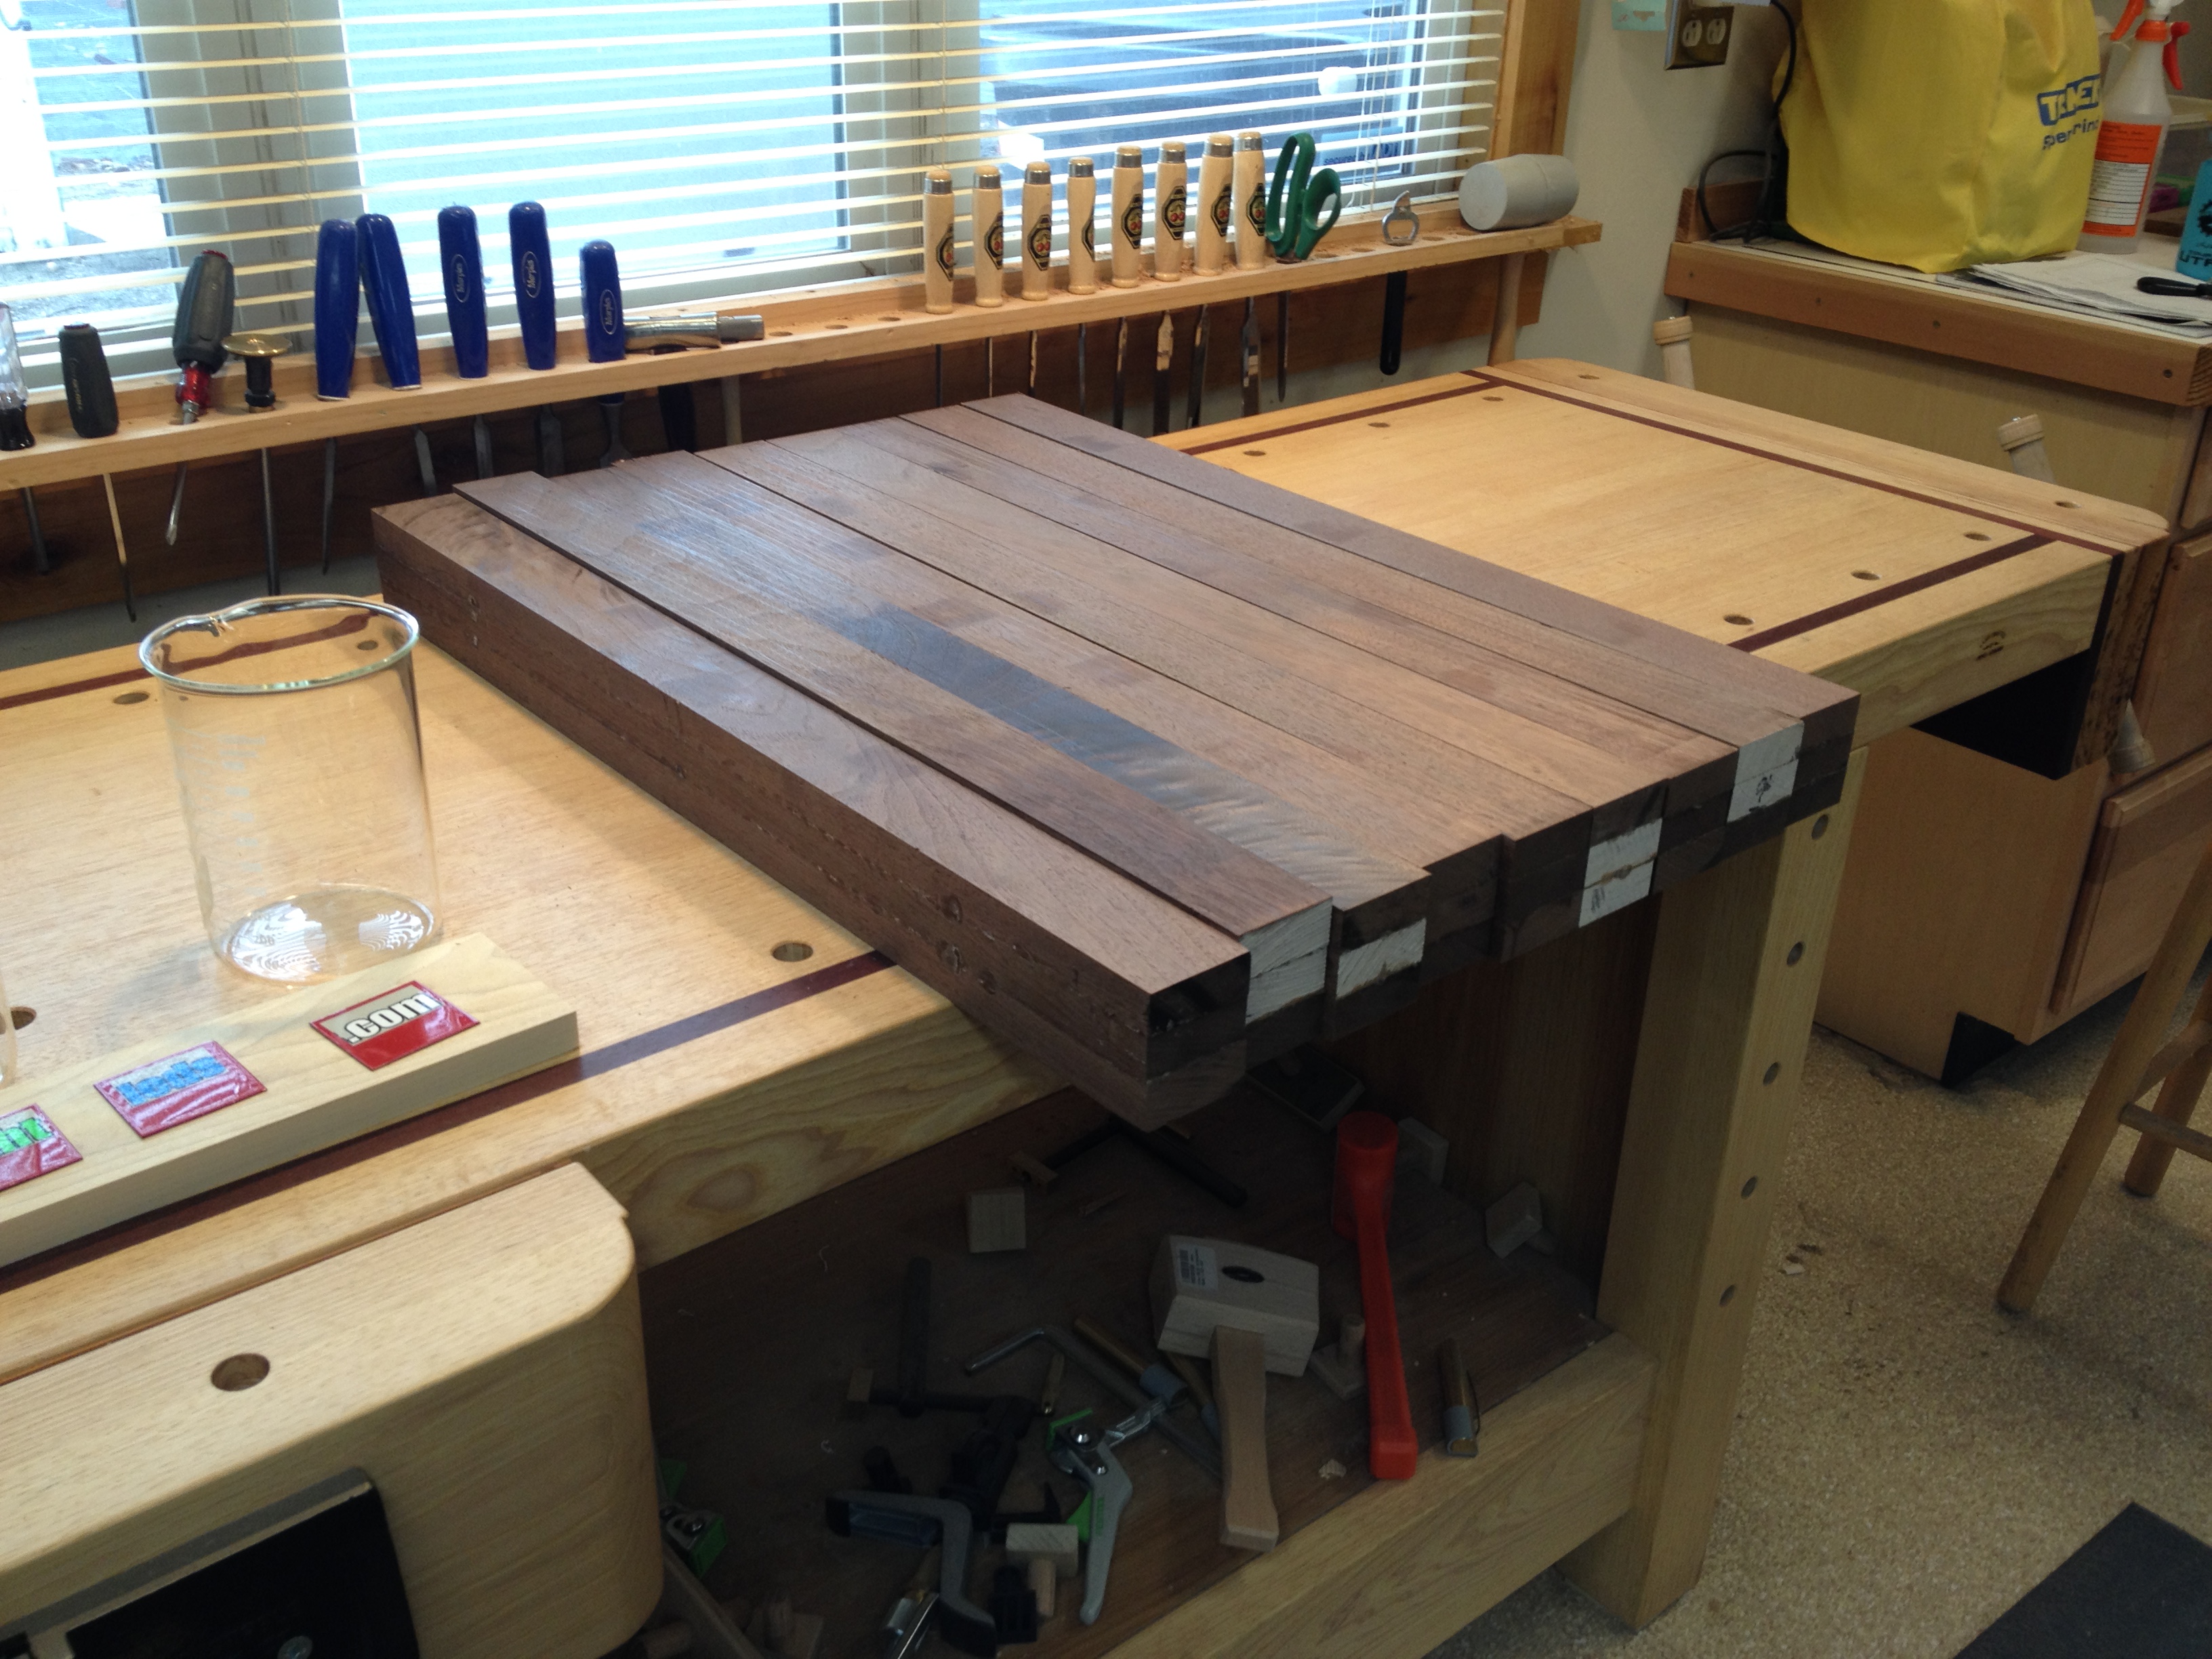
The large beaker, if you’re curious, is actually going to be used for a post on cleaning your RV windshield…
But, one area where I didn’t make a lot of progress was on a plan. So I needed a next step that still didn’t imply any kind of commitment to the final design. (I’ll let you make your own joke about men and a fear of commitment.) I decided that I could make the side and center panels next – without making any other kind of decision. I knew that the legs were only 30 inches long (at most), and that I wanted three inches of space beneath the bottom. This implied my panels only needed to be 27 inches tall, at most. OK. And for the width, I knew I wanted the finished piece 24 inches deep or less. Working backwards from that, I arrived at a panel width of 16 inches. Awesome. Time to make more sawdust.
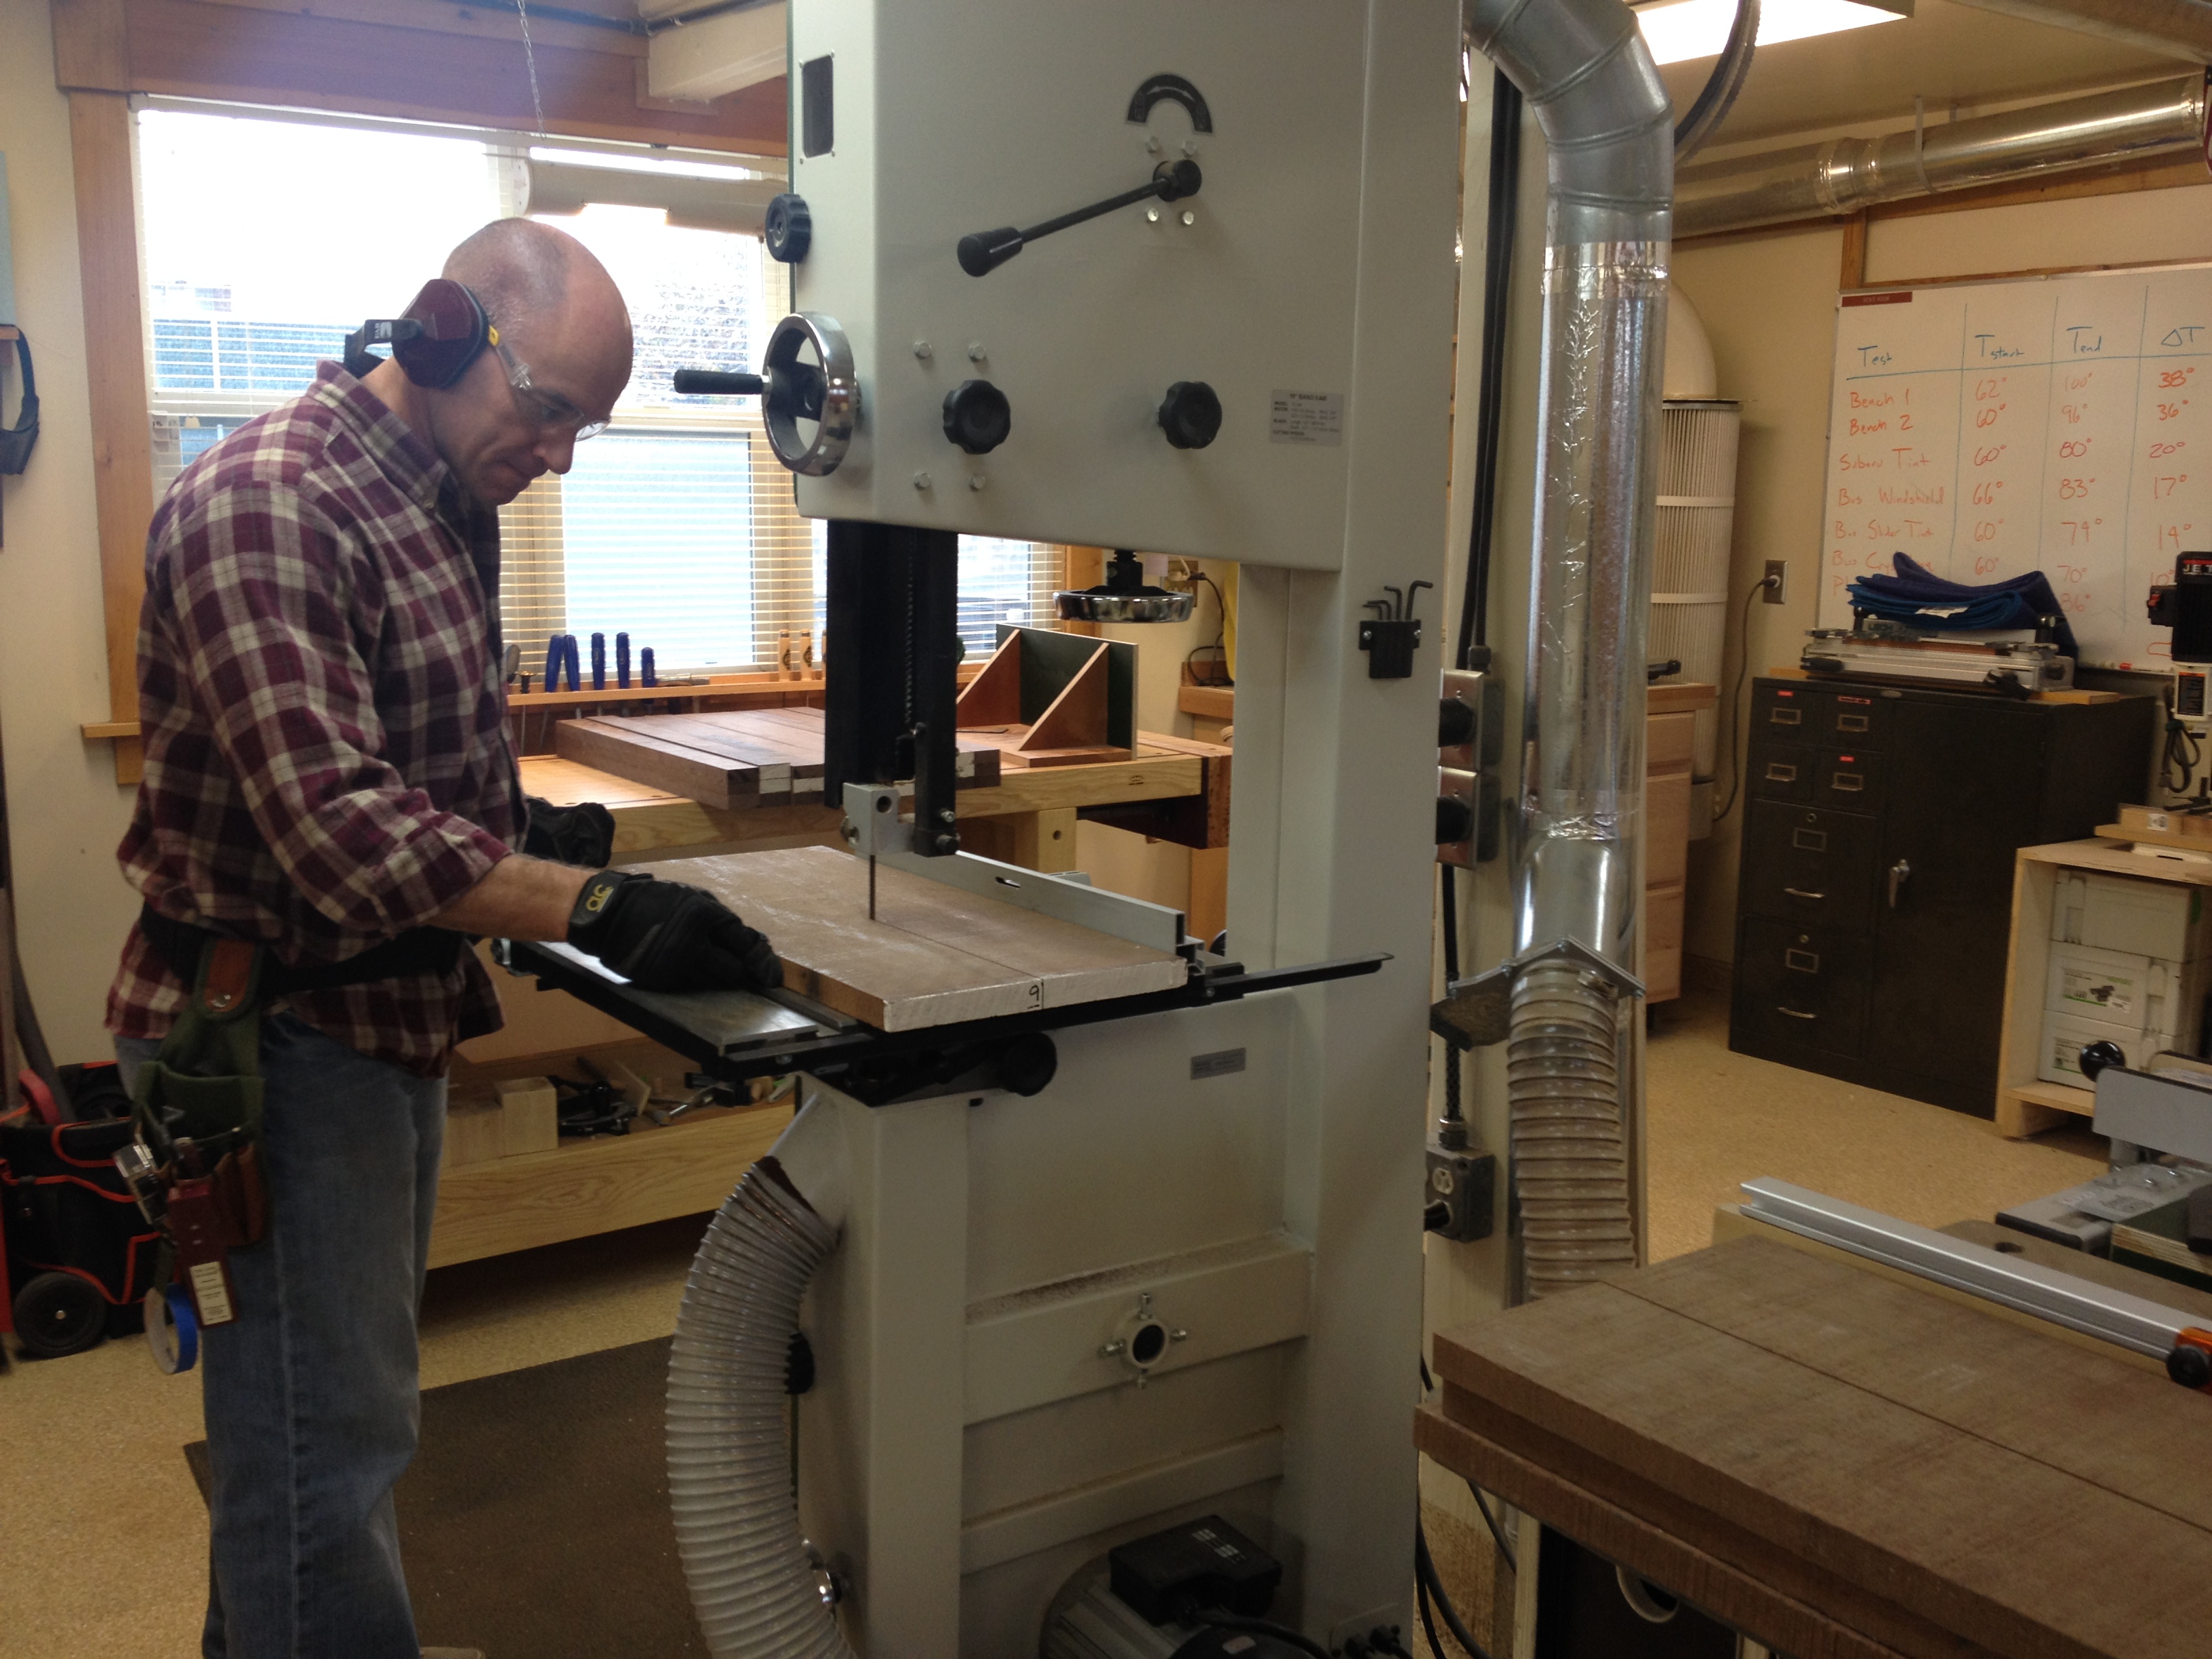
I had purchased a nice 12 inch wide board to use as part of the side and center panels. It wasn’t until I started working that I remembered that purchasing a 12 inch wide board, and being able to process a 12 inch wide board are two different things. My jointer, for example, is only 8 inches wide. I’ve done this about a dozen times, and I always feel silly when I finally remember I can’t use the nice wide boards. Anyway, this meant, before I could work the boards into panels, I had to rip the rough lumber down. Here I am doing just that at the bandsaw.
And I thought it would be nice to put the boards back together in the same way, so I came up with this super-technical way to keep the boards oriented later.
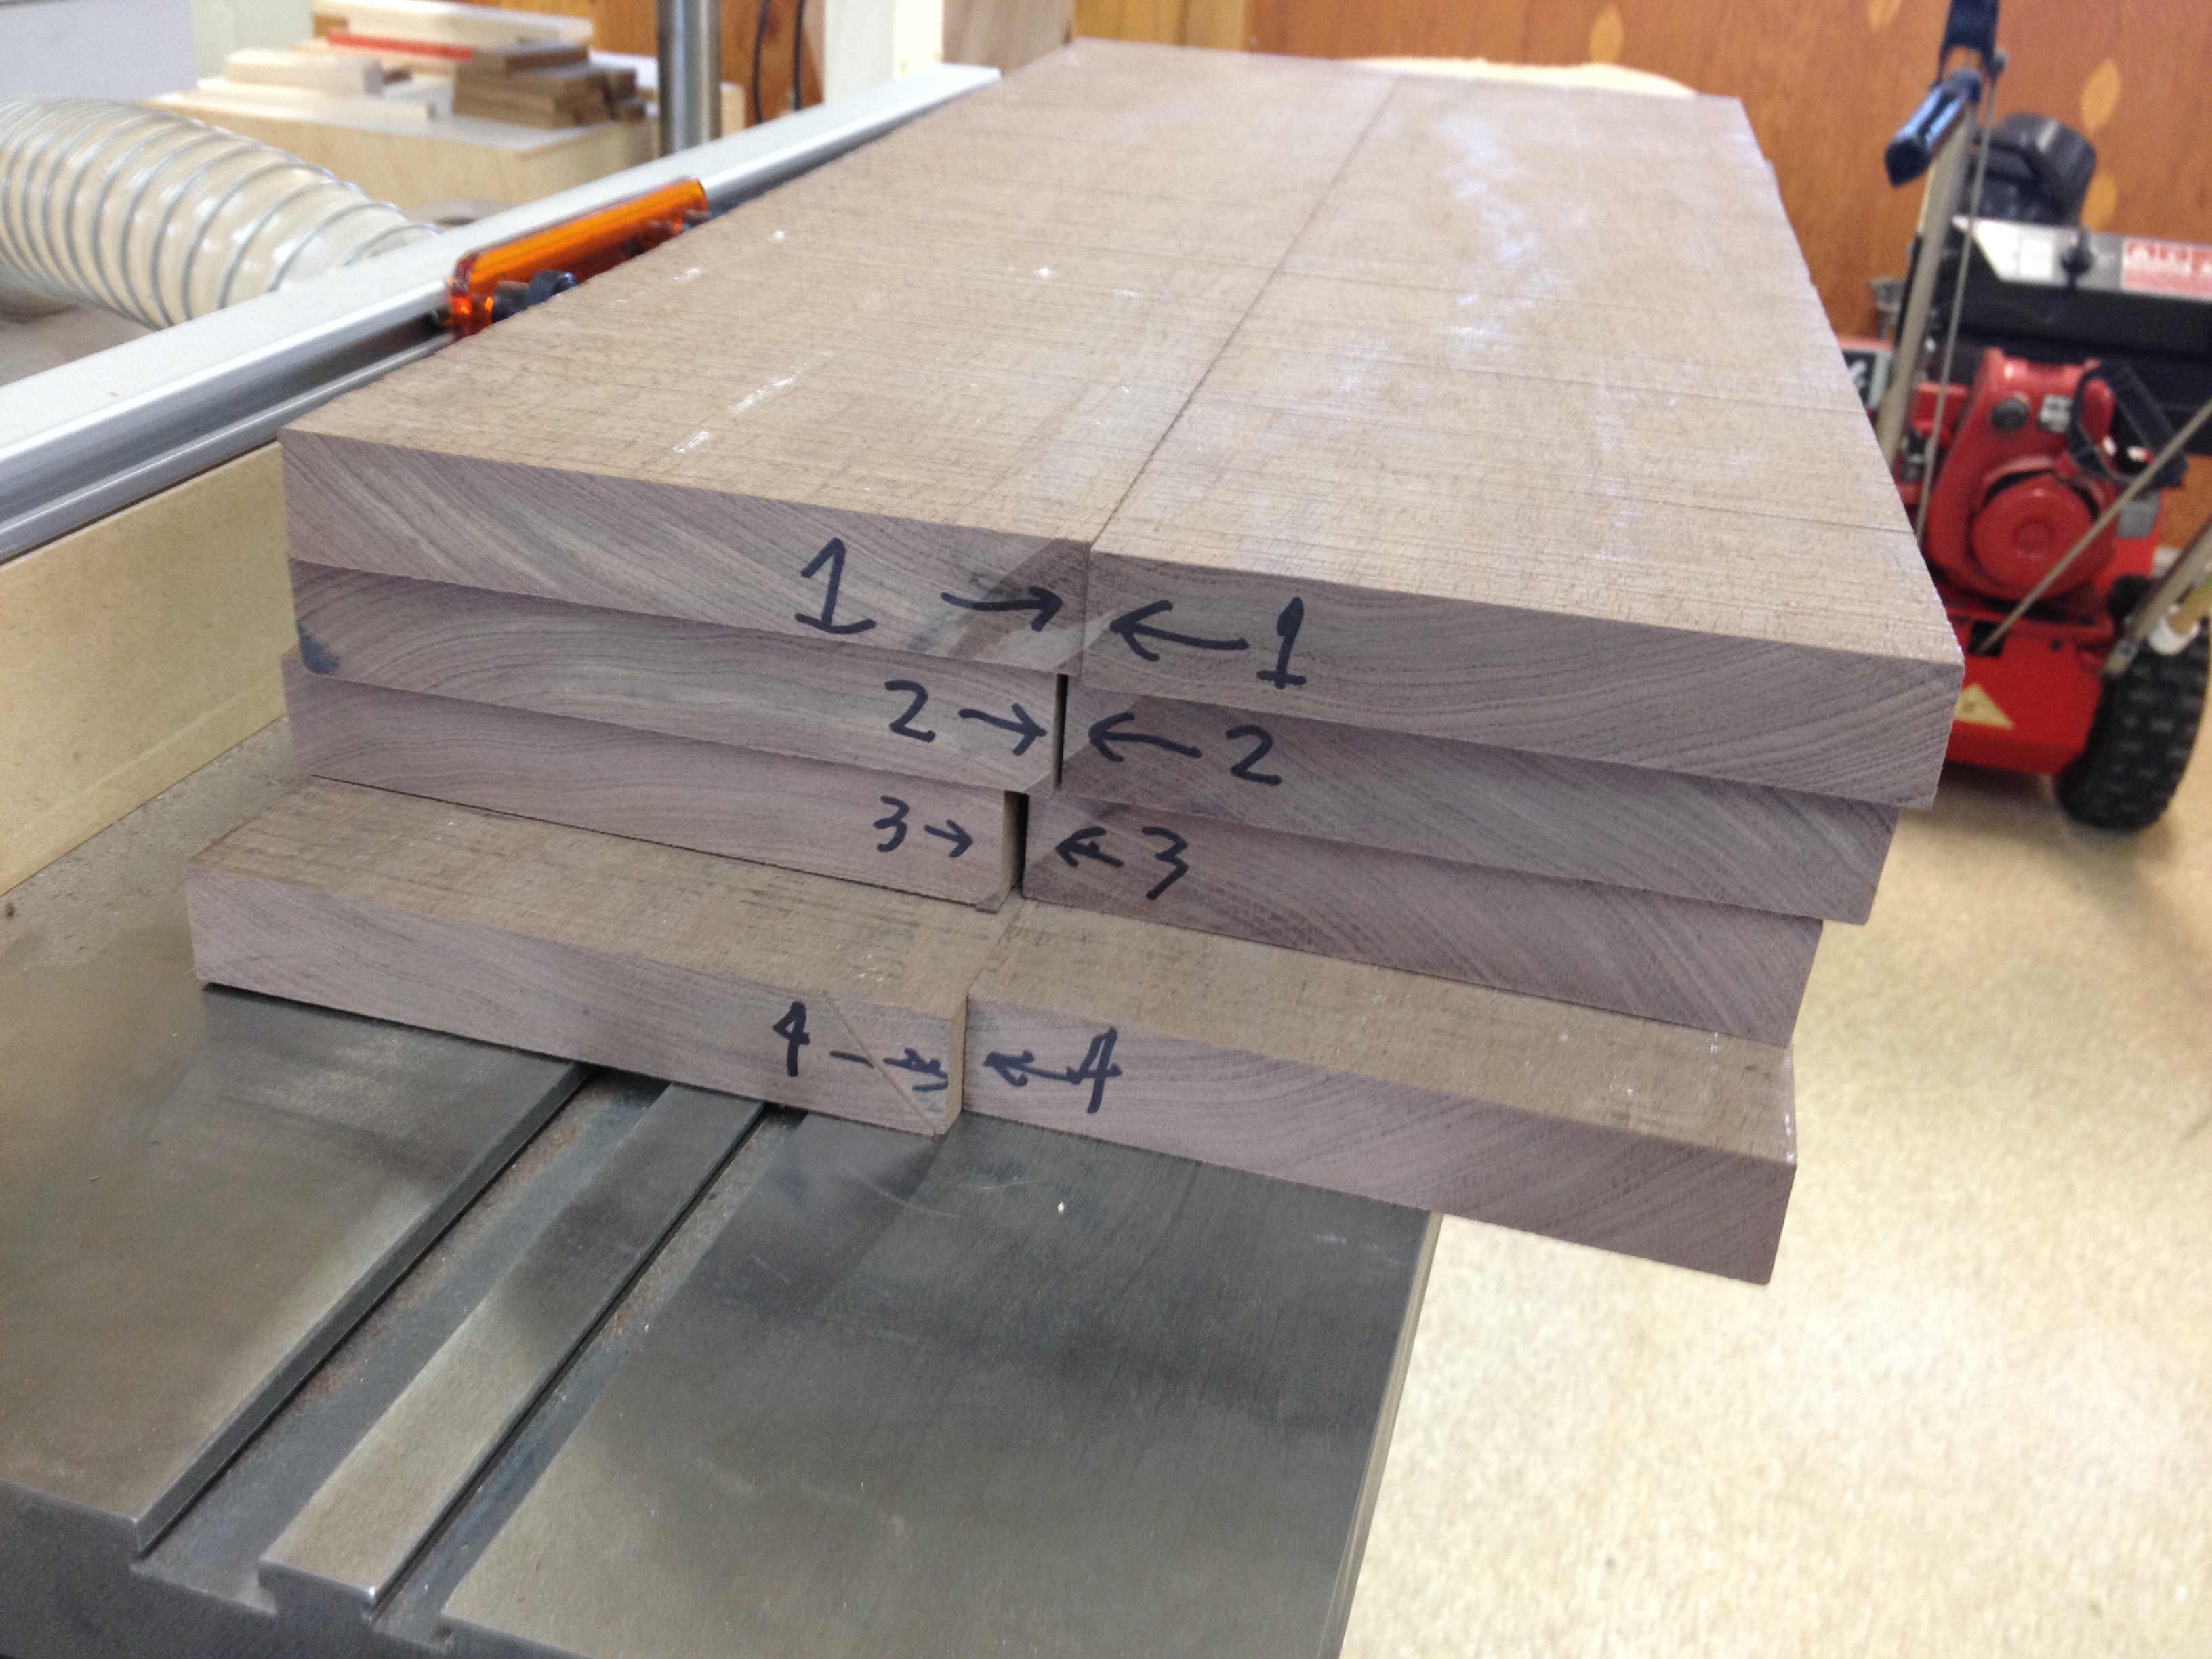
In the words of Homer Simpson. “I am so smart! SMRT!”
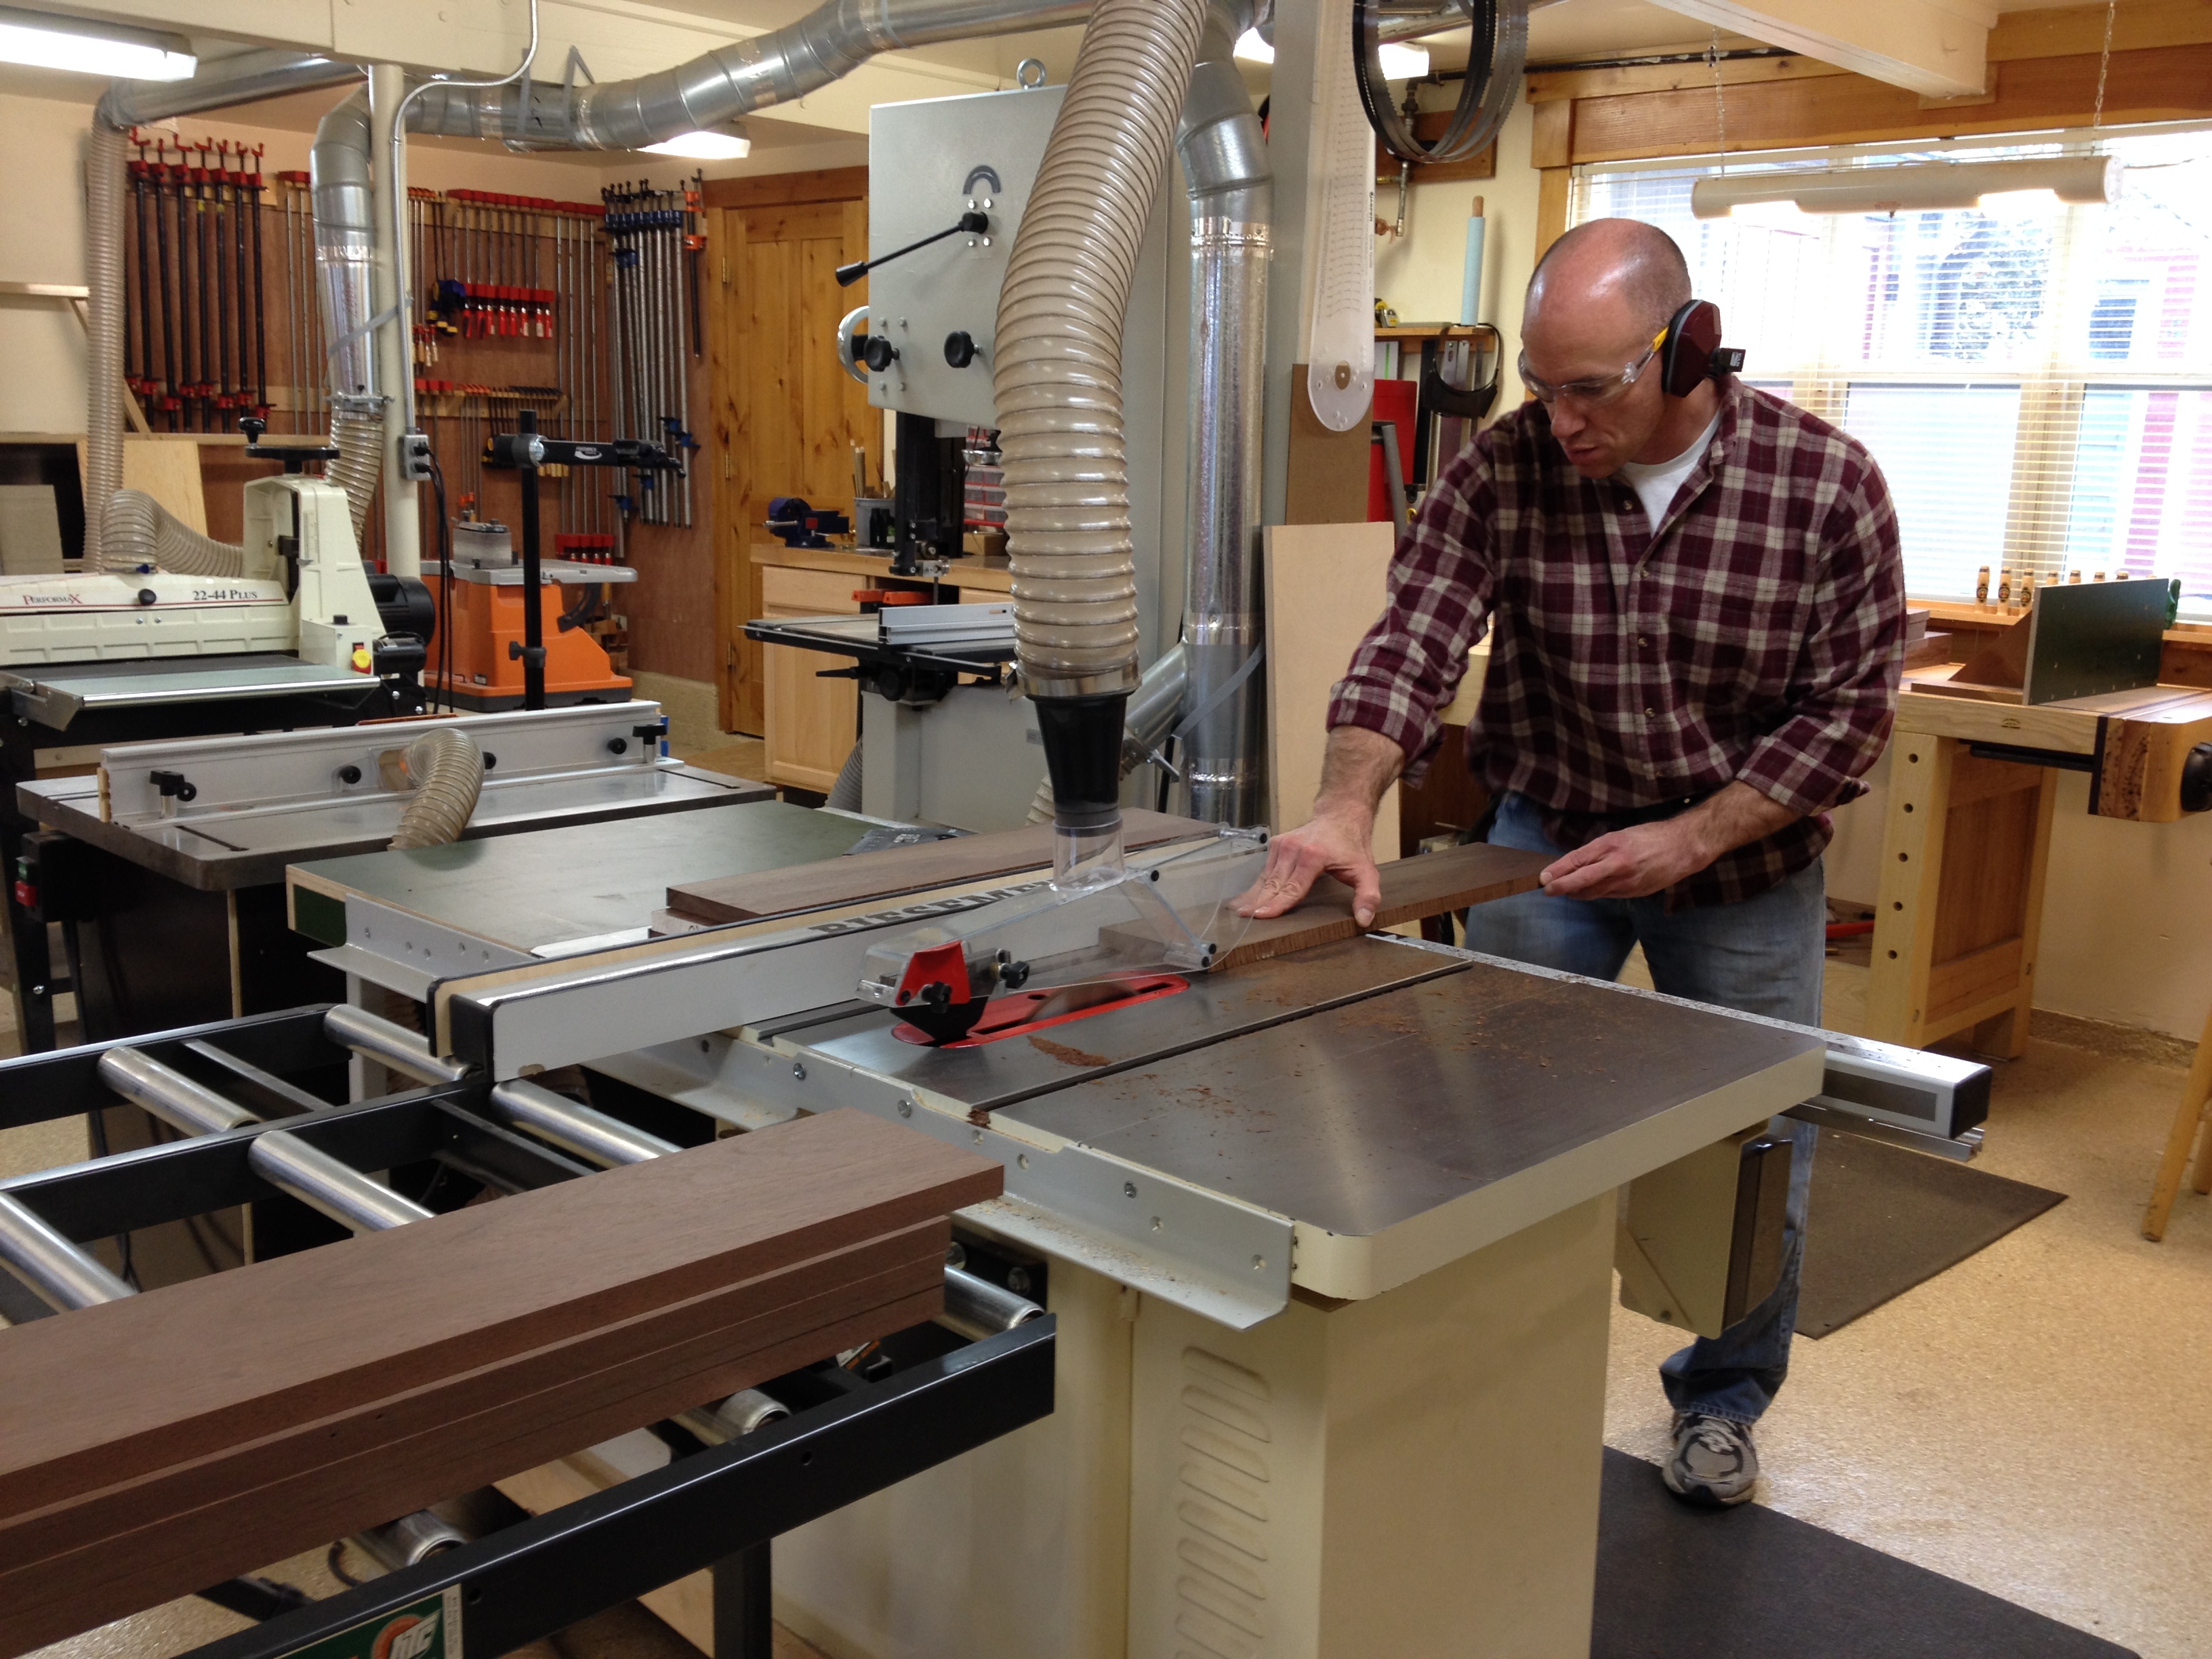
After jointing and planing the boards, I ripped them on the table saw to clean up the final edge.
While ripping one of the last boards, I came dangerously close to getting a board launched into my face at 50 mph. Check this out:
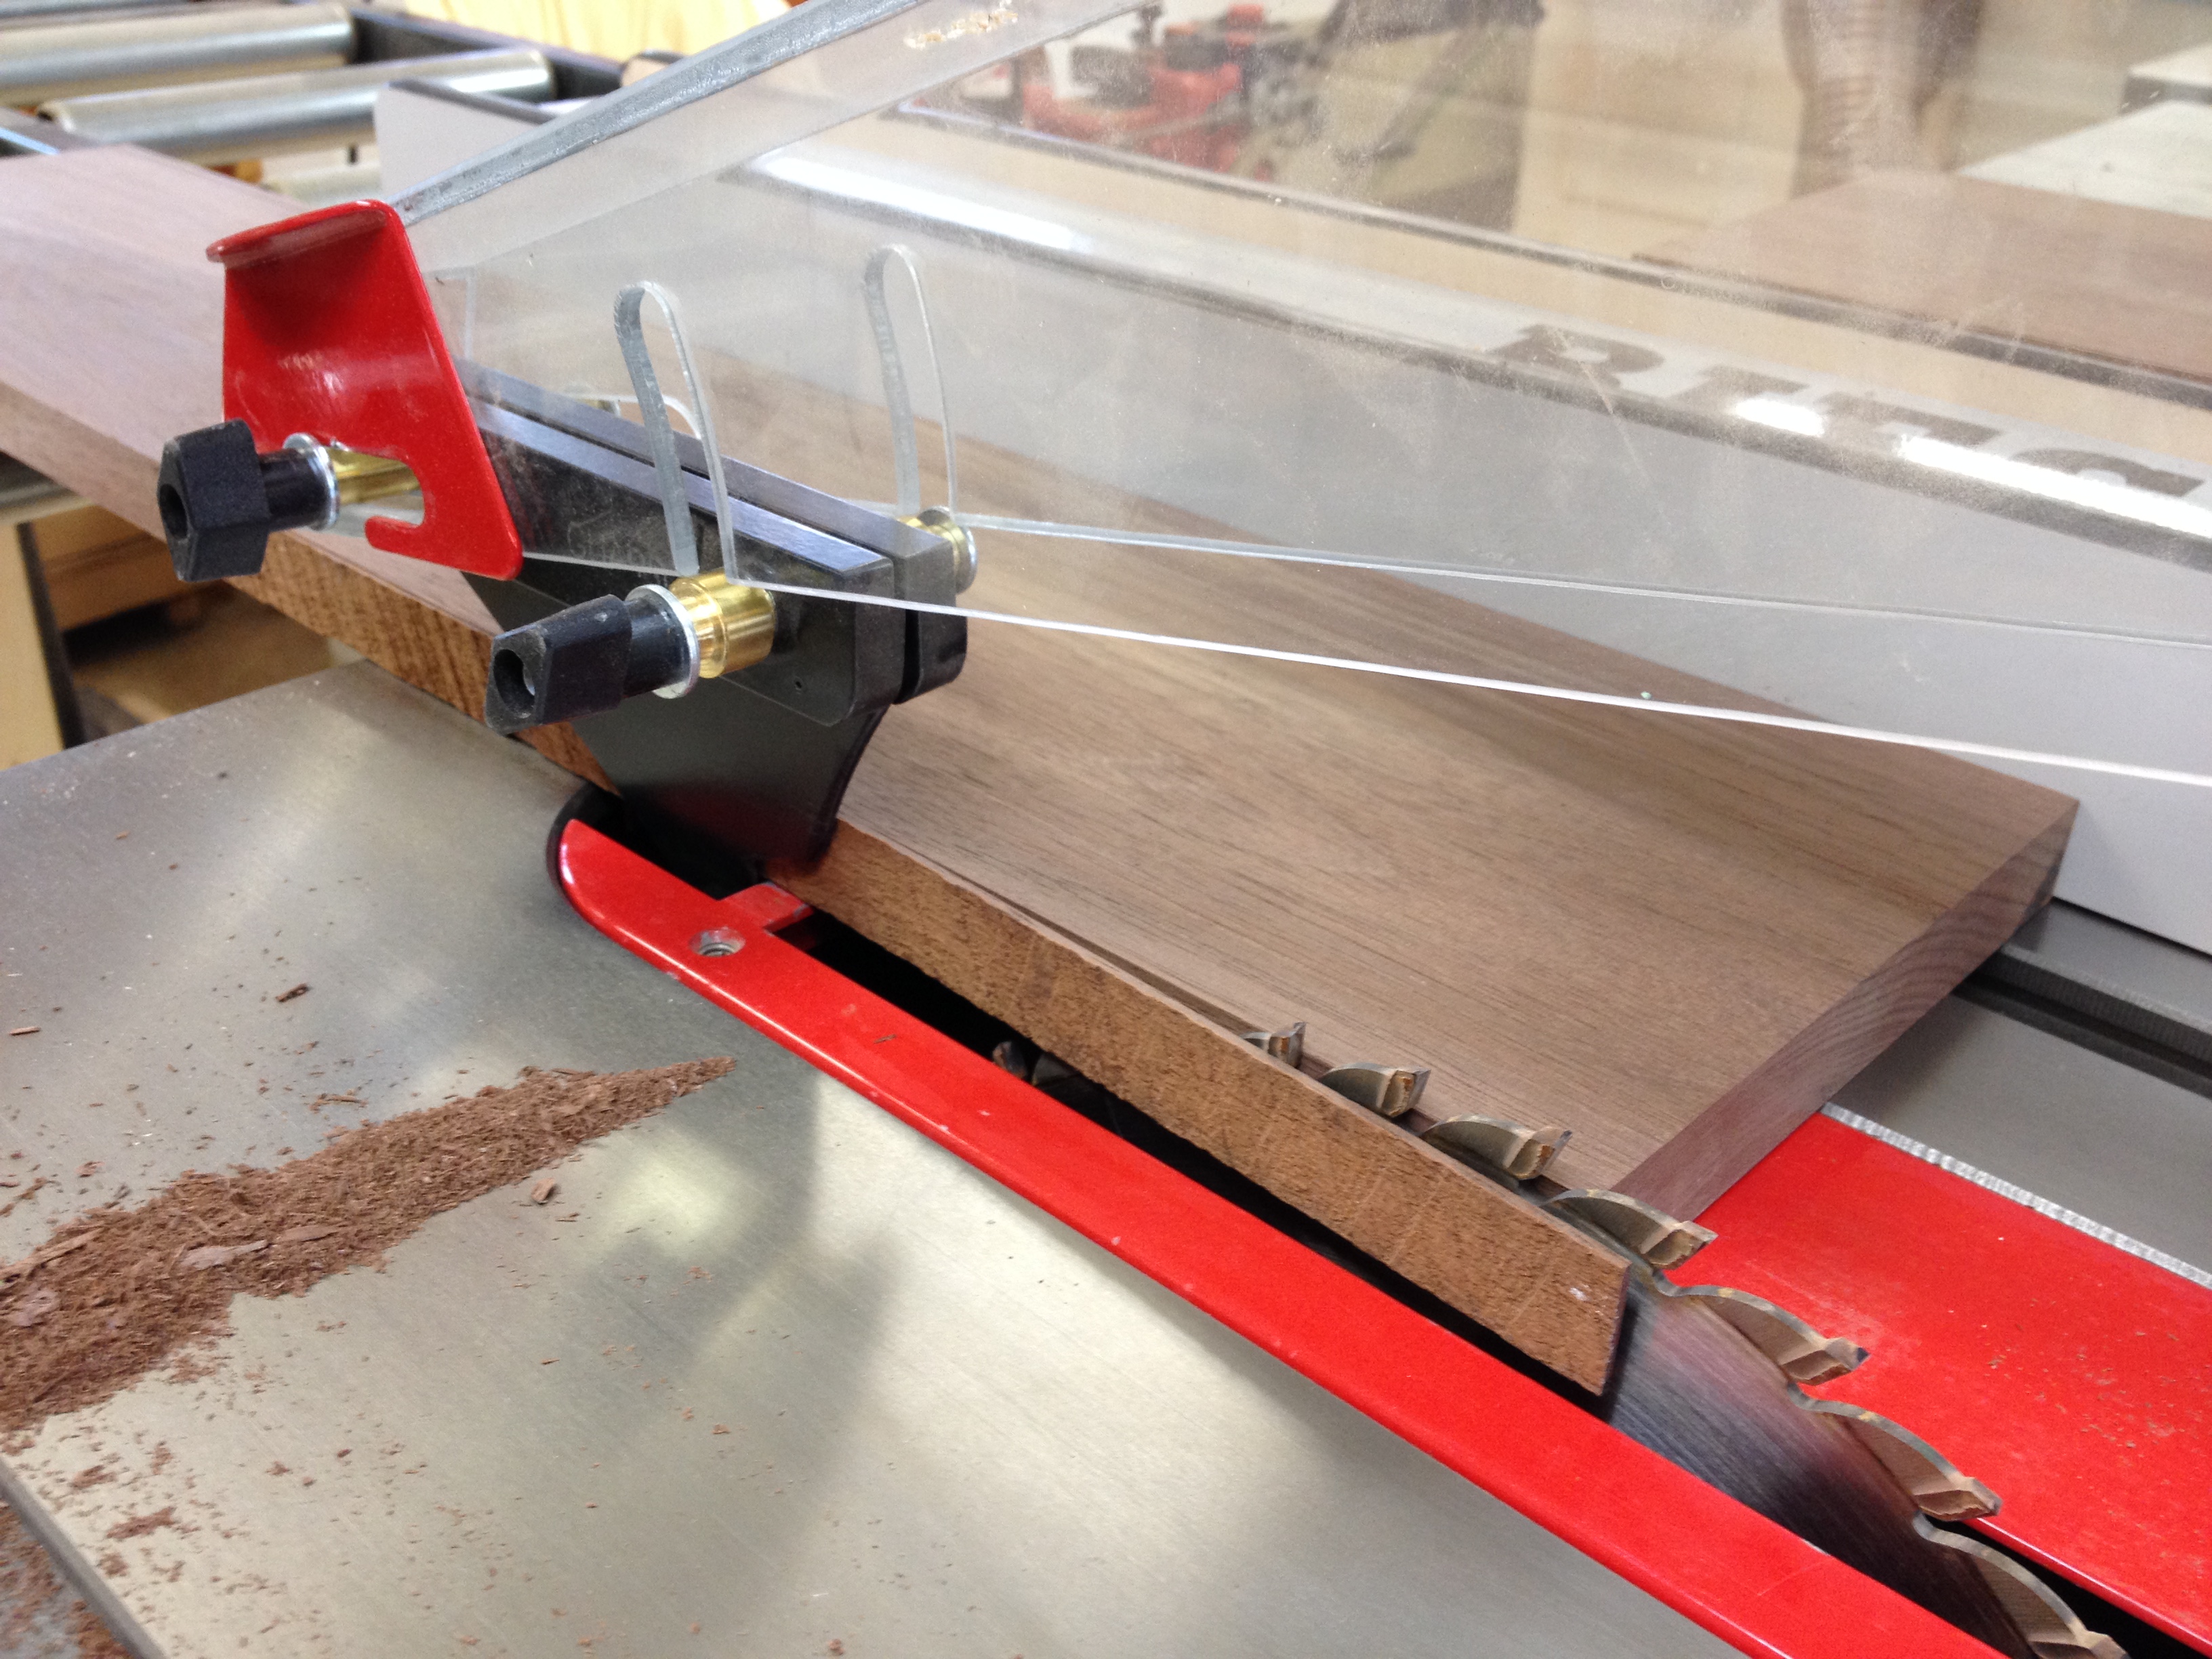
Woodworkers will recognize what happened immediately. For the rest of you, what happened is that the sliver of an offcut somehow bent itself around the back side of the blade, and got stuck on the wrong side of the splitter, causing a dangerous jam. Fortunately, I’ve been using this saw for ten years or more, and by feel, I pretty quickly knew something was wrong. I was able to use my left hand to quickly shut down the saw while still controlling the situation with the right. I’m kind of glad Stef was there to take pictures of this part for two reasons.
- If I had taken a board in the face, she would have been there to help.
- I want a new table saw. If she thinks my current table saw is dangerous, I’m more likely to get it.
Of course, I could just re-adjust the splitter. But there’s no new saw in that…
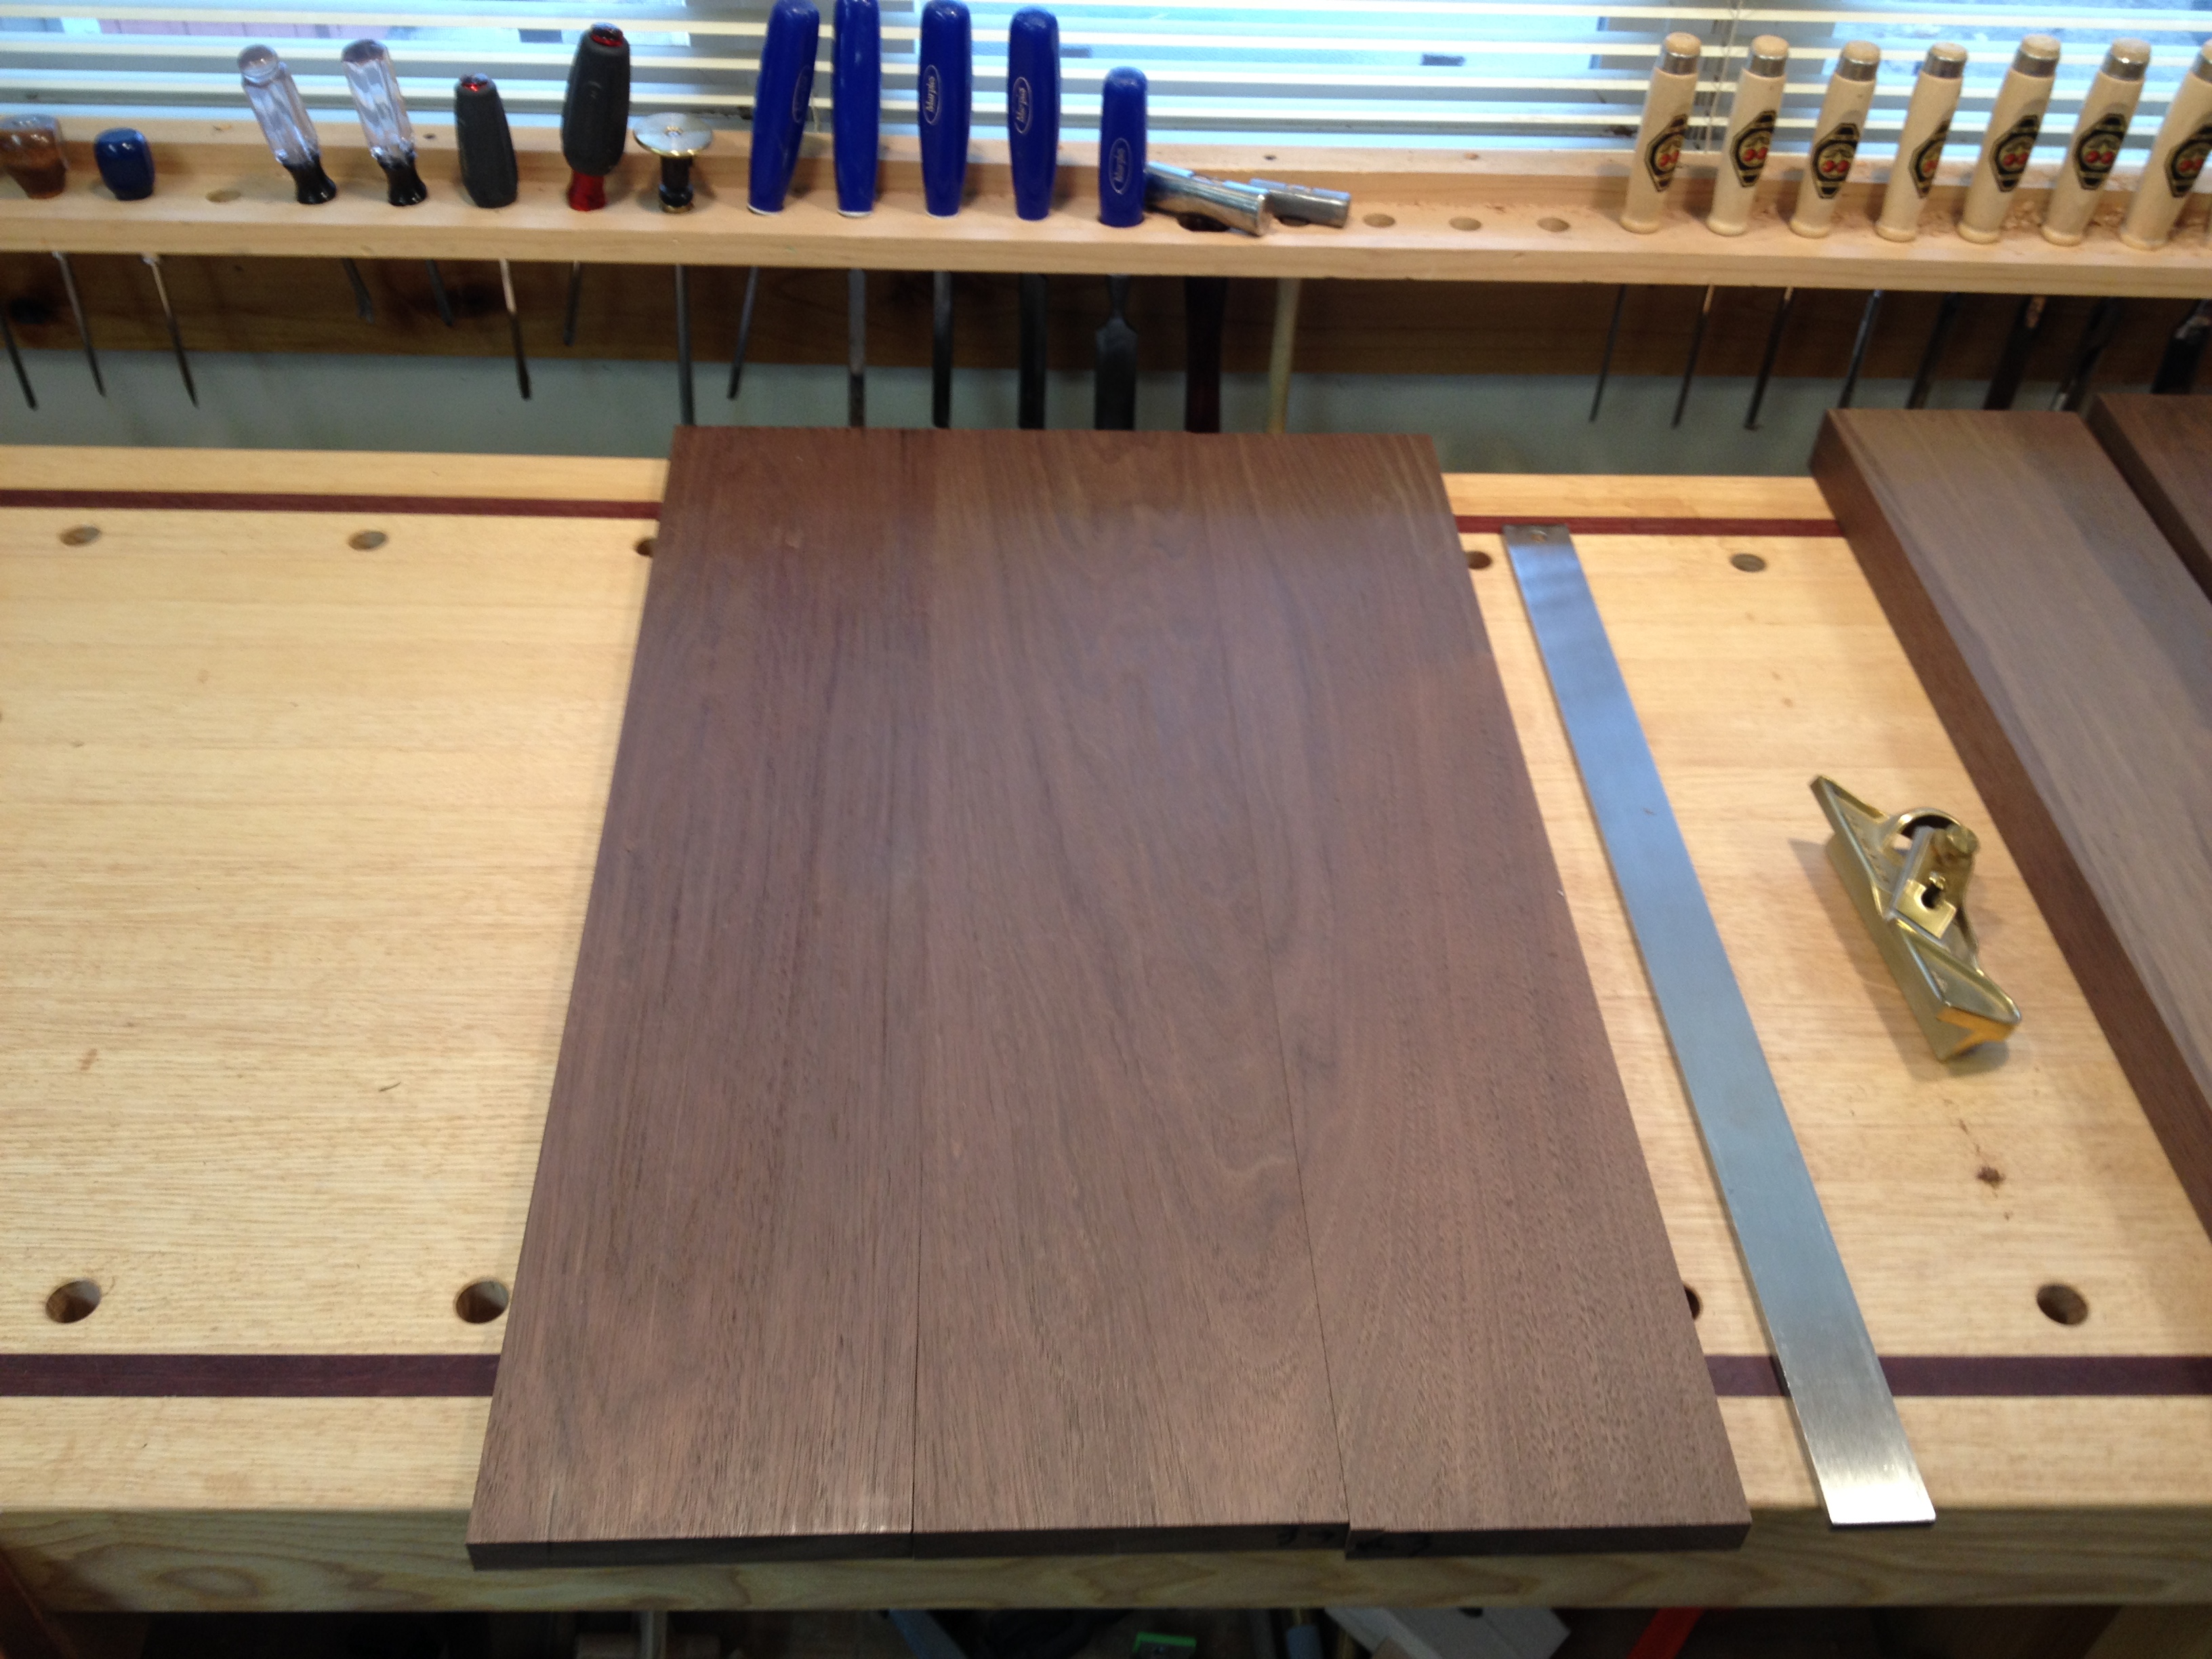
After that, I got to use one of my favorite tools to prep the boards for glue-up. It’s a bronze edge plane.

It used to be, I didn’t like to use the hand tools as much. But the older I get, the more I like them. They’re quiet, precise, and they demand attention and skill in their use. (I’m still working on the skill part. Fortunately, wood is very patient.) Anyway, the 90 degree fence on this plane makes prepping the edge a snap. It’s just a matter of deciding which way you want the boards to line up in the panel; hitting them with the edge plane, and then you’re ready to glue up.
Gluing up a panel is always pretty stressful for me. For this exercise, I was attempting to glue up two at once. Fortunately, it all went pretty well, mostly because I’ve learned the hard way. Nowadays, I use glue with a long “open” time. This gives me about 20 minutes to get everything into position and get the clamps tightened. And I’ve made a dead-flat glue up table and some hefty clamping cauls that help a lot as well. A little swearing, 24 clamps and 4 cauls later, I had two panels glued up.
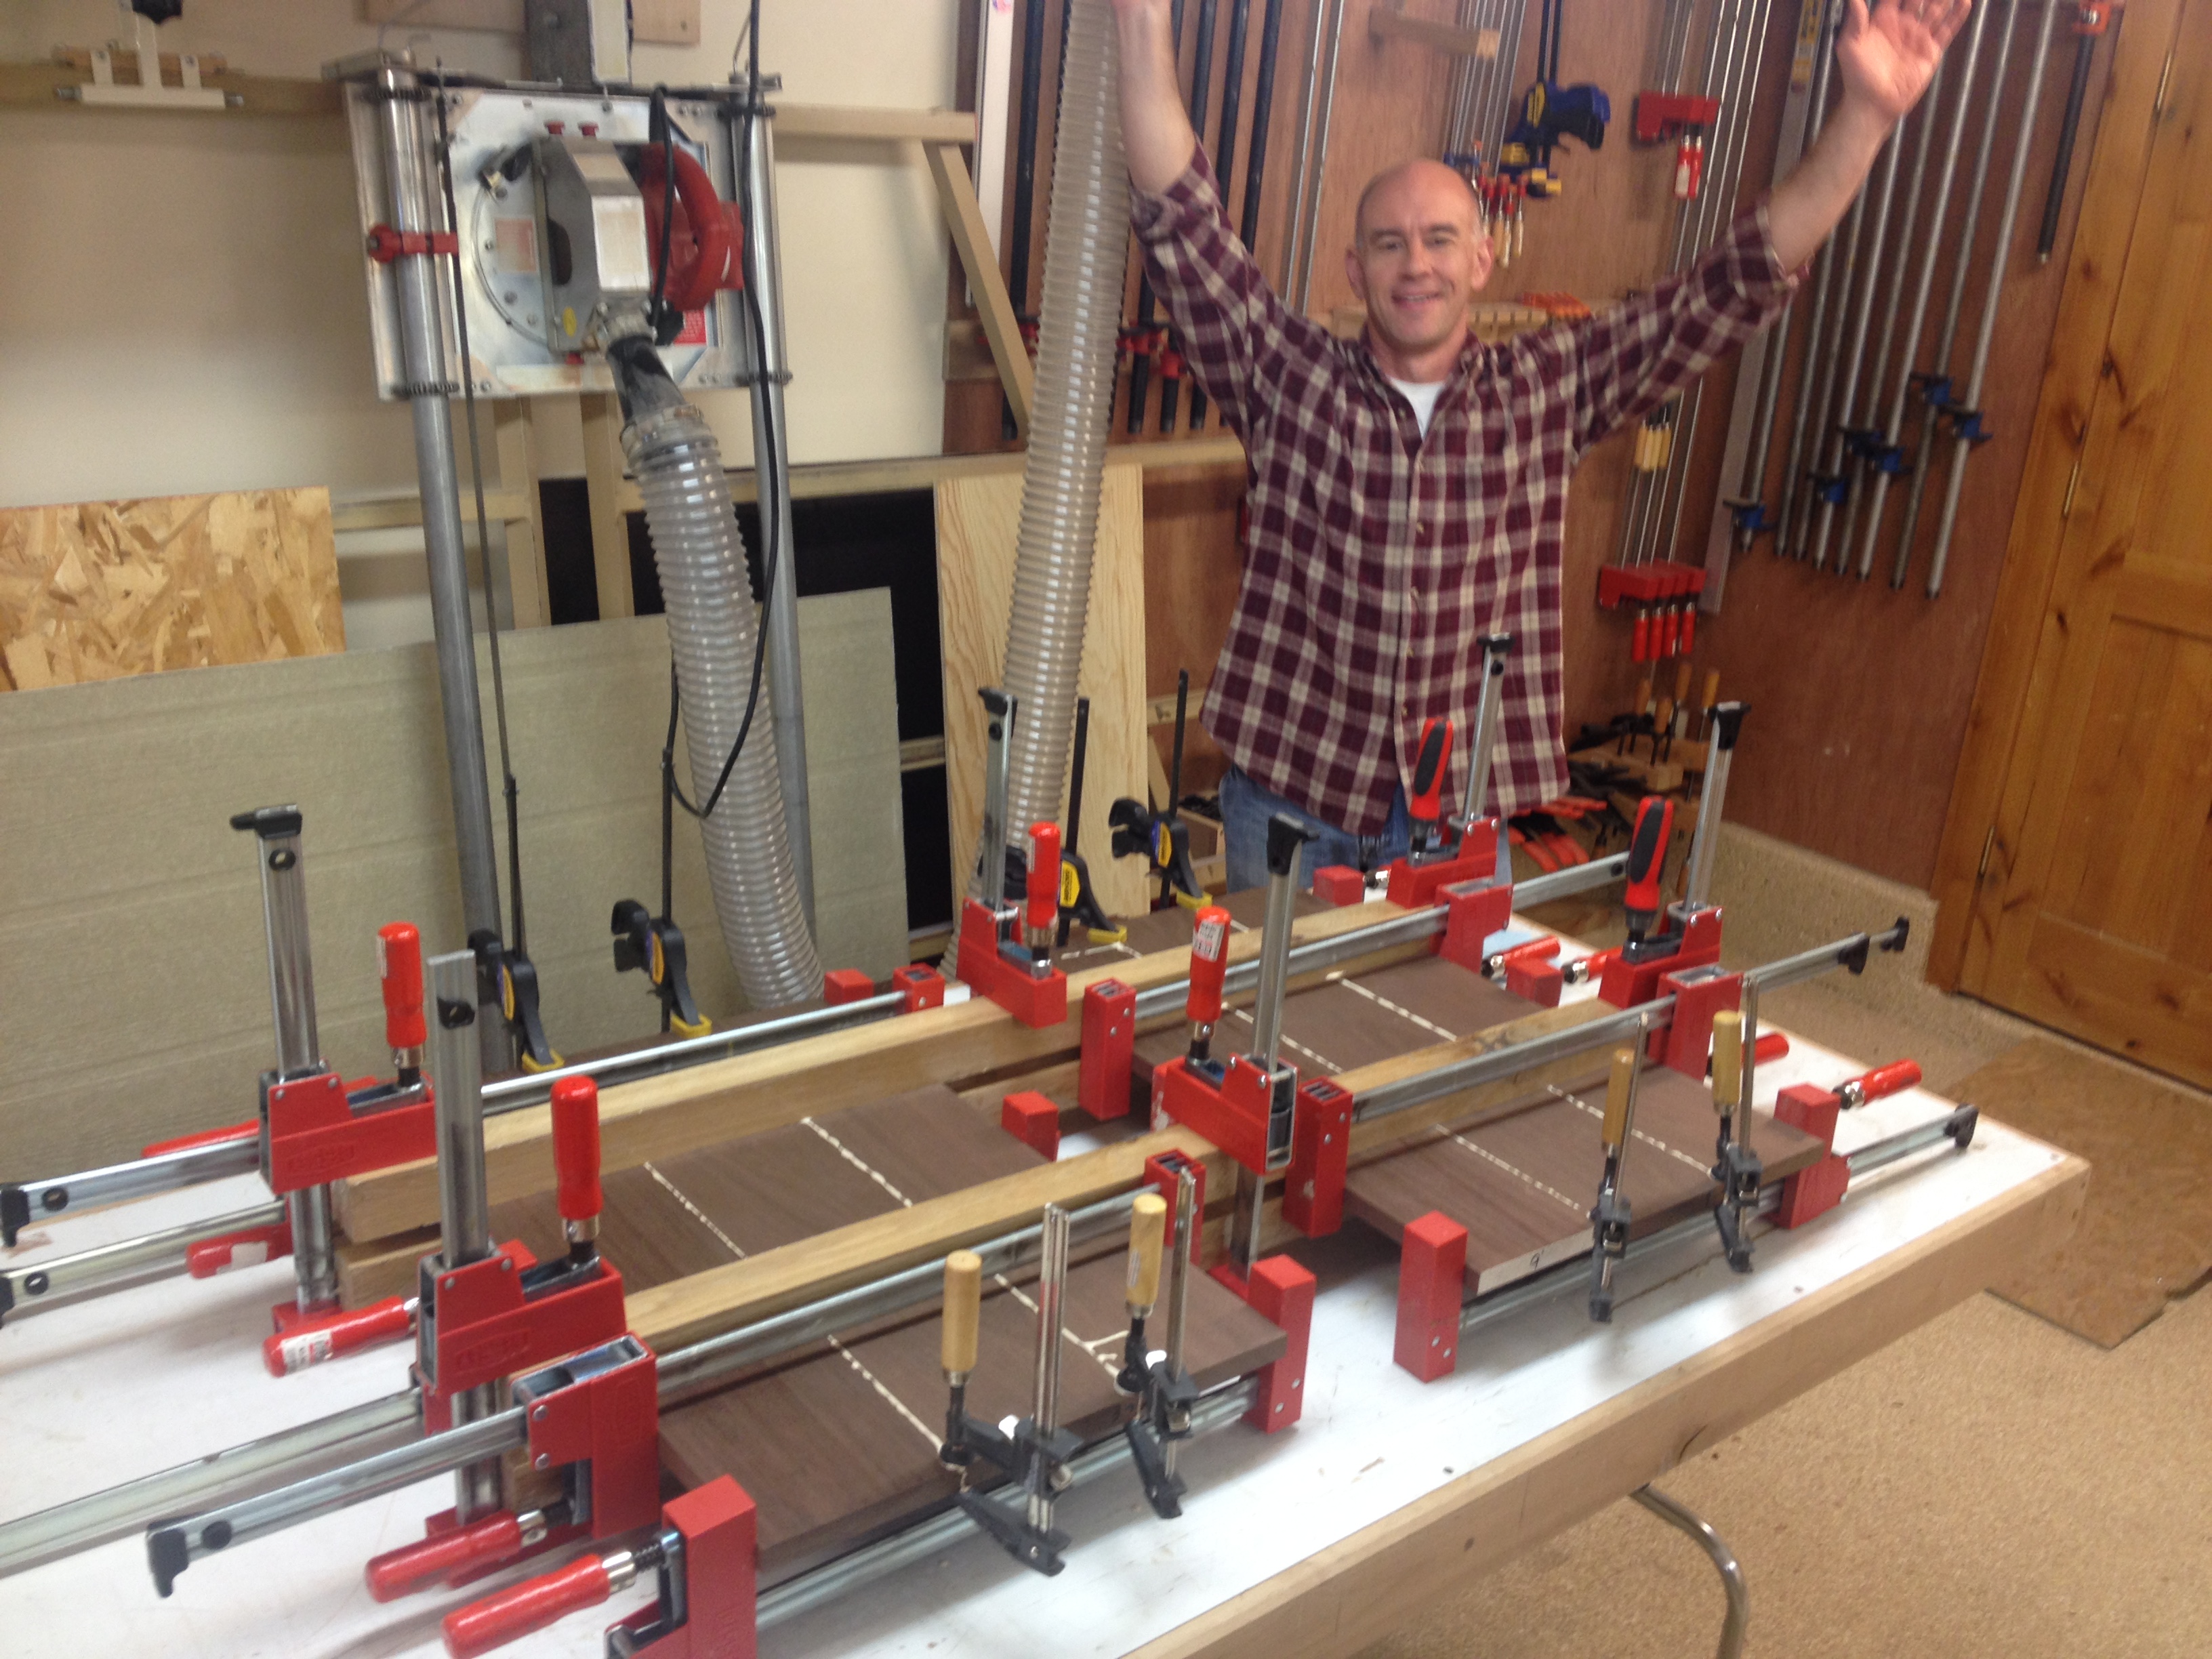
Actually, it only took me 15 minutes.
After letting the glue dry overnight, and then repeating the process, I had four glued-up panels. They were pretty close to flat, but had a few imperfections, glue streaks, etc. But all in all, not bad.
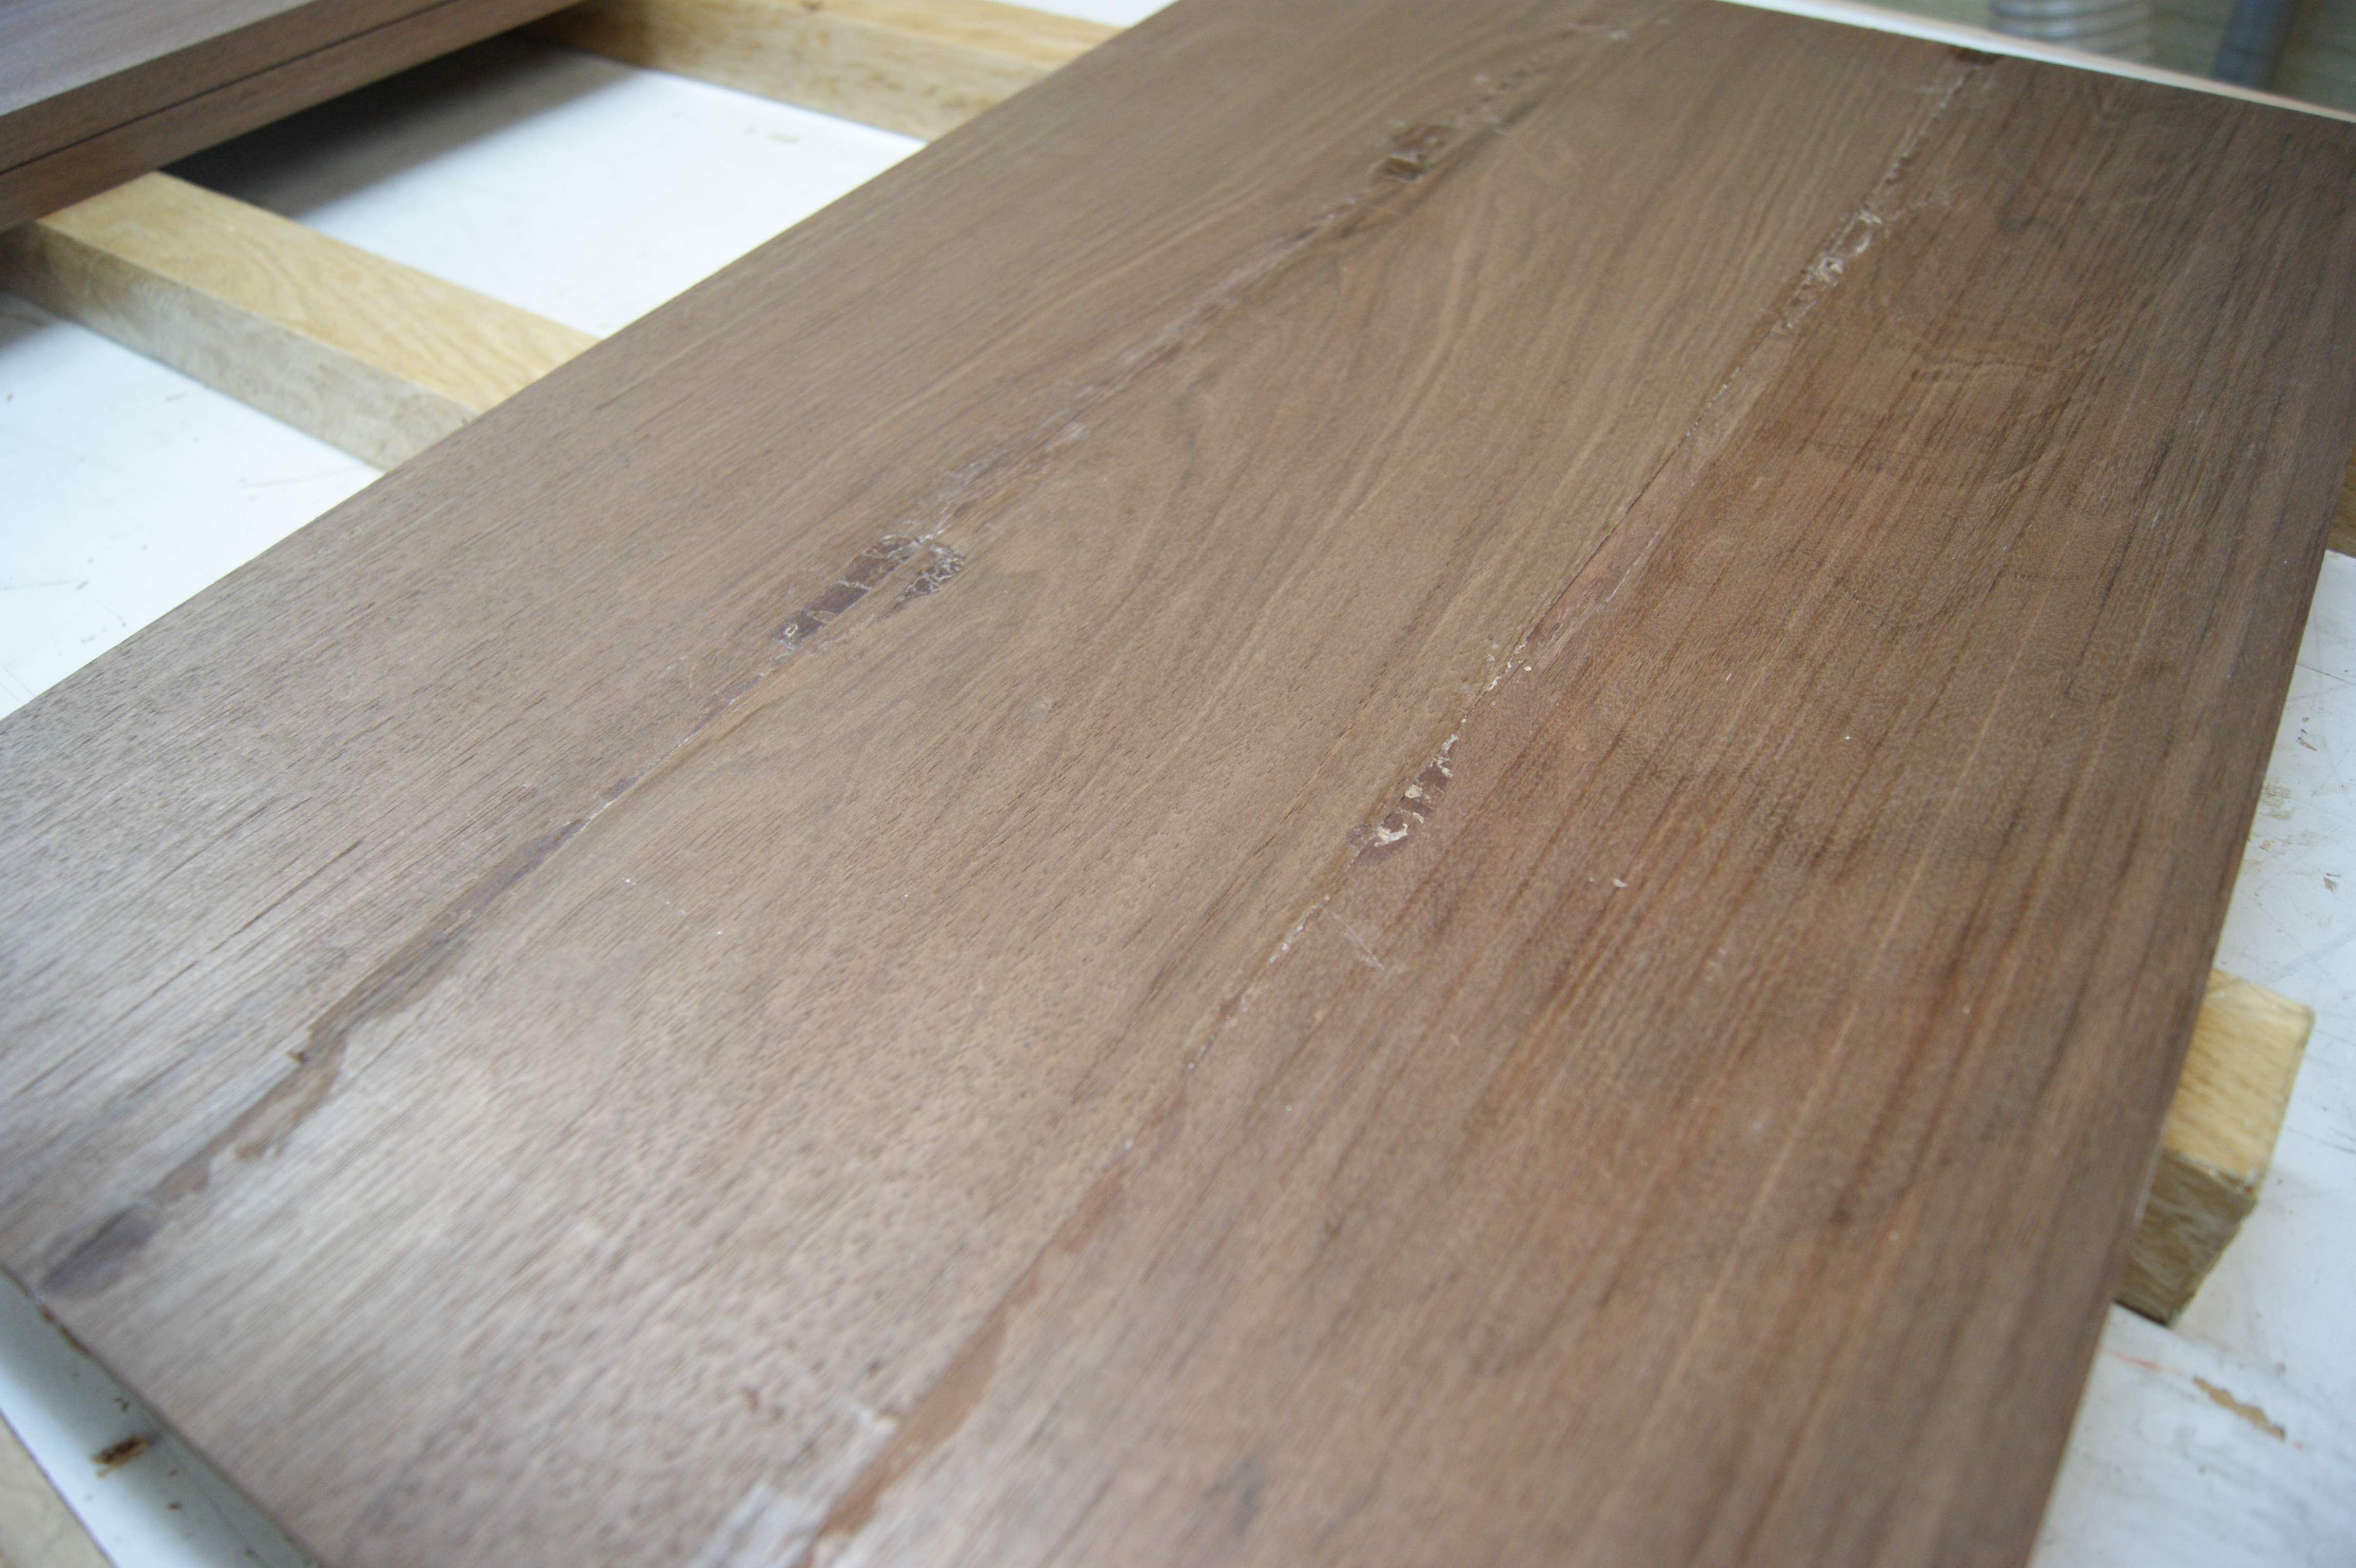
I could have tried to sand all that out, but the thought of standing around sanding that much makes me ill. I could have run them through my drum sander, but where’s the fun in that? Instead, I decided to flatten and clean them up with a variety of hand tools.
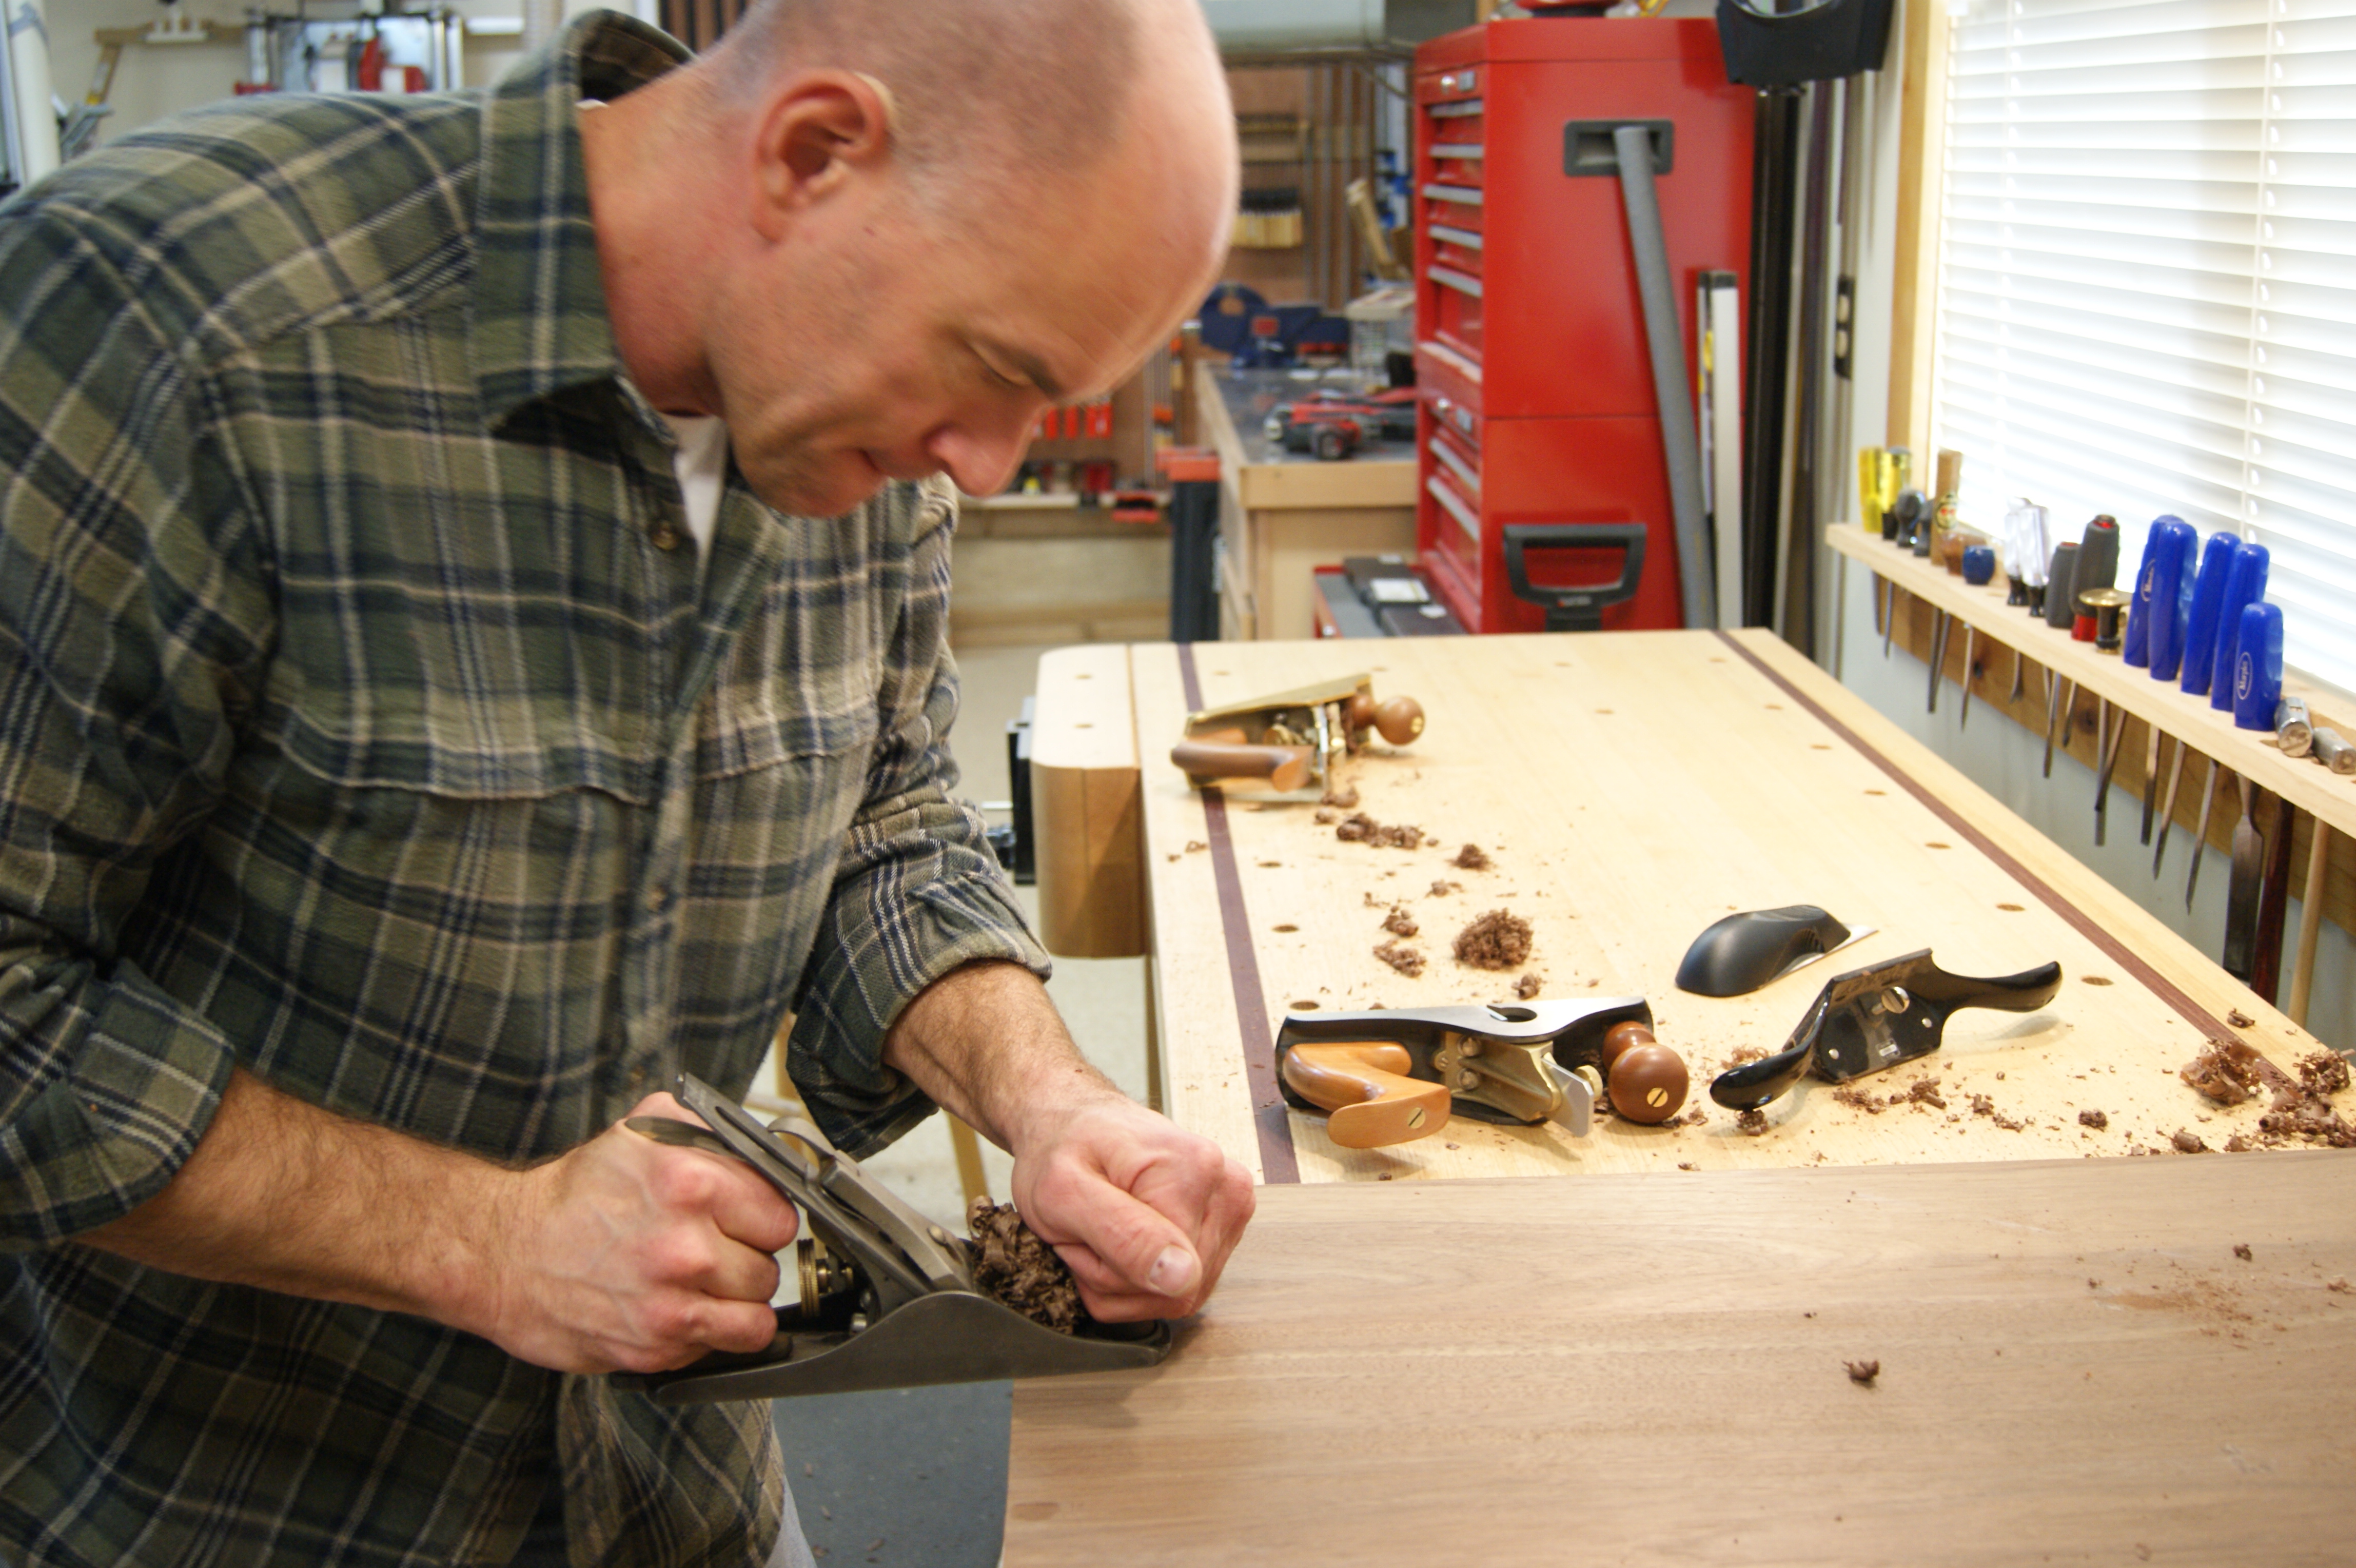
The one I’m using in that picture deserves a special mention. It’s a No. 3 Stanley Bailey plane. As best as I can tell, it dates from around 1946 or ’47. I found it at an antique store on an RV trip and cleaned it and returned it to service. It’s a solid performer, and worked fine for me this day. (And hey! I worked RVs into this article!) A bunch of shavings later, I had nice, flat panels.
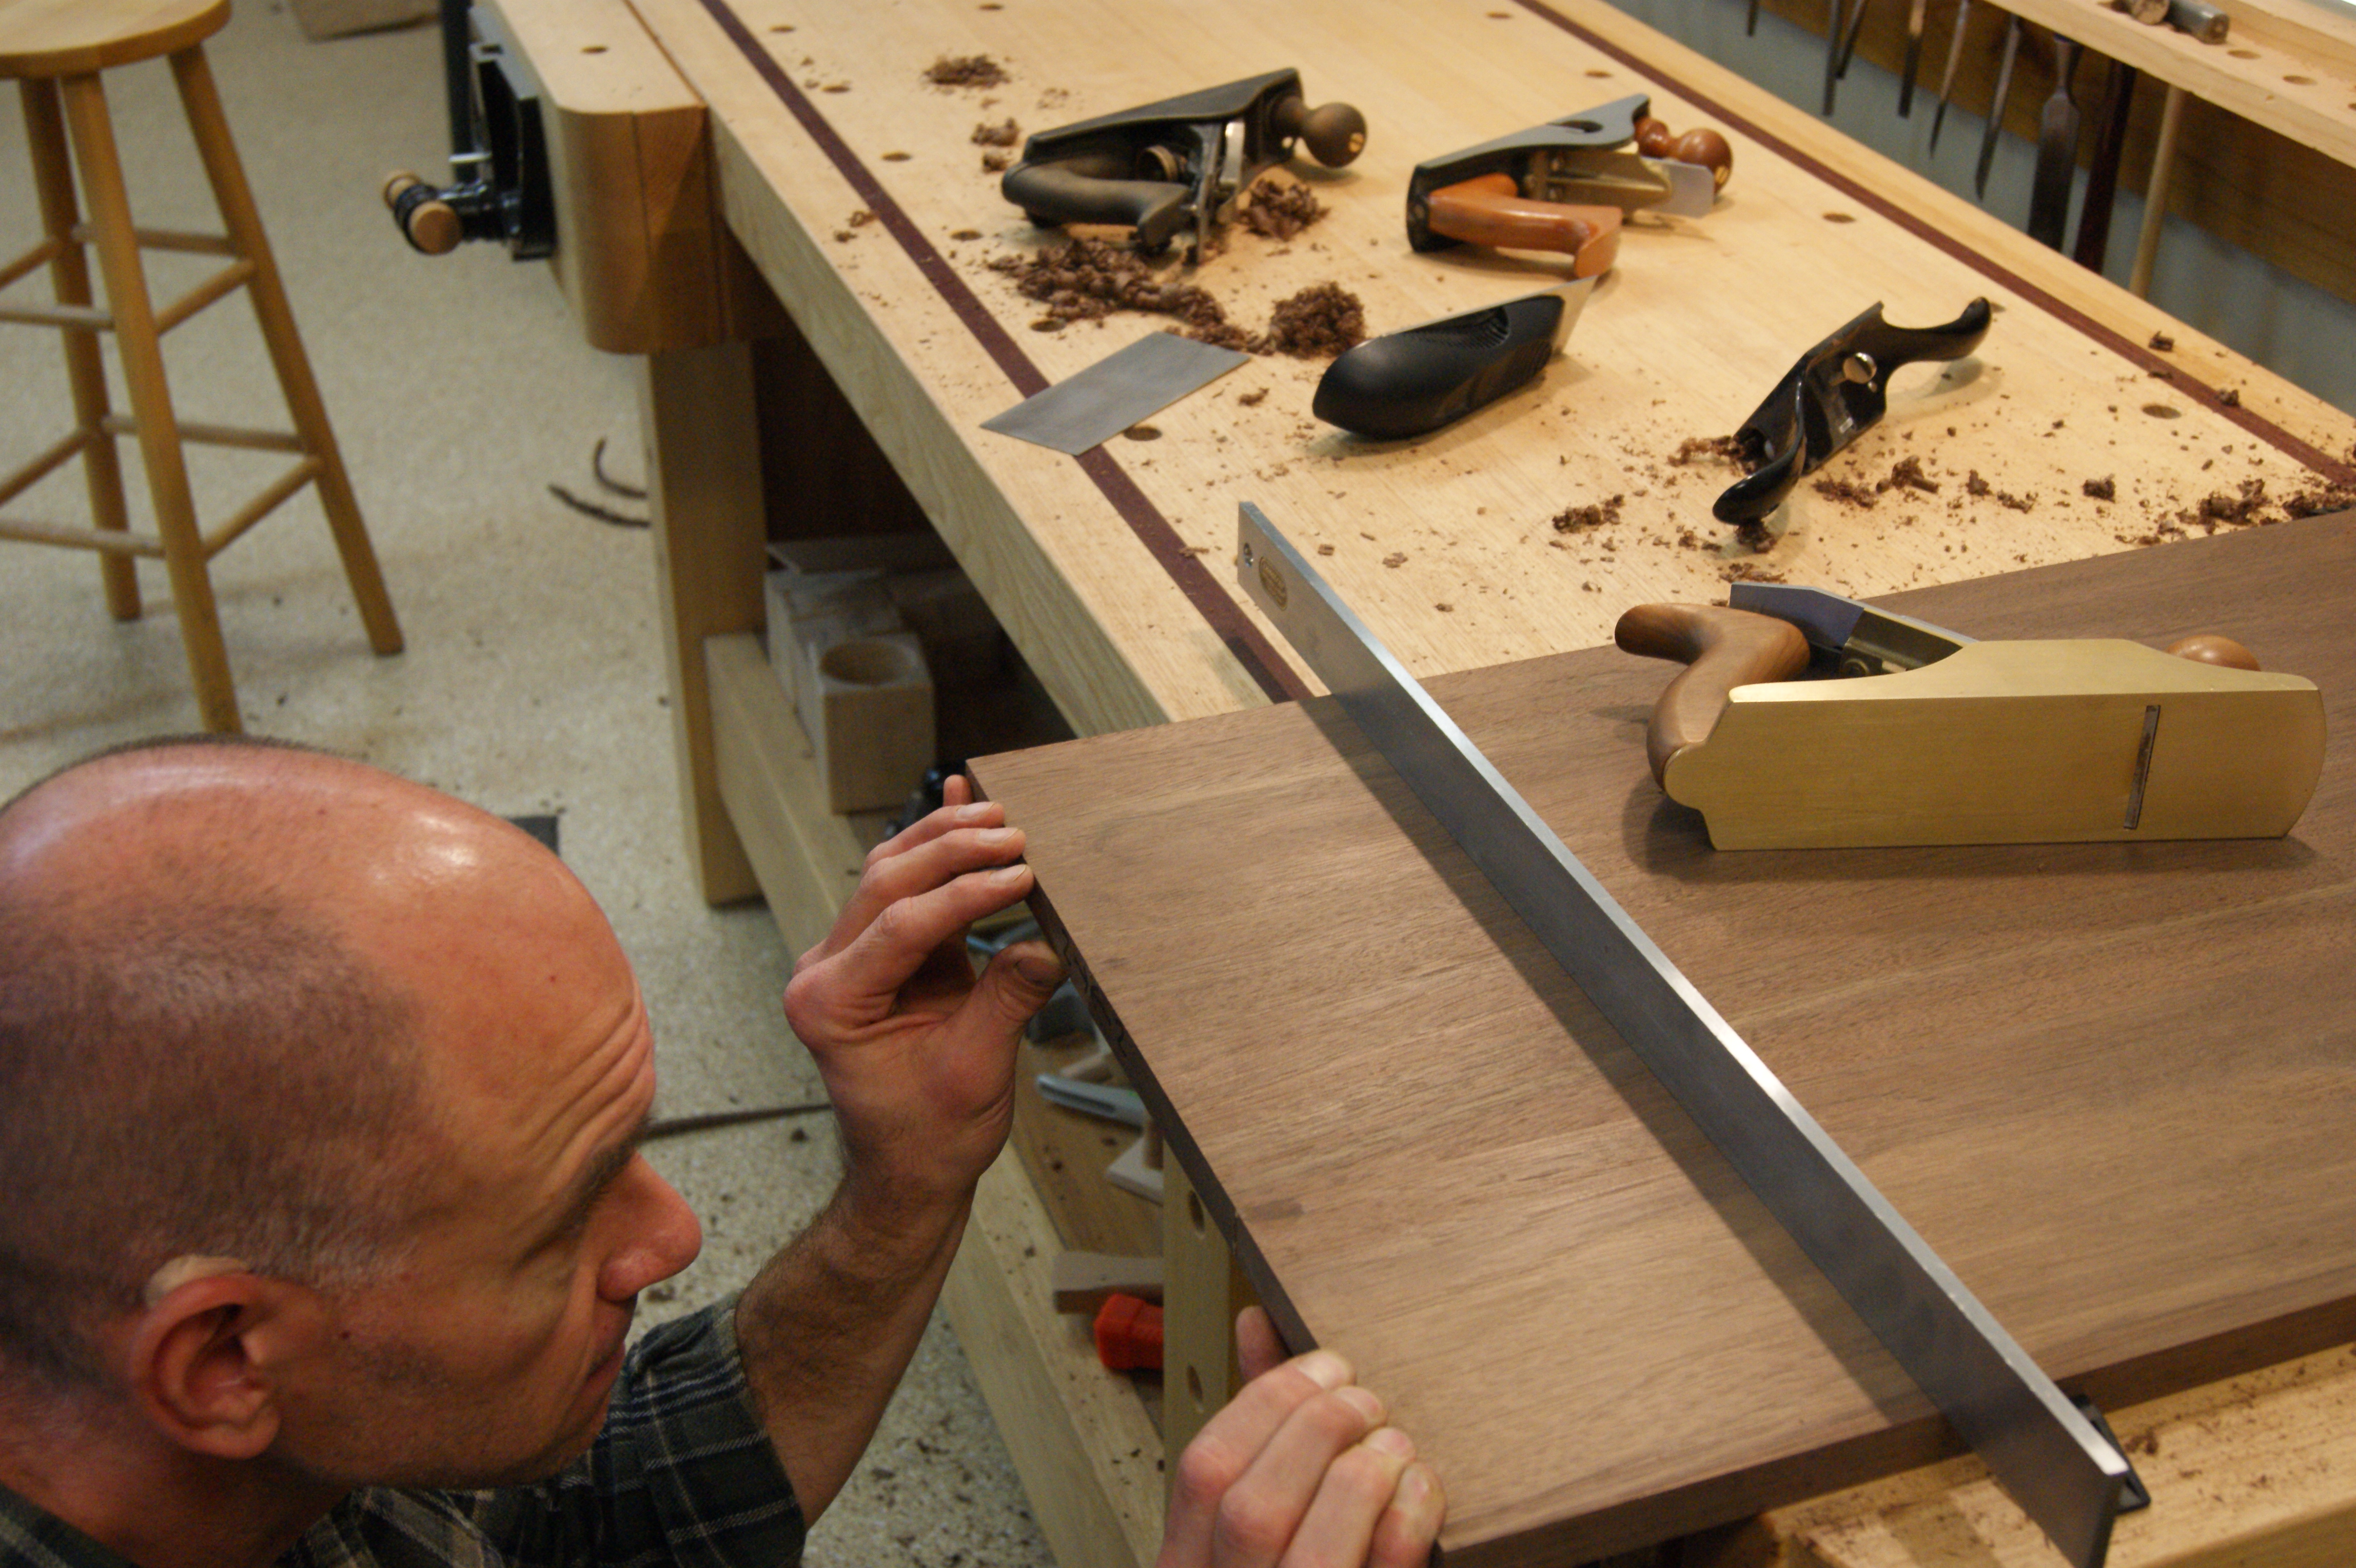
When I get really serious, I even bust out the feeler gauges.
Then, I had some decisions to make regarding dimensions. I measured CD cases, calculated drawer widths, sized up potential televisions, measured the height of my speakers, and eventually arrived at some final dimensions for the cabinet. It will be 80 inches wide by 25¼ inches tall by 20 inches deep. The top will hang over 2 inches on all sides. With these measurements in hand, I could trim the legs and panels to final length and width. I did most of that using my crosscut sled on the table saw.
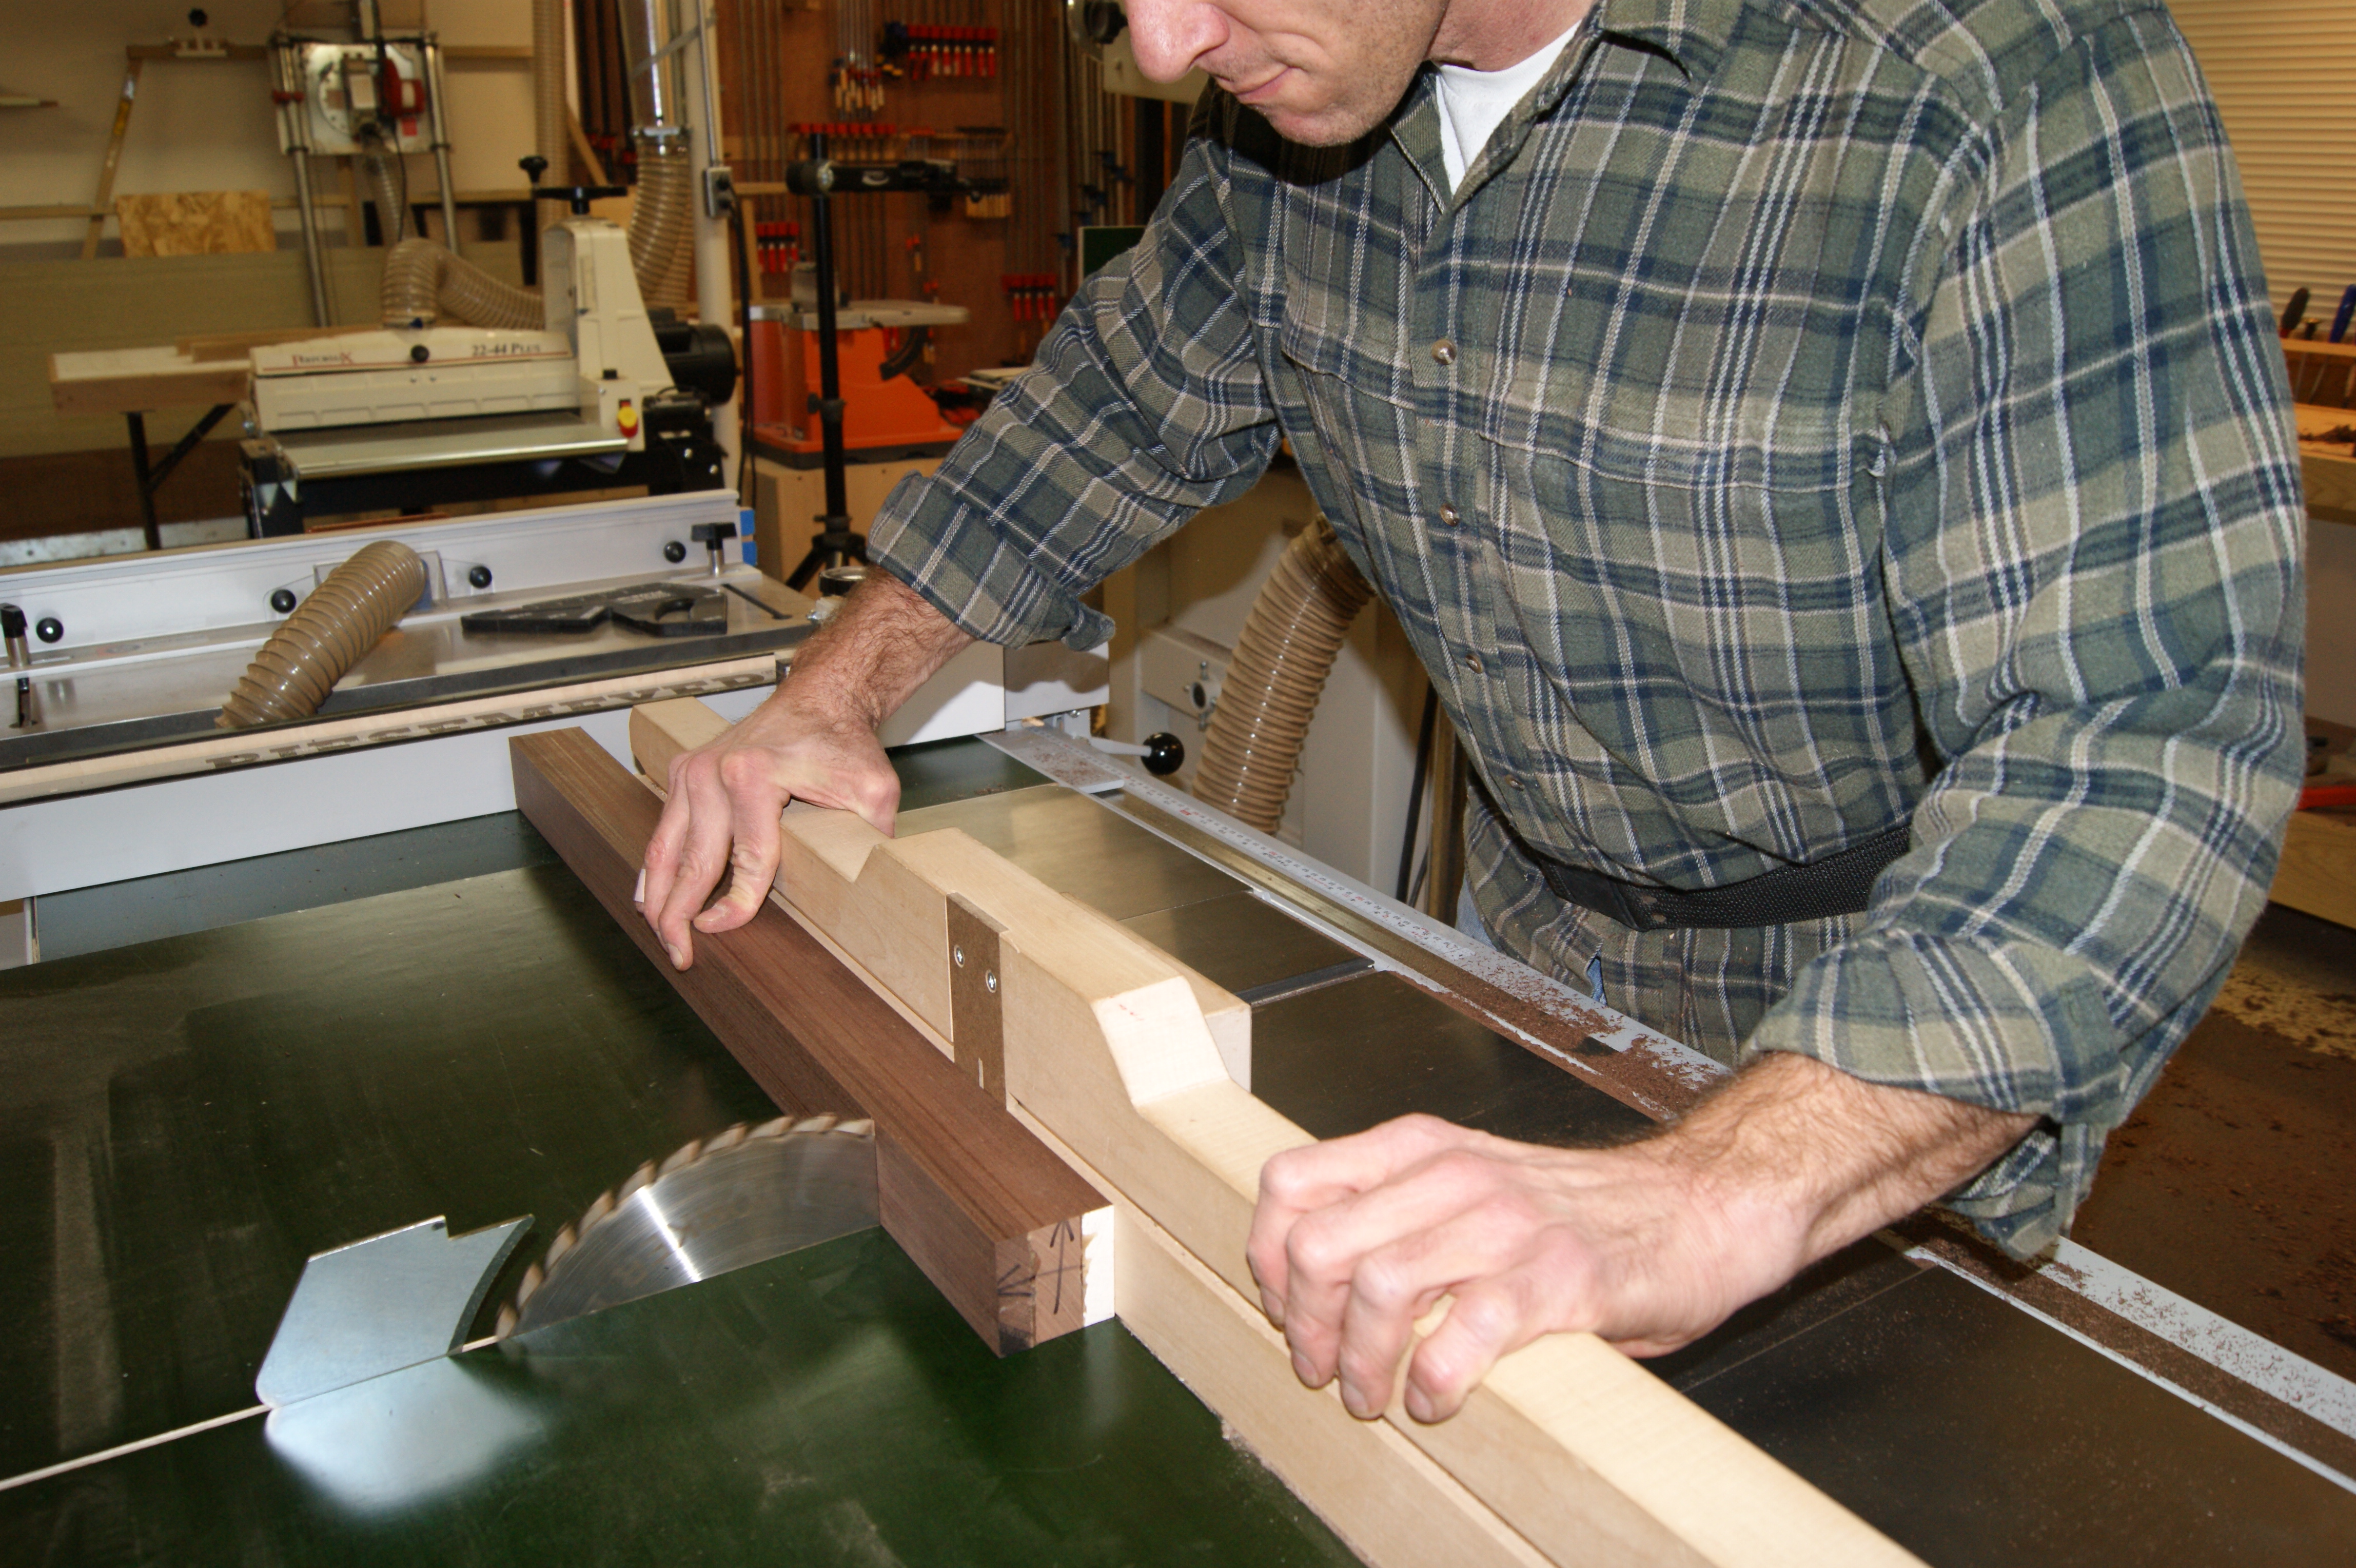
That must have been a pretty fast shutter speed if it can stop the spinning blade!
I decided to go one more step before calling it quits for the weekend. I wanted to join the legs and panels together to make the four front-to-back parts of the case. I’ll confess, I cheat a little on the joinery – I use a Festool Domino. In this case, I don’t intend to actually glue the dominoes – there should be plenty of glue surface along the edges of the panels – I’m just using the dominoes for alignment. And for now, I’m not actually gluing anything at all – because I’ll take it apart and put it back together 15 times before I’m done. For now, I just want the joinery cut. An hour or so with the Domino, and I have this staring at me.
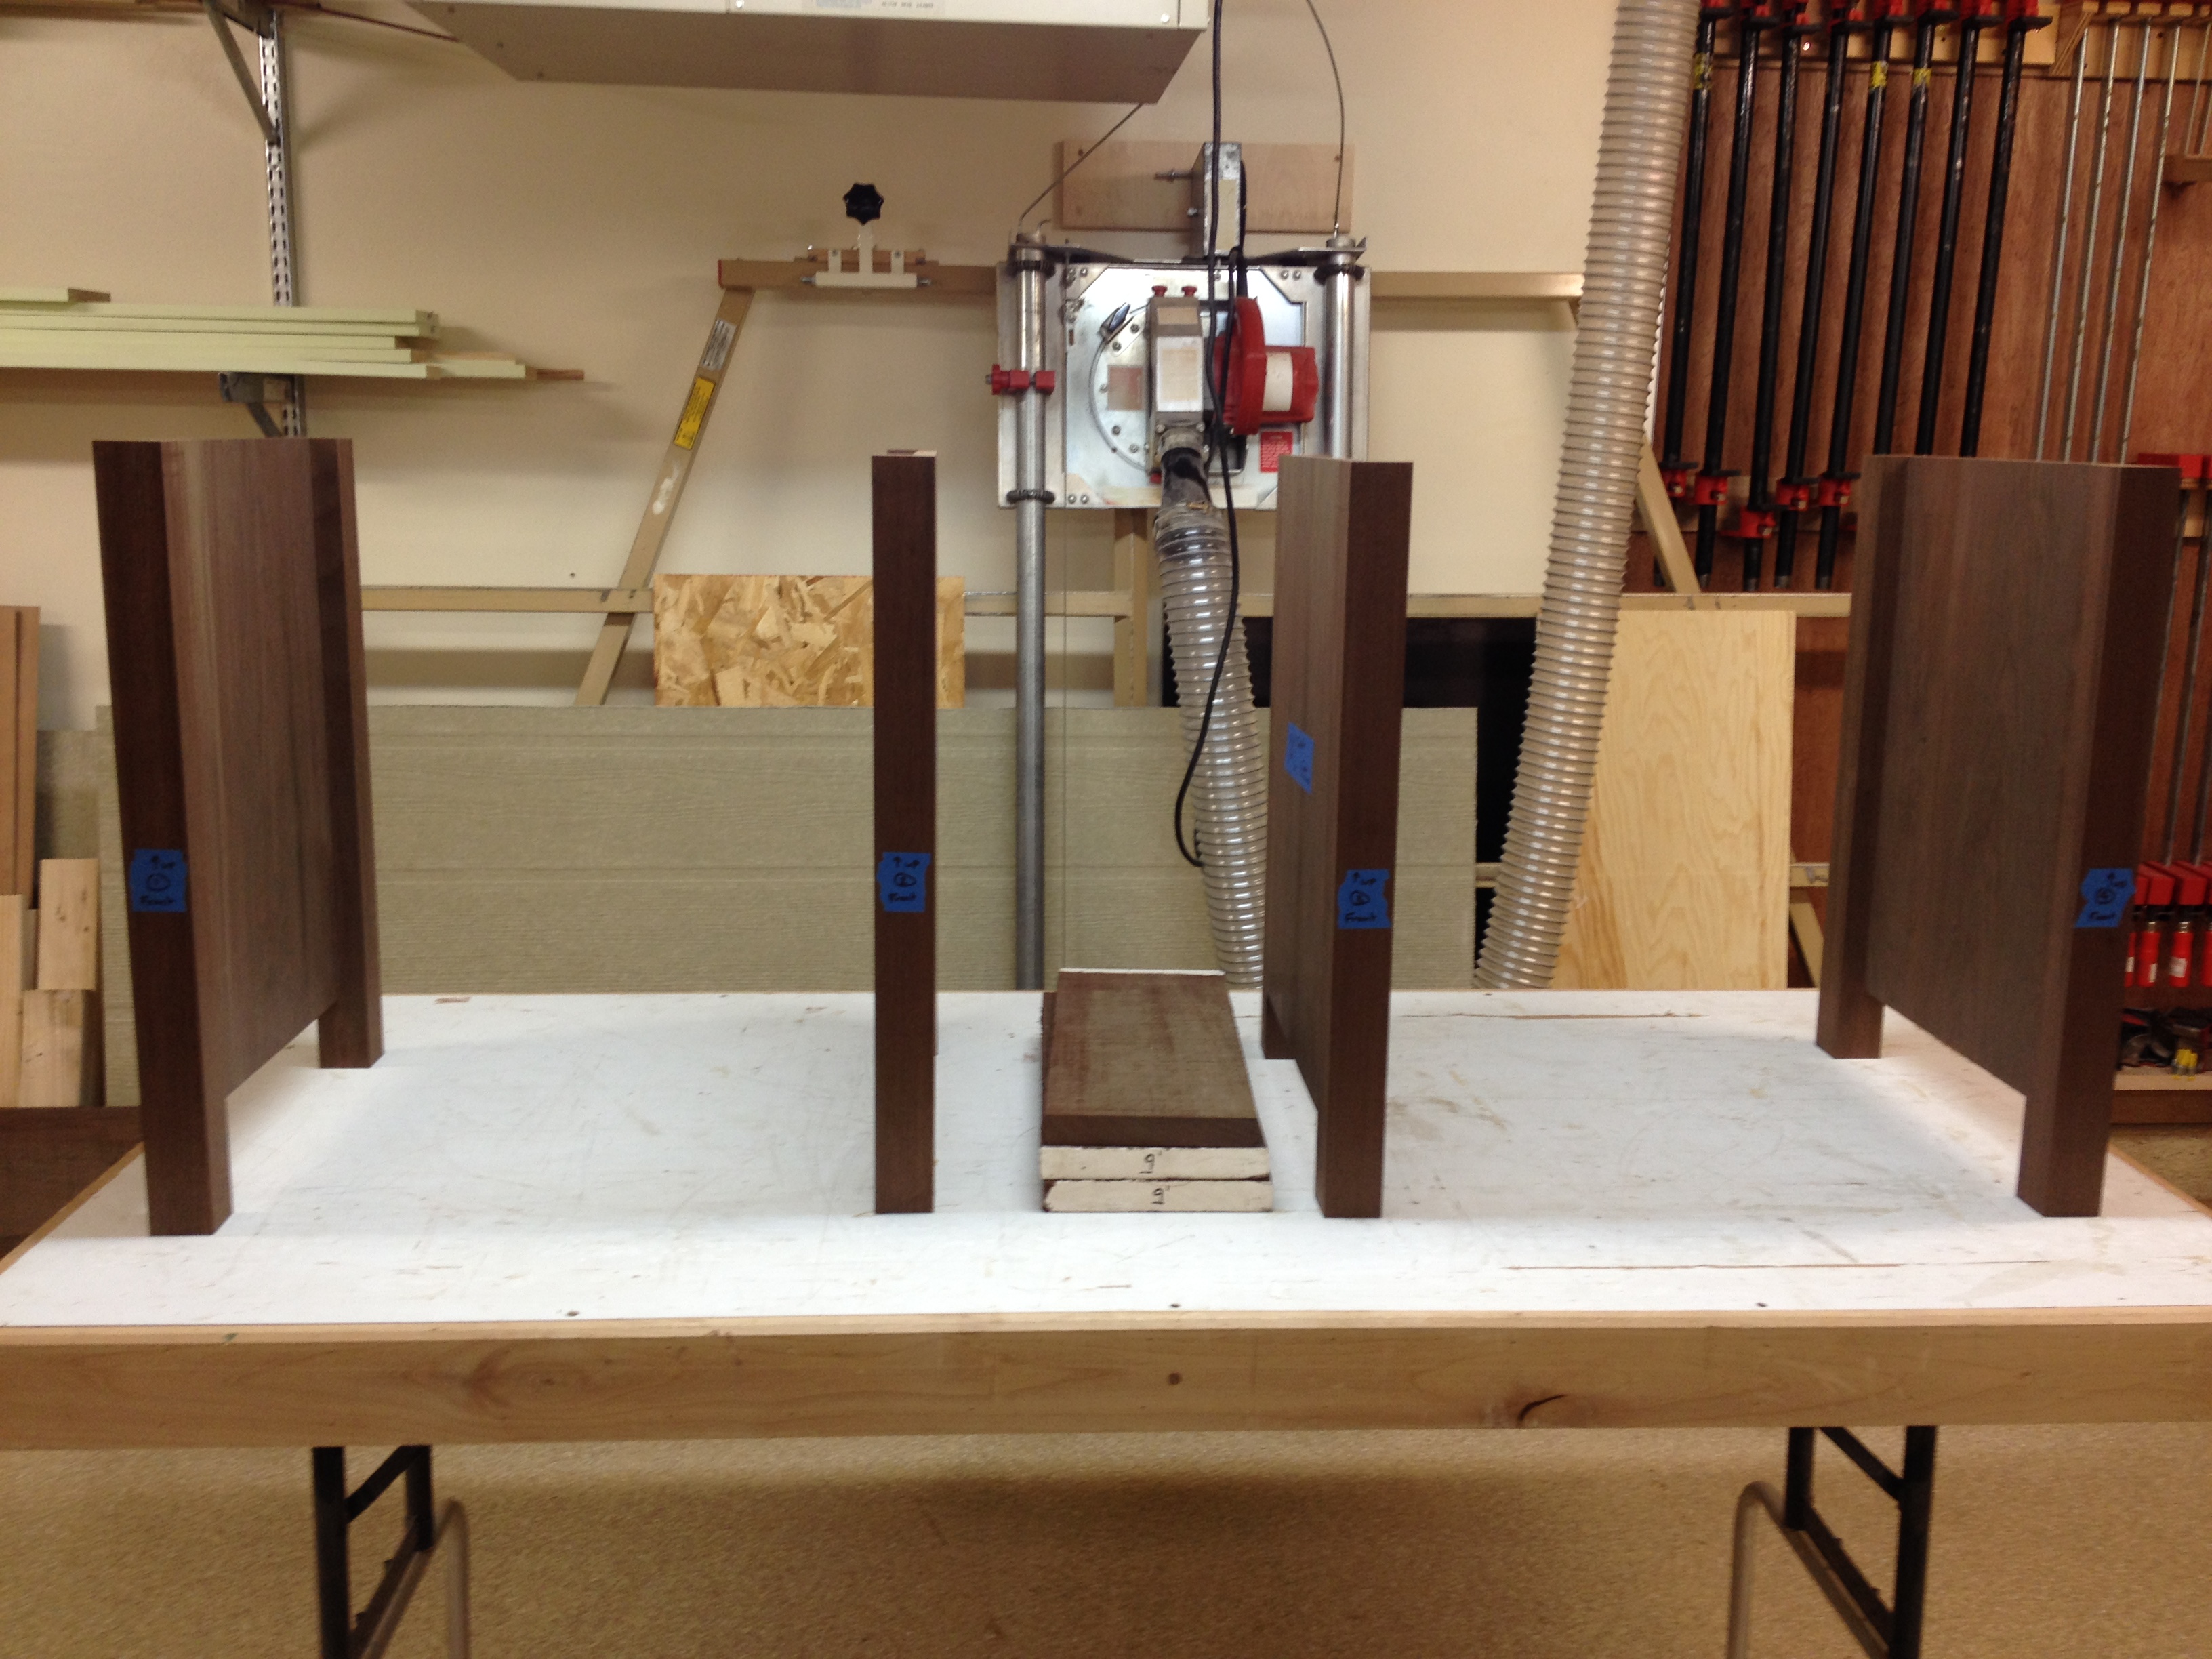
Finally starting to look like something.
I’m keeping all the parts square for now, until I have all the joinery cut. And I realize that I’ve given myself extra challenges by making the side panels out of solid wood. But the challenge is part of the fun. I’ll have to come up with ways to support drawers and shelves without attaching anything to the sides, or constraining the wood movement front-to-back.
See you next time, and I hope everyone had a great Thanksgiving!