This post may contain affiliate links.
Since I remodeled the inside of Das Bus last year, I’ve been thinking of getting the outside repainted. But our RV storage has always gotten in the way of that – you see, we store Das Bus outside. Here in Salt Lake City, we get lots of UV in the summer and plenty of snow in the winter. I couldn’t see repainting the RV just to let the paint job wither outside.
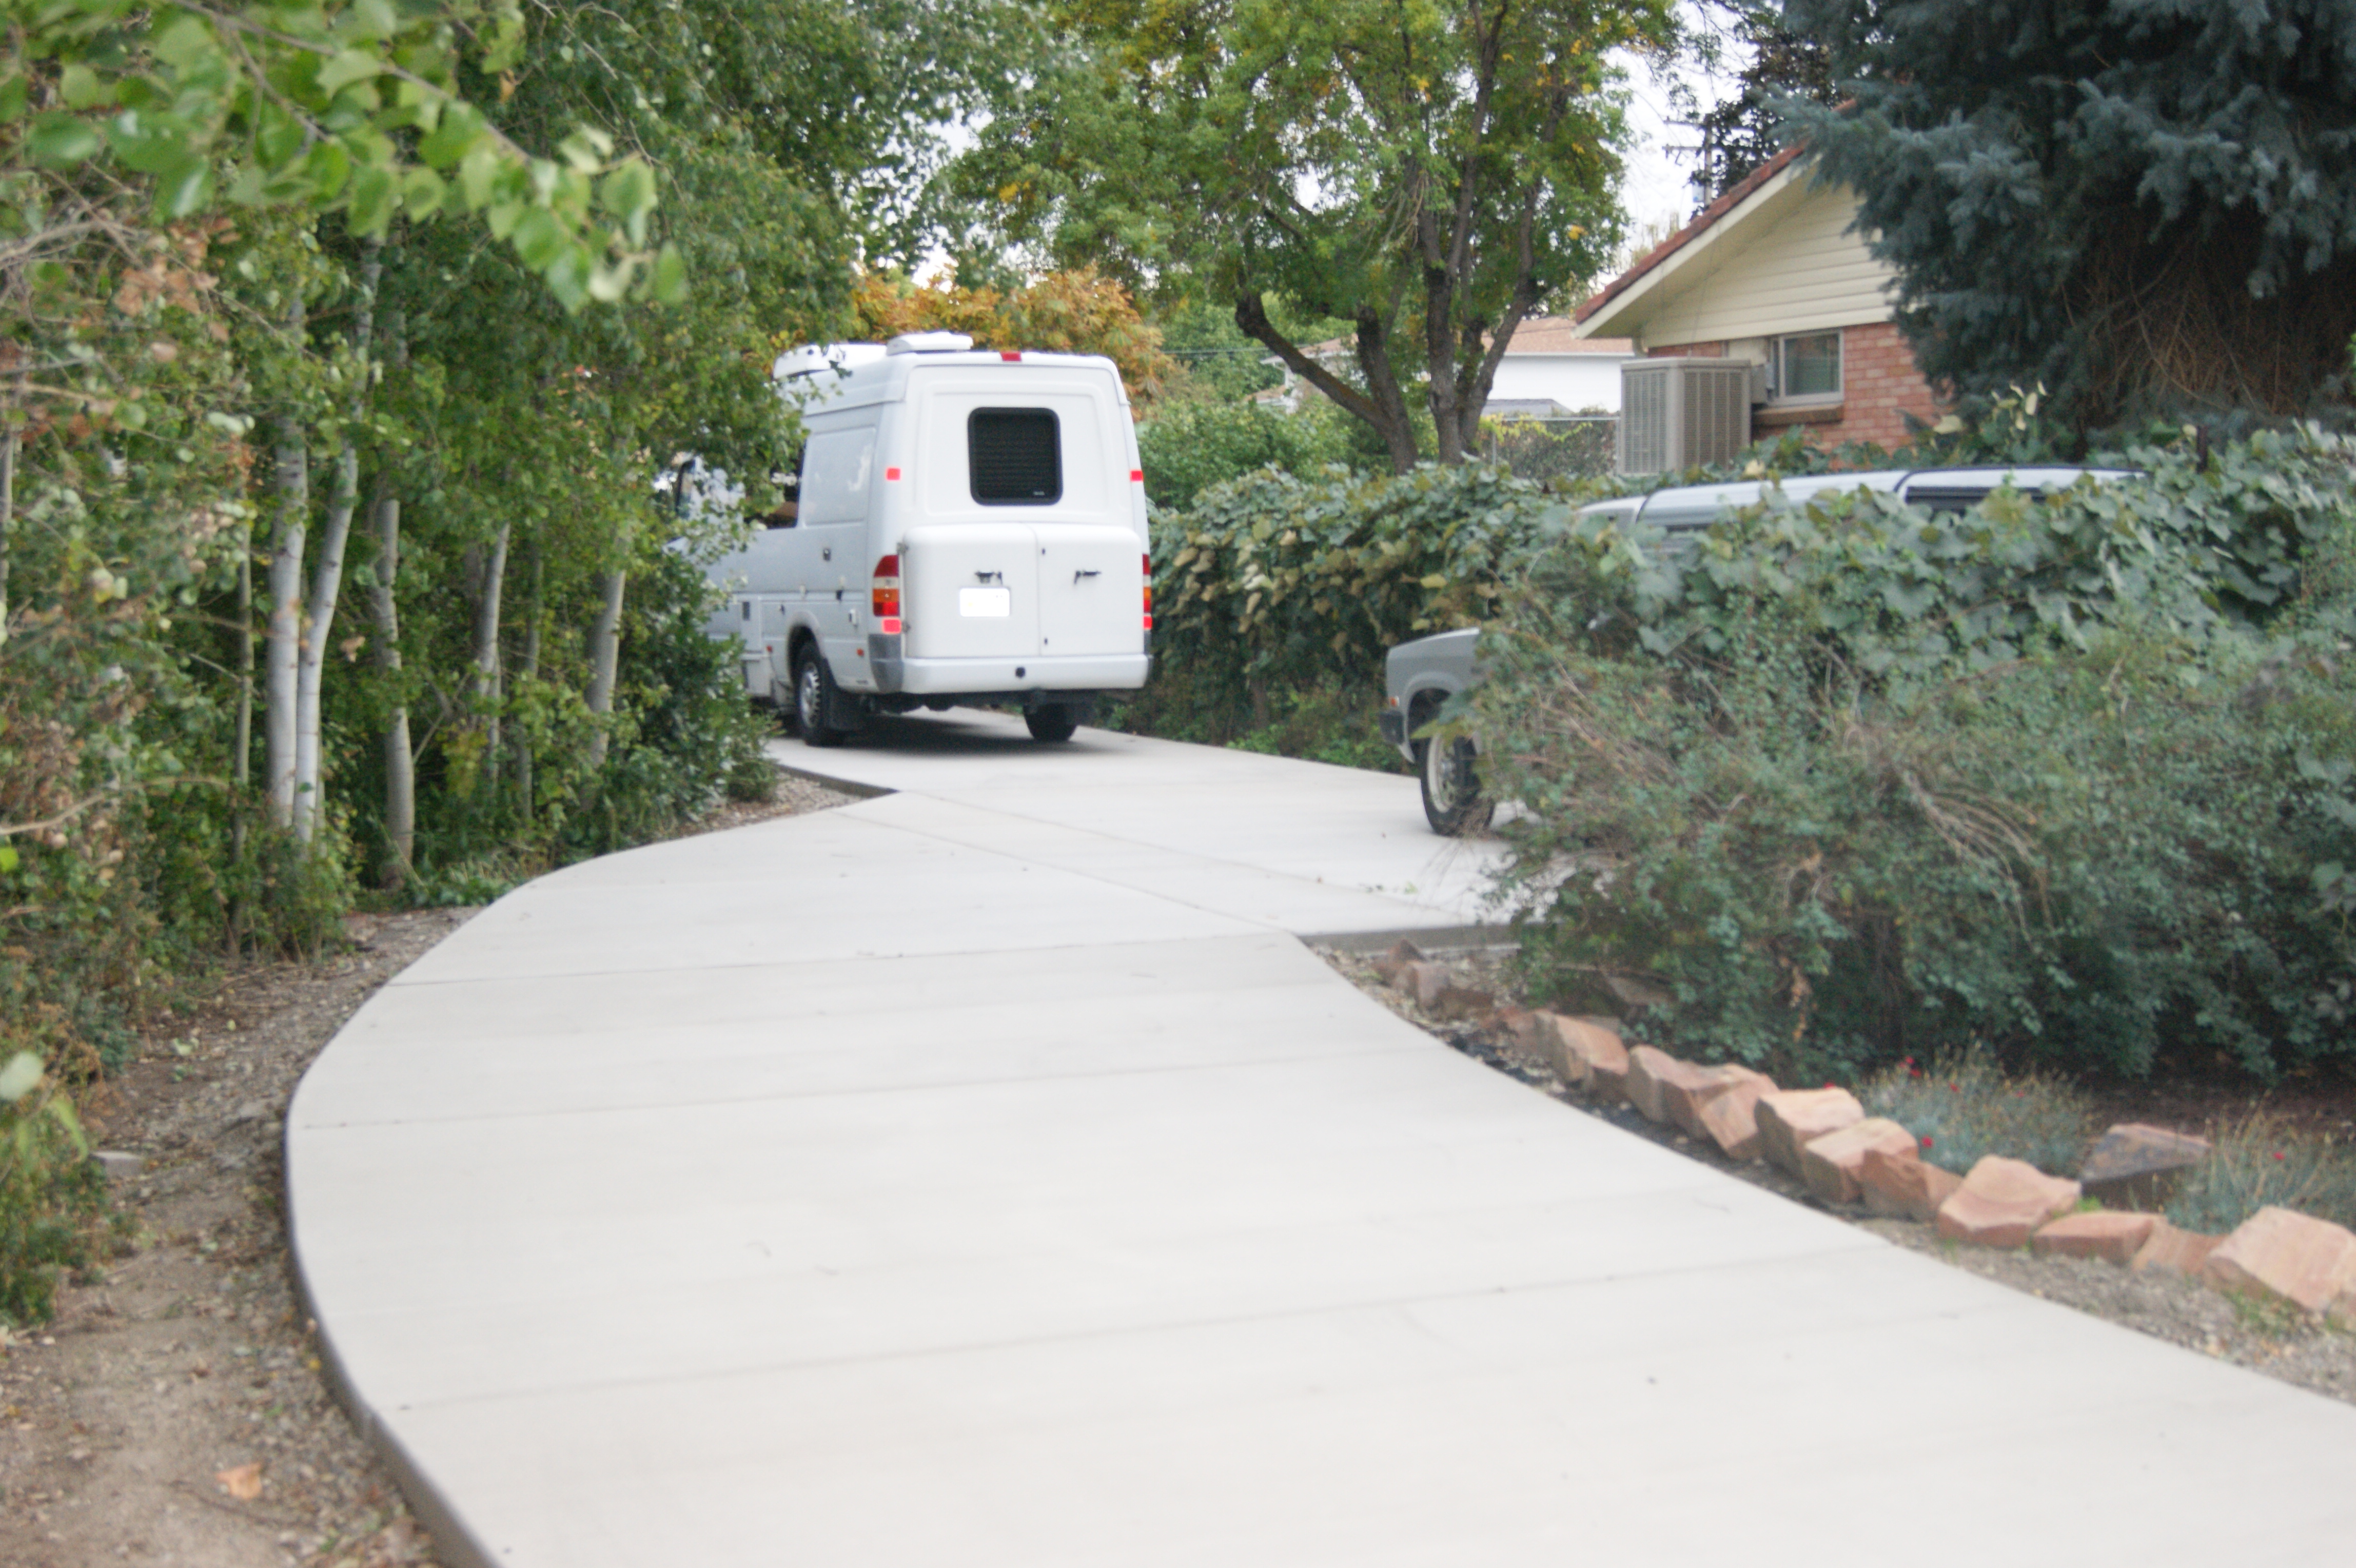
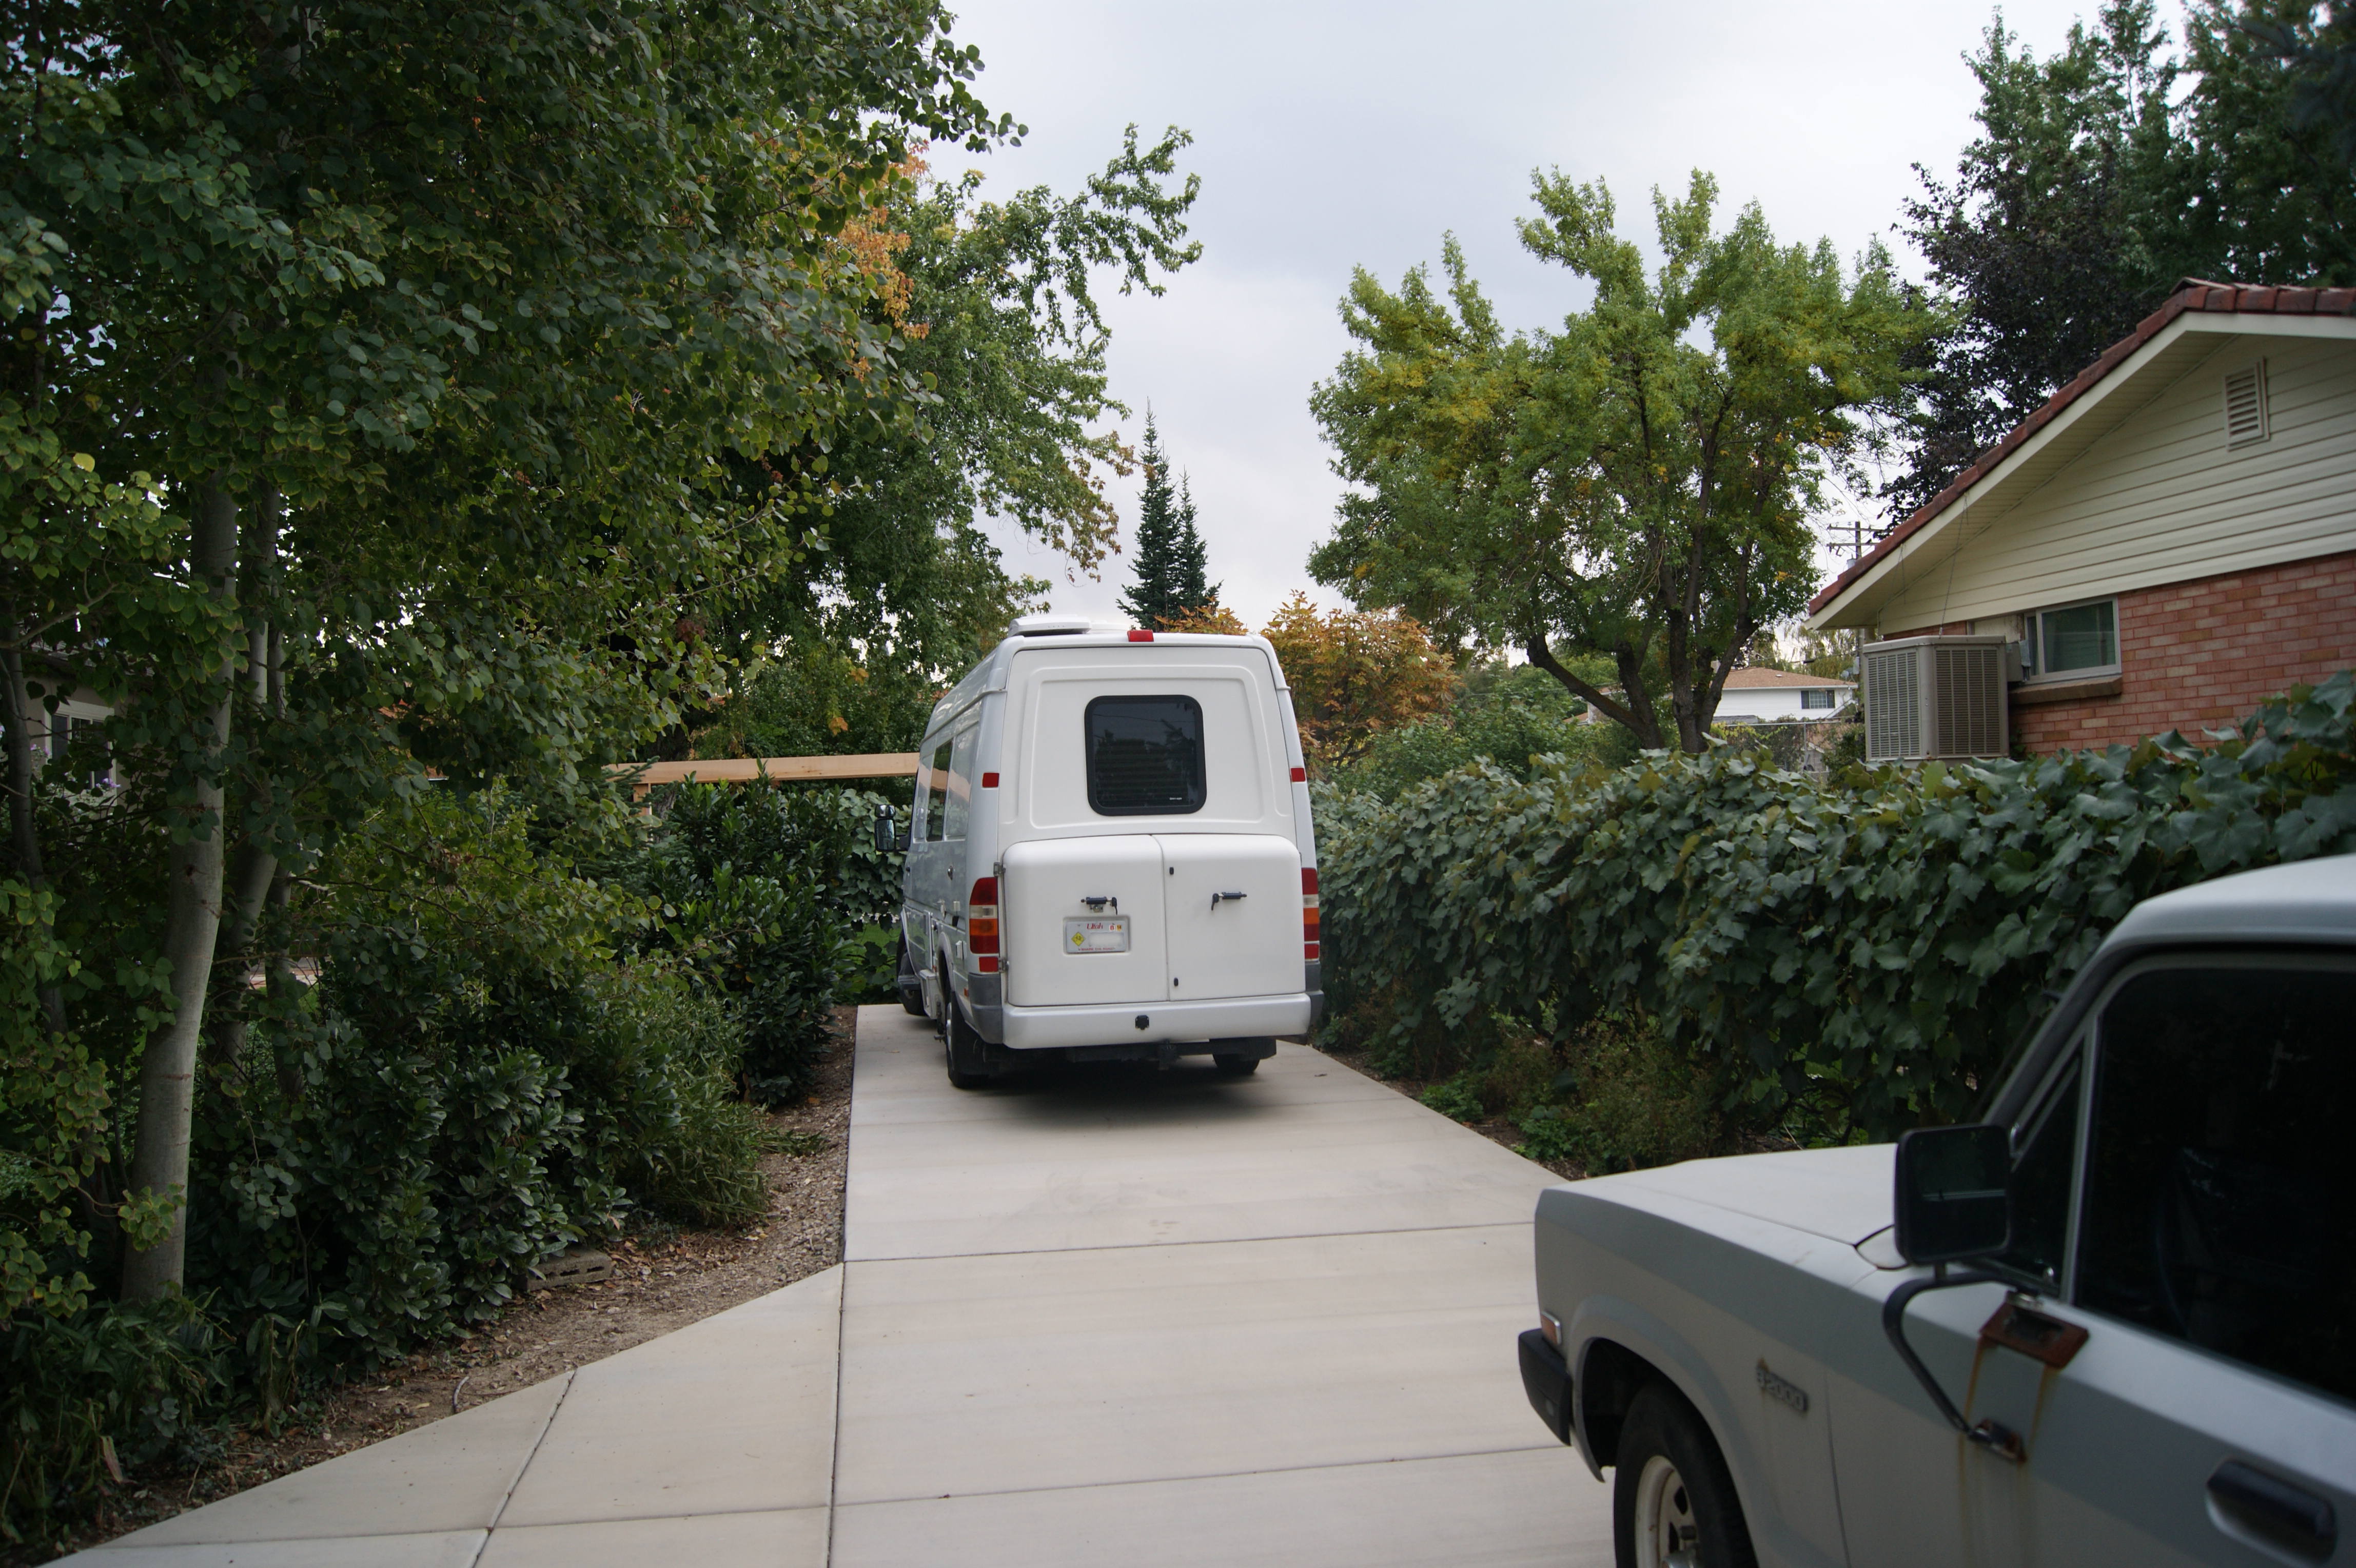
But we are fortunate to have the space to store our RV at home, in the form of an extra driveway. Until a few weeks ago, that driveway had been dirt. So in addition to the damage from sitting in the sun, our RV also had to suffer the indignity of getting splashed with mud every time it rained. Well, no more. We had the second driveway poured about two months ago. It was painful to have to wait the month for it to fully cure, but we did, and now we’re parking on it. Have a look.
The grape vines surrounding the RV pad smell really good right now.
The curve in the driveway is there for two reasons. First, it was required to keep the curb cut at least 10 feet away from the property line. And second, it keeps the RV behind a plant screen – and therefore less visible from the street.
The concrete we specified was a 4000 psi, 6.5 bag mix. The total area was about 1010 square feet. The straight area at the end is 10 feet wide by 30 feet long, and is reinforced with mesh, since that’s where we park.
That solved one problem, but we still needed some kind of shelter. We didn’t want to build a solid building that close to the property line (and likely couldn’t have anyway), so we opted for a lean-to style, free standing carport. I had briefly considered building it myself, but the engineering and permitting were things I had never tackled before. Plus, I just don’t have that much time right now.
So we selected a contractor. Chris Dallimore, of Facelifts for Homes will be building the carport for us. After a couple meetings to solidify what we wanted, we put down a deposit on the following.
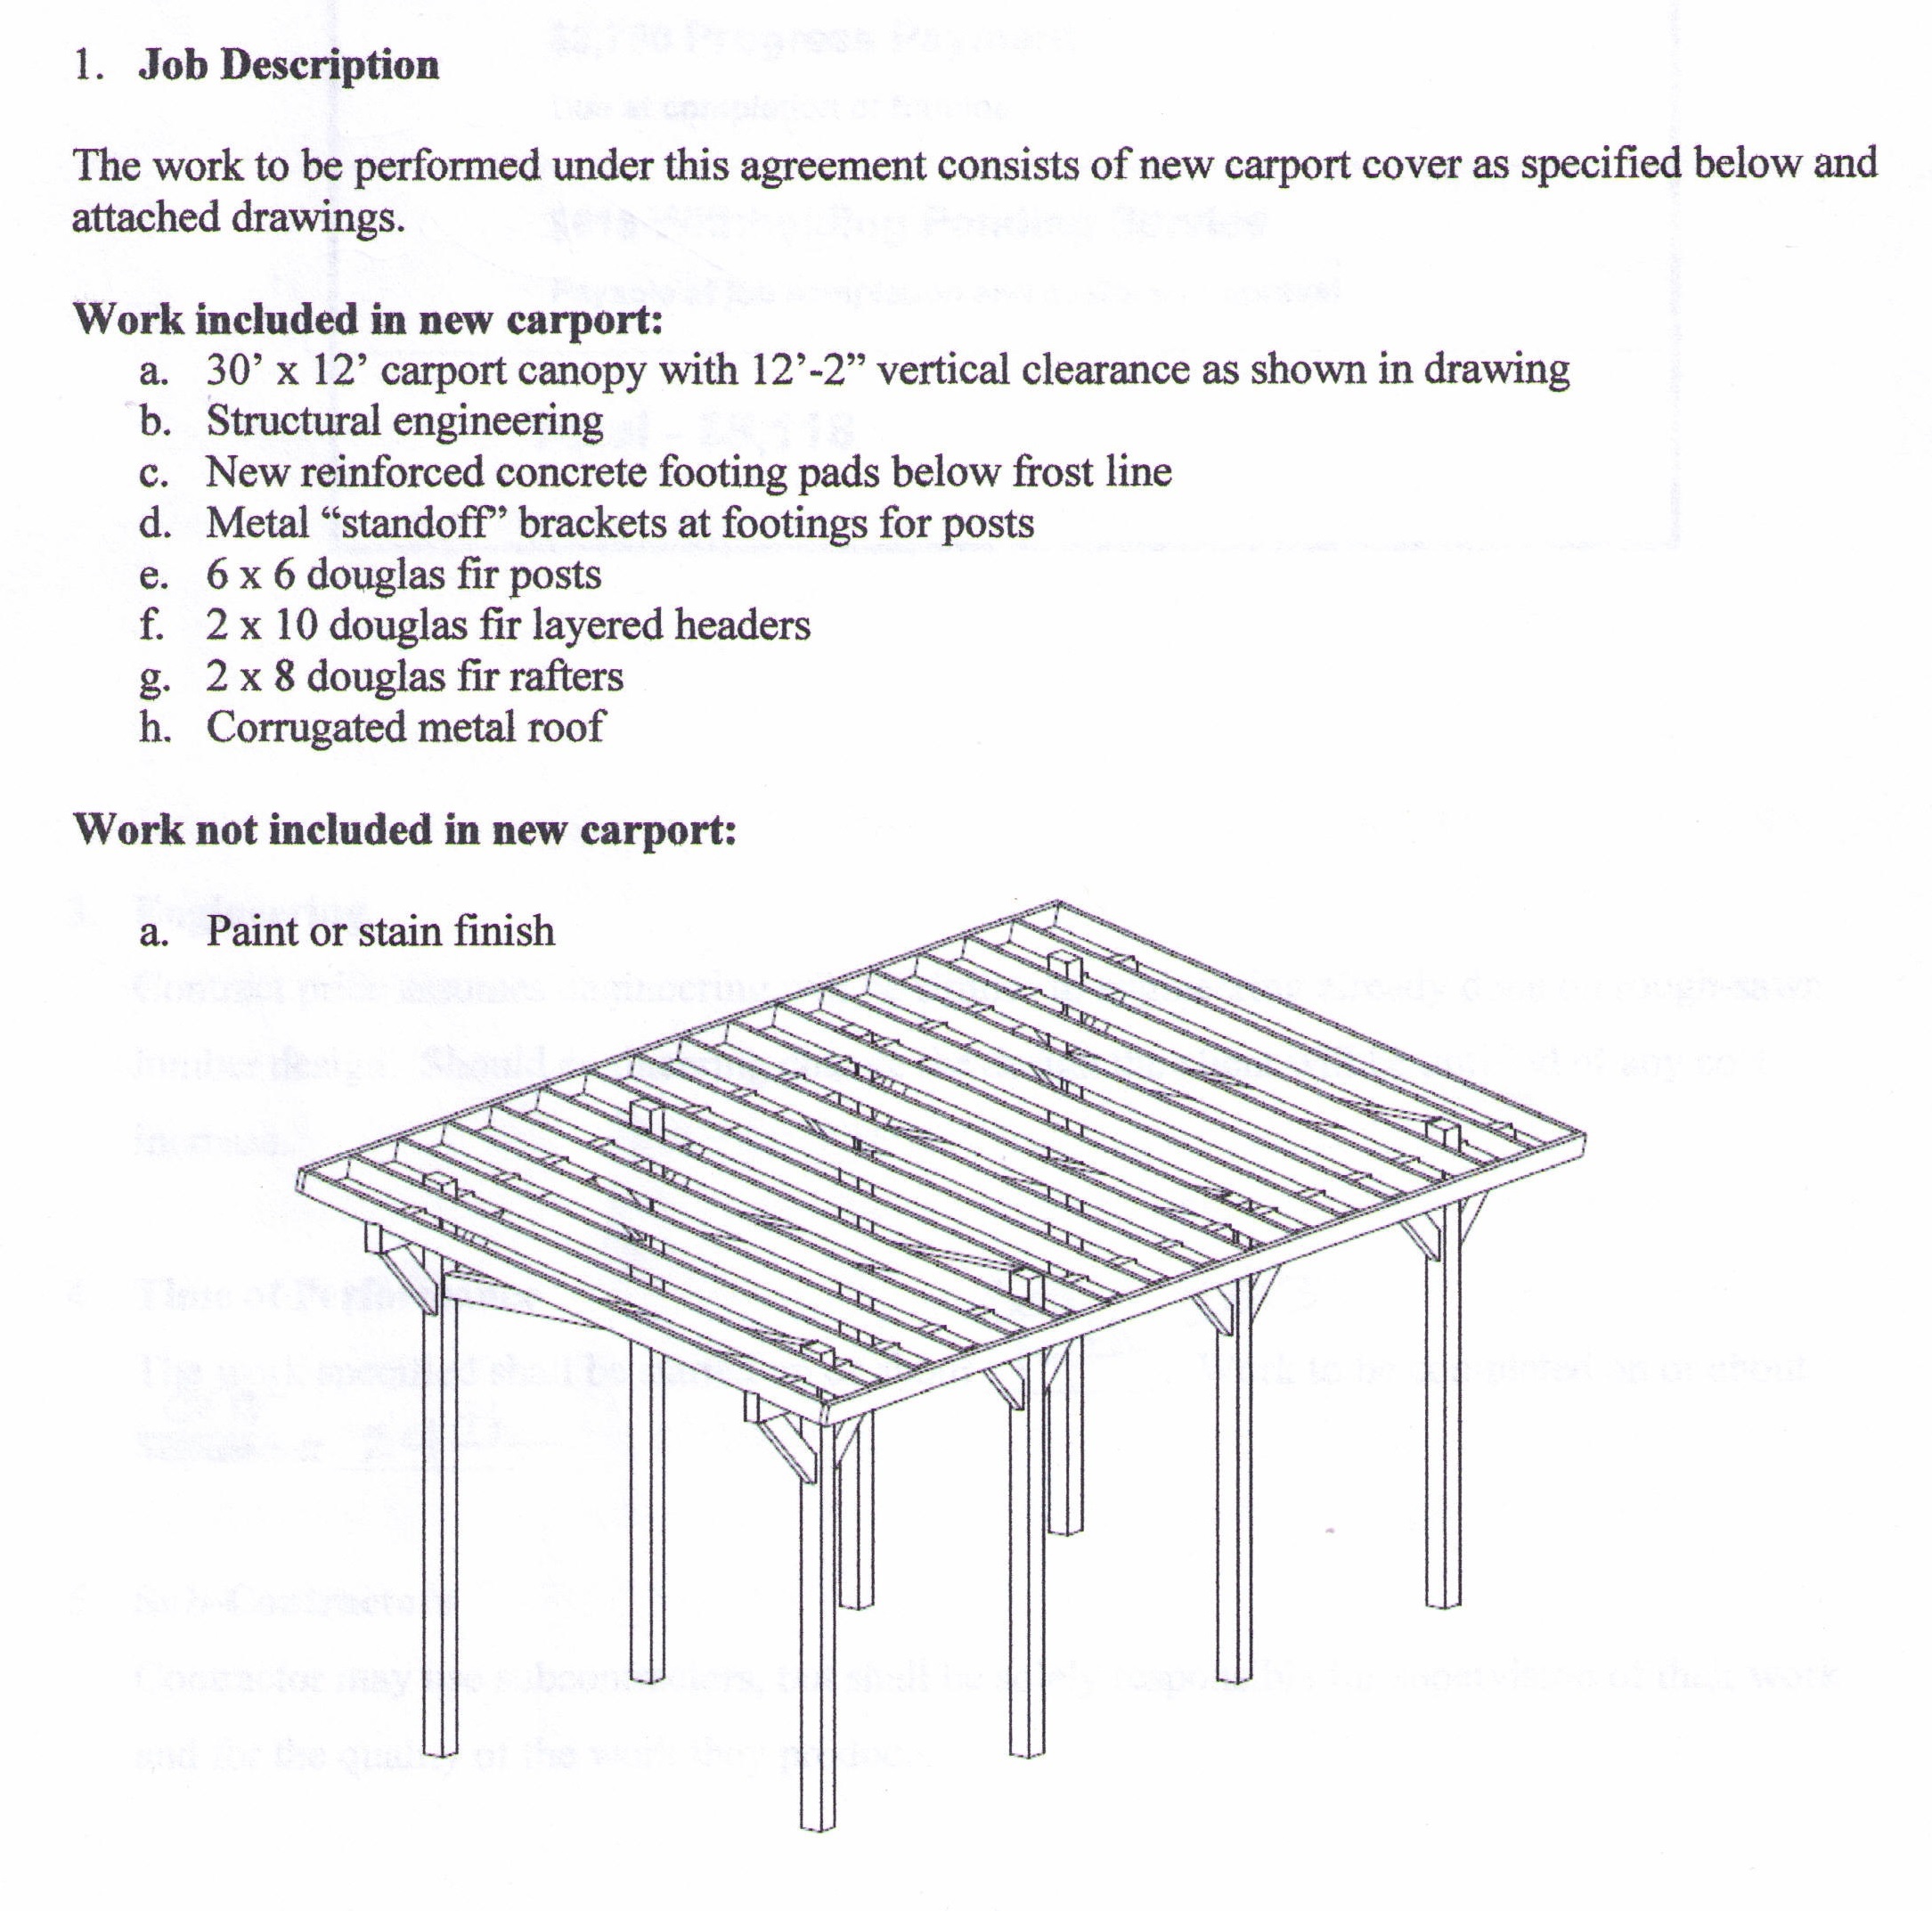
I’ve already hit him up with our first change order. We’re going to pre-install some ¾” conduit in one of the concrete piers so that I can install a proper power pedestal at a later date. And I already have in my mind to install some lattice between the uprights – but I can handle that myself later.
We haven’t started work yet, so from those of you who have been through this process before, I’d be very interested to hear what advice you might have.
I’ll be sure to make additional posts as work progresses.


great job on das bus. I sold a perfectly fine class b with the intention of upgrading to something shiny and new, however, I came across a 21 ft. 2000 Chinook 4×4 that needs a lot of TLC, had to buy it! It has interior fresh water and tank heaters so we can use it all year, did I mention it is four wheel drive? We live in Colorado and have similar weather as you. Your very informative renovation was great. Not sure how you have time to blog about it. Just so you know this is the first time I have ever replied, I’m kinda old school and low tech. I will for sure use some aluminum in the kitchen area and really liked the table support you chose. I need to upgrade electronics and pull out all the fabrics and carpet. I also have a problem with anything that rattles. Anyway, like what you did and appreciate the info.
Hey, glad you liked it. Chinooks seem to have quite a following, I can understand your excitement. The table base was something I got from an online marine supply dealer. One thing I didn’t mention in the write-up is that when the table is all the way down, the post sticks several inches BELOW the floor! It took some doing to make sure it wouldn’t hit anything below. Just be aware of that if you decide to go with something similar. We need to bring Das Bus to Colorado, but she’s due for a paint job soon. Thanks for posting!!