This post may contain affiliate links.
No, I’m not building my own next RV (yet). I’m talking about my latest furniture project. I have a saying – as near as I can tell it’s entirely mine – which goes:
“It’s not really a project until you bleed.”
-James
Sadly, this has always turned out to be true. There’s a complexity threshold that separates a task from a project. So I can manage to hang a picture and nobody gets hurt. But when things get more complex, I inevitably wind up spilling a few drops of blood. My own blood, just to be clear about that. So, this weekend, the entertainment center officially became a project. Witness:
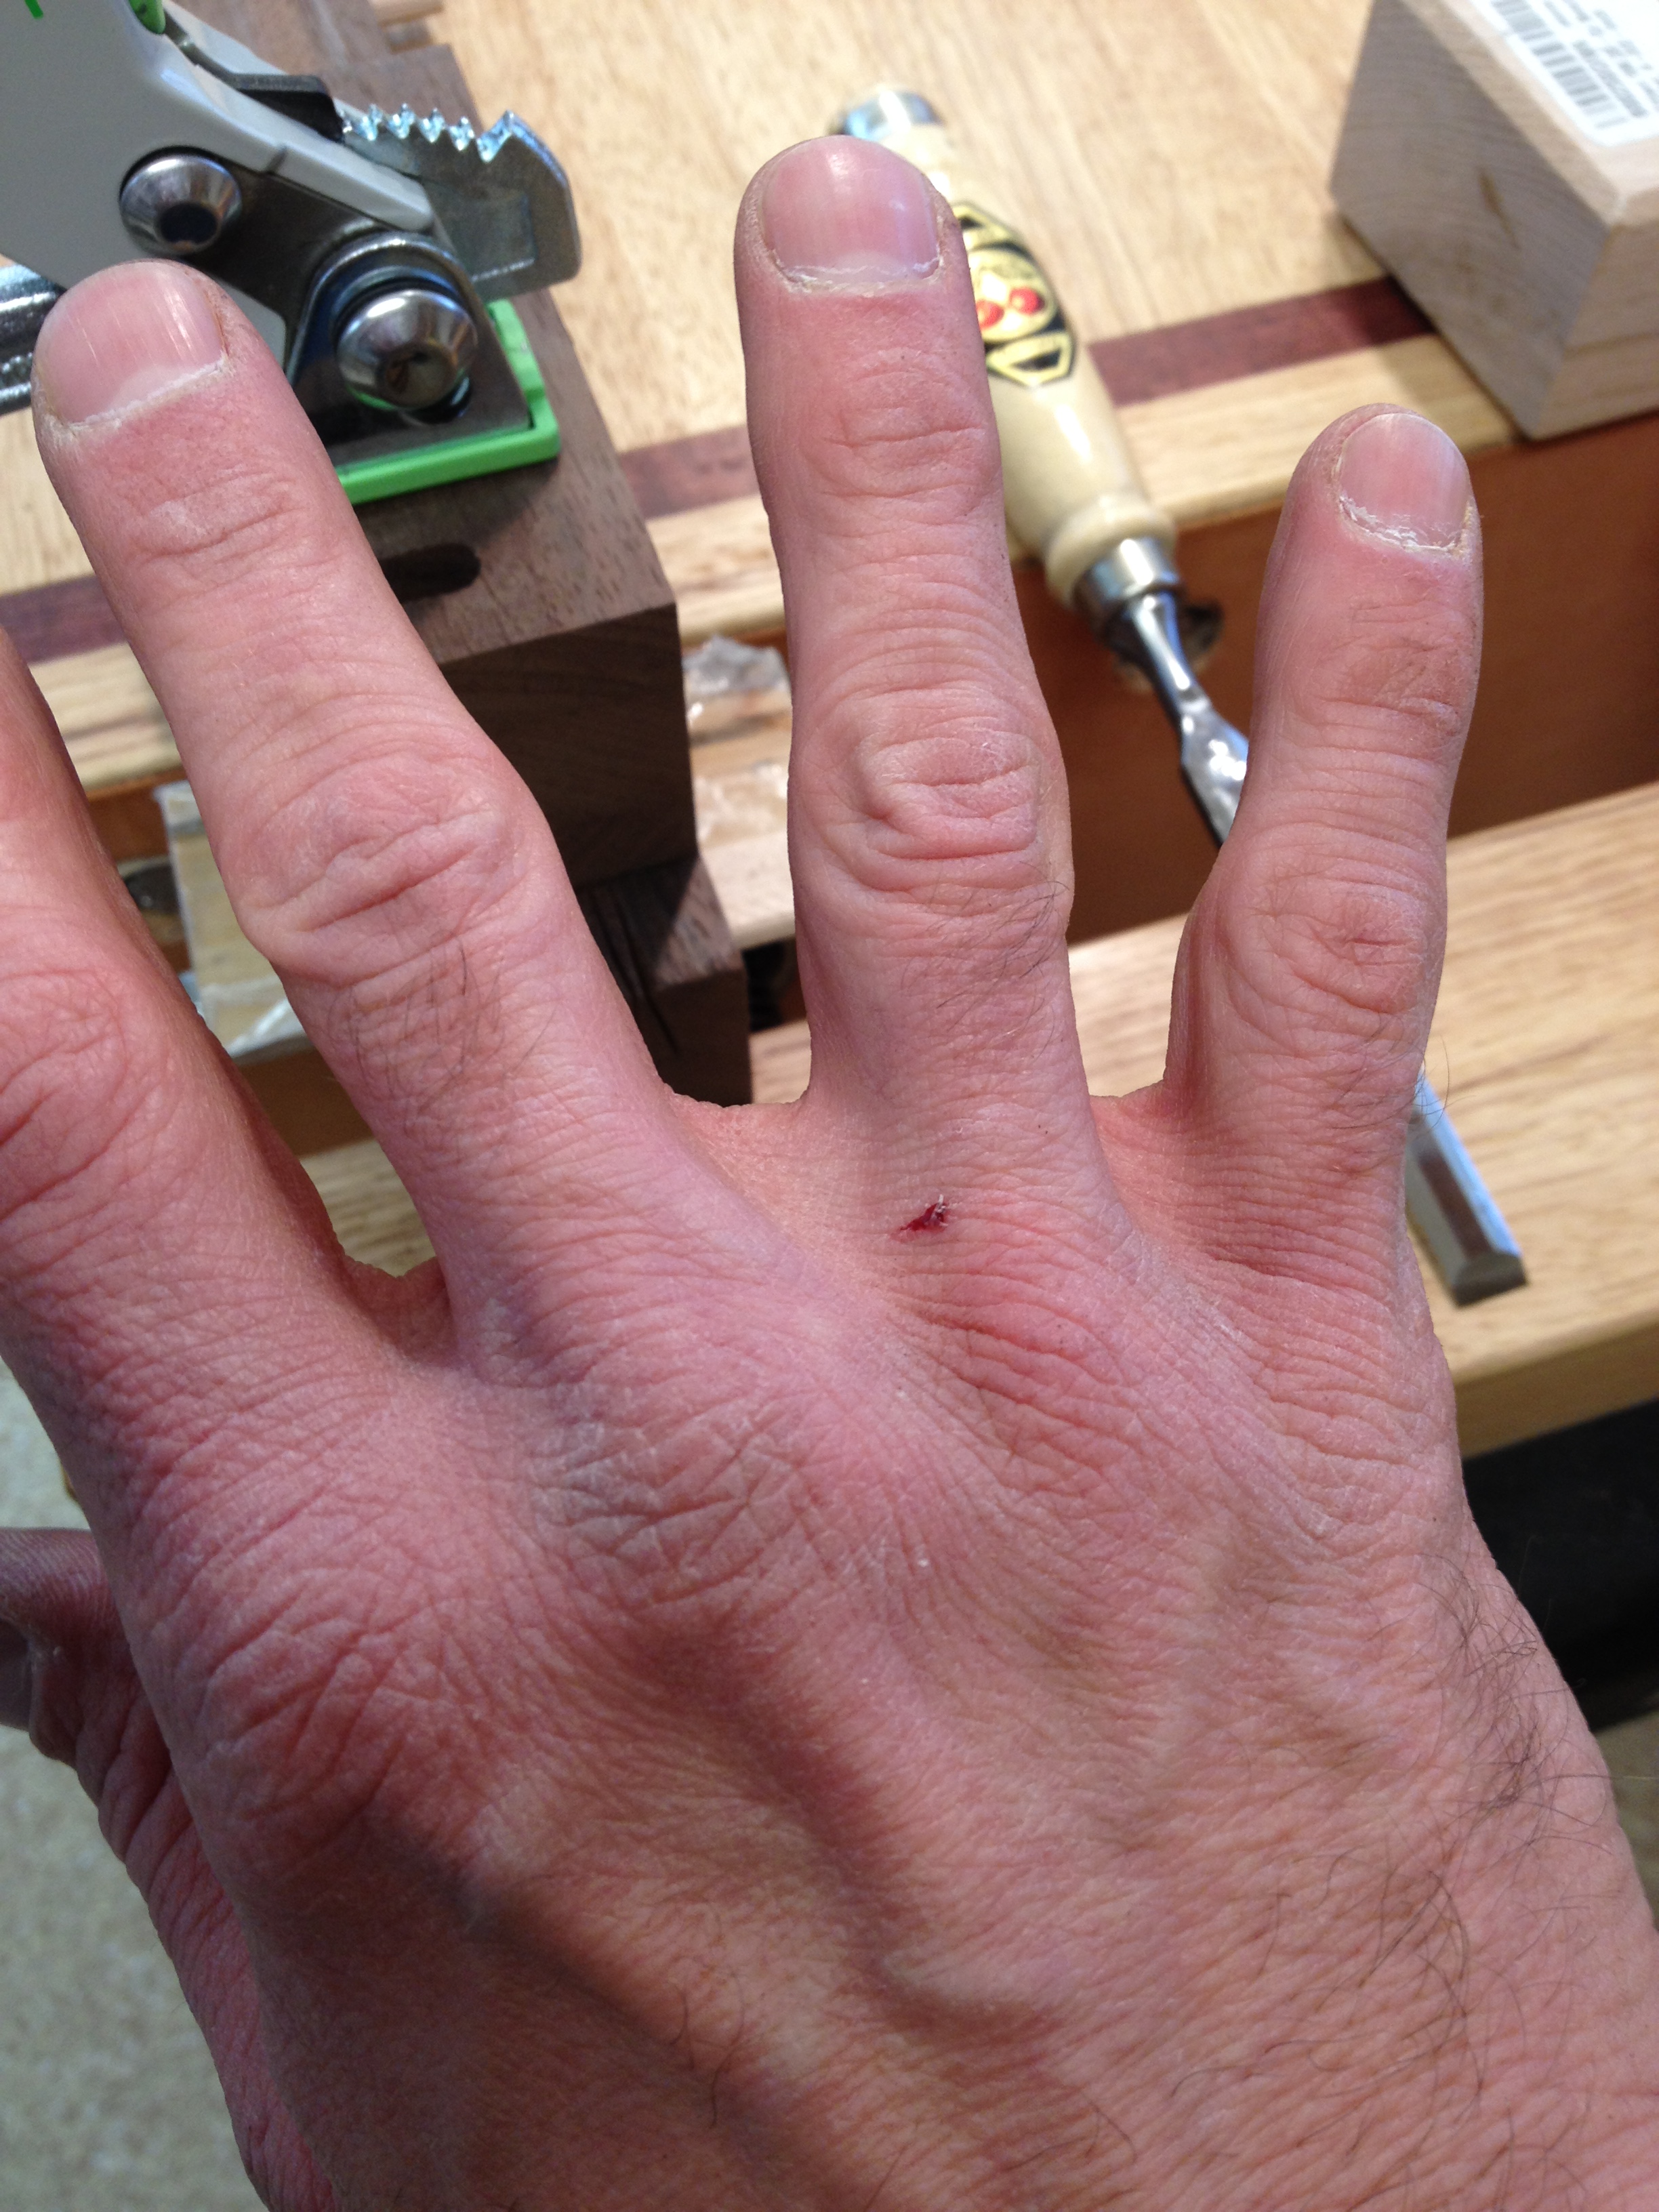 I usually seem to cut myself when woodworking. It’s never on the dangerous pieces of equipment where this happens. Things like a table saw or a band saw or even a sharp chisel command a certain amount of respect. I’m paying attention there. It’s always something like scraping a knuckle while tightening a screw. Once, I even cut myself sanding when my hand slipped. But this time, it was a piece of wood. When you mill a piece of wood into a perfect 90 degree corner, it’s much sharper than you think. I accidentally smacked my hand into one of those pieces and hence the gory photo.
So yes, it’s a project. But since I had to head to Seattle for work (real work) this past week, I didn’t get as much done on the entertainment center as I wanted. Probably the most significant thing I did was to cut the dovetails on the top rails.
A dovetail is a woodworking joint that incorporates mechanical strength from interlocking pieces of wood. It also provides a healthy amount of long-grain glue surface, which improves the strength of the glue bond. So normally, when you hear “dovetails” in relation to a piece of furniture, that’s a good thing. And when you hear “hand-cut dovetails”, that’s even better, because it means that a craftsman actually mated the two pieces individually, instead of slapping together parts from machine-cut piles.
But these are *my* dovetails we’re talking about. That means you’d probably rather have a robot joining the wood. Or possibly a child laborer with a defective nail gun. Nonetheless, a dovetail seemed like the right way to join the top rails, so I set about making them. After marking out the tails, I cut them with a handsaw.

That’s a Japanese hand saw you see me using in the picture (specifically, the Dozuki I’ve linked to, which is a great saw). I actually prefer the Japanese saws. They cut on the pull stroke, which means they can have a thinner blade than a typical western saw. In that picture, I’m just trying to cut straight down. If I were capable of cutting a straight line, the thin blade would have left a nice thin saw kerf. But I’m not so it didn’t. It takes four straight cuts to make these tails, and I failed miserably at all of them. The second set of cuts required me to cut on an angle.
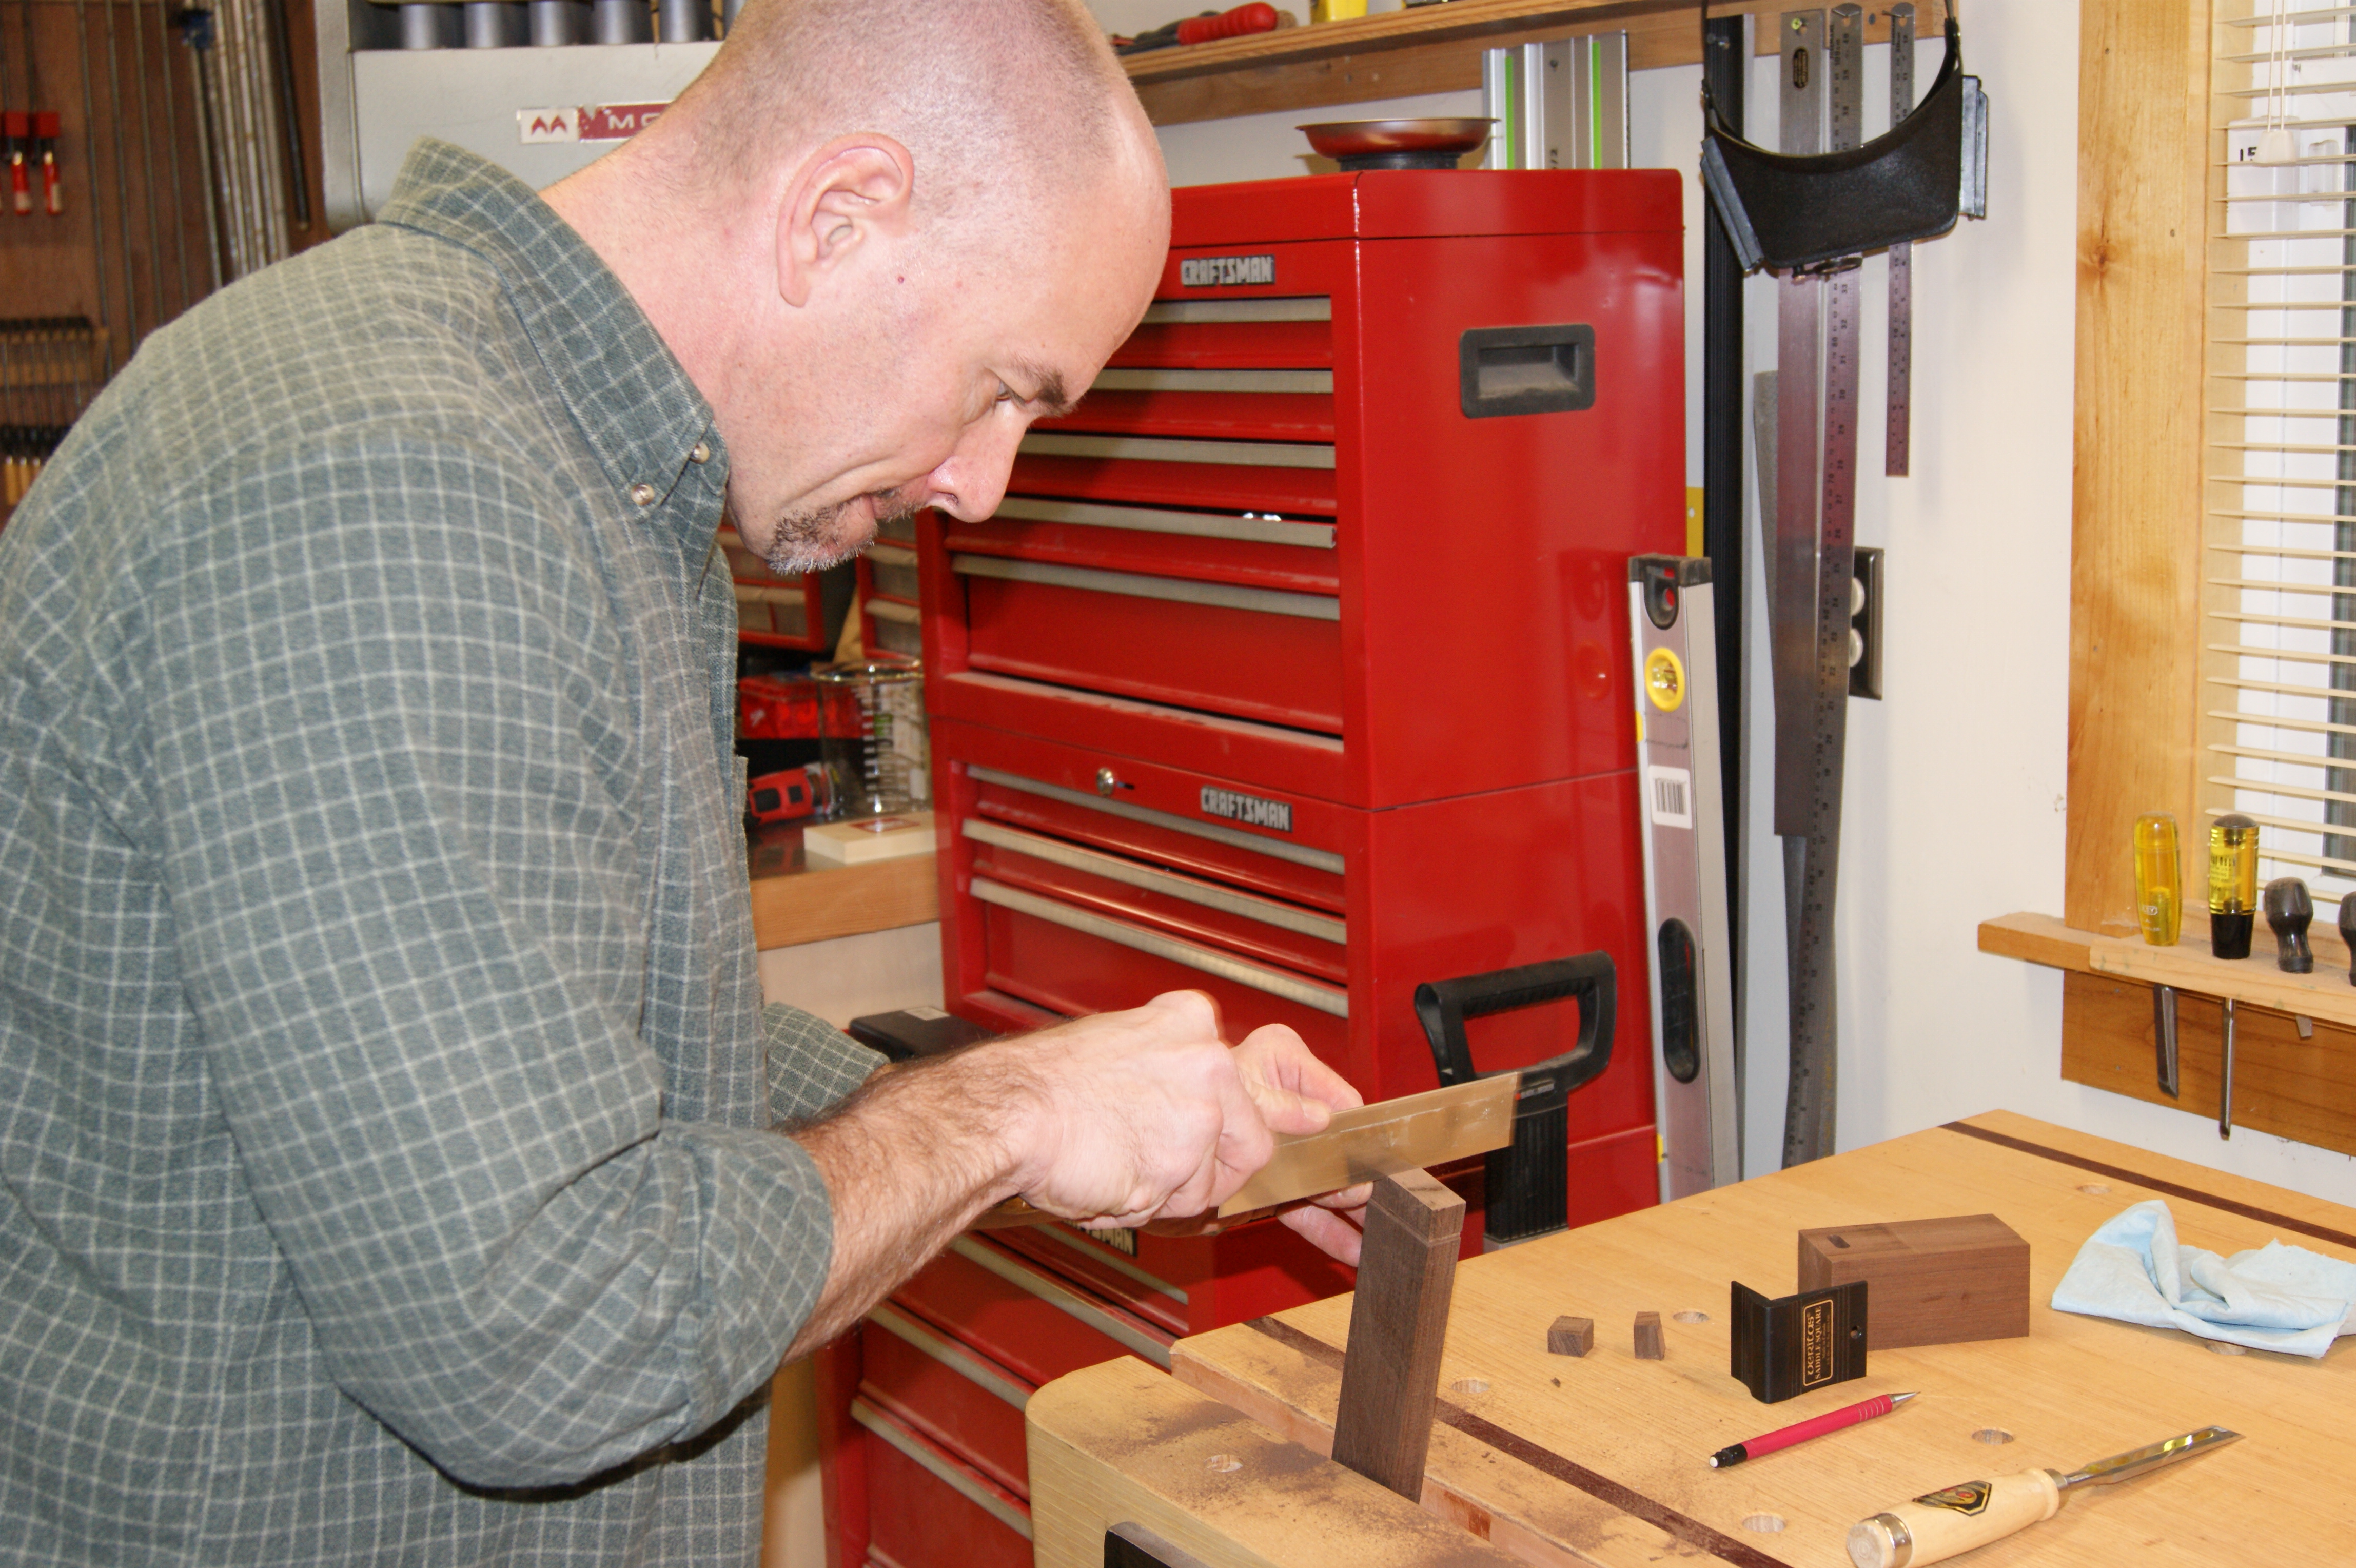
I’ve heard that if you angle the board and cut straight down, these kinds of cuts are easier. I’m officially calling that myth “busted”. You may as well have been asking me to perform brain surgery blindfolded, because these cuts didn’t come out straight either. That’s why I cut the tails first. That way, I could trace my misshapen tails onto the legs so that I could chop out equally misshapen pin sockets. When it was all said and done, I got them cut, and the top rails more or less go together like this:
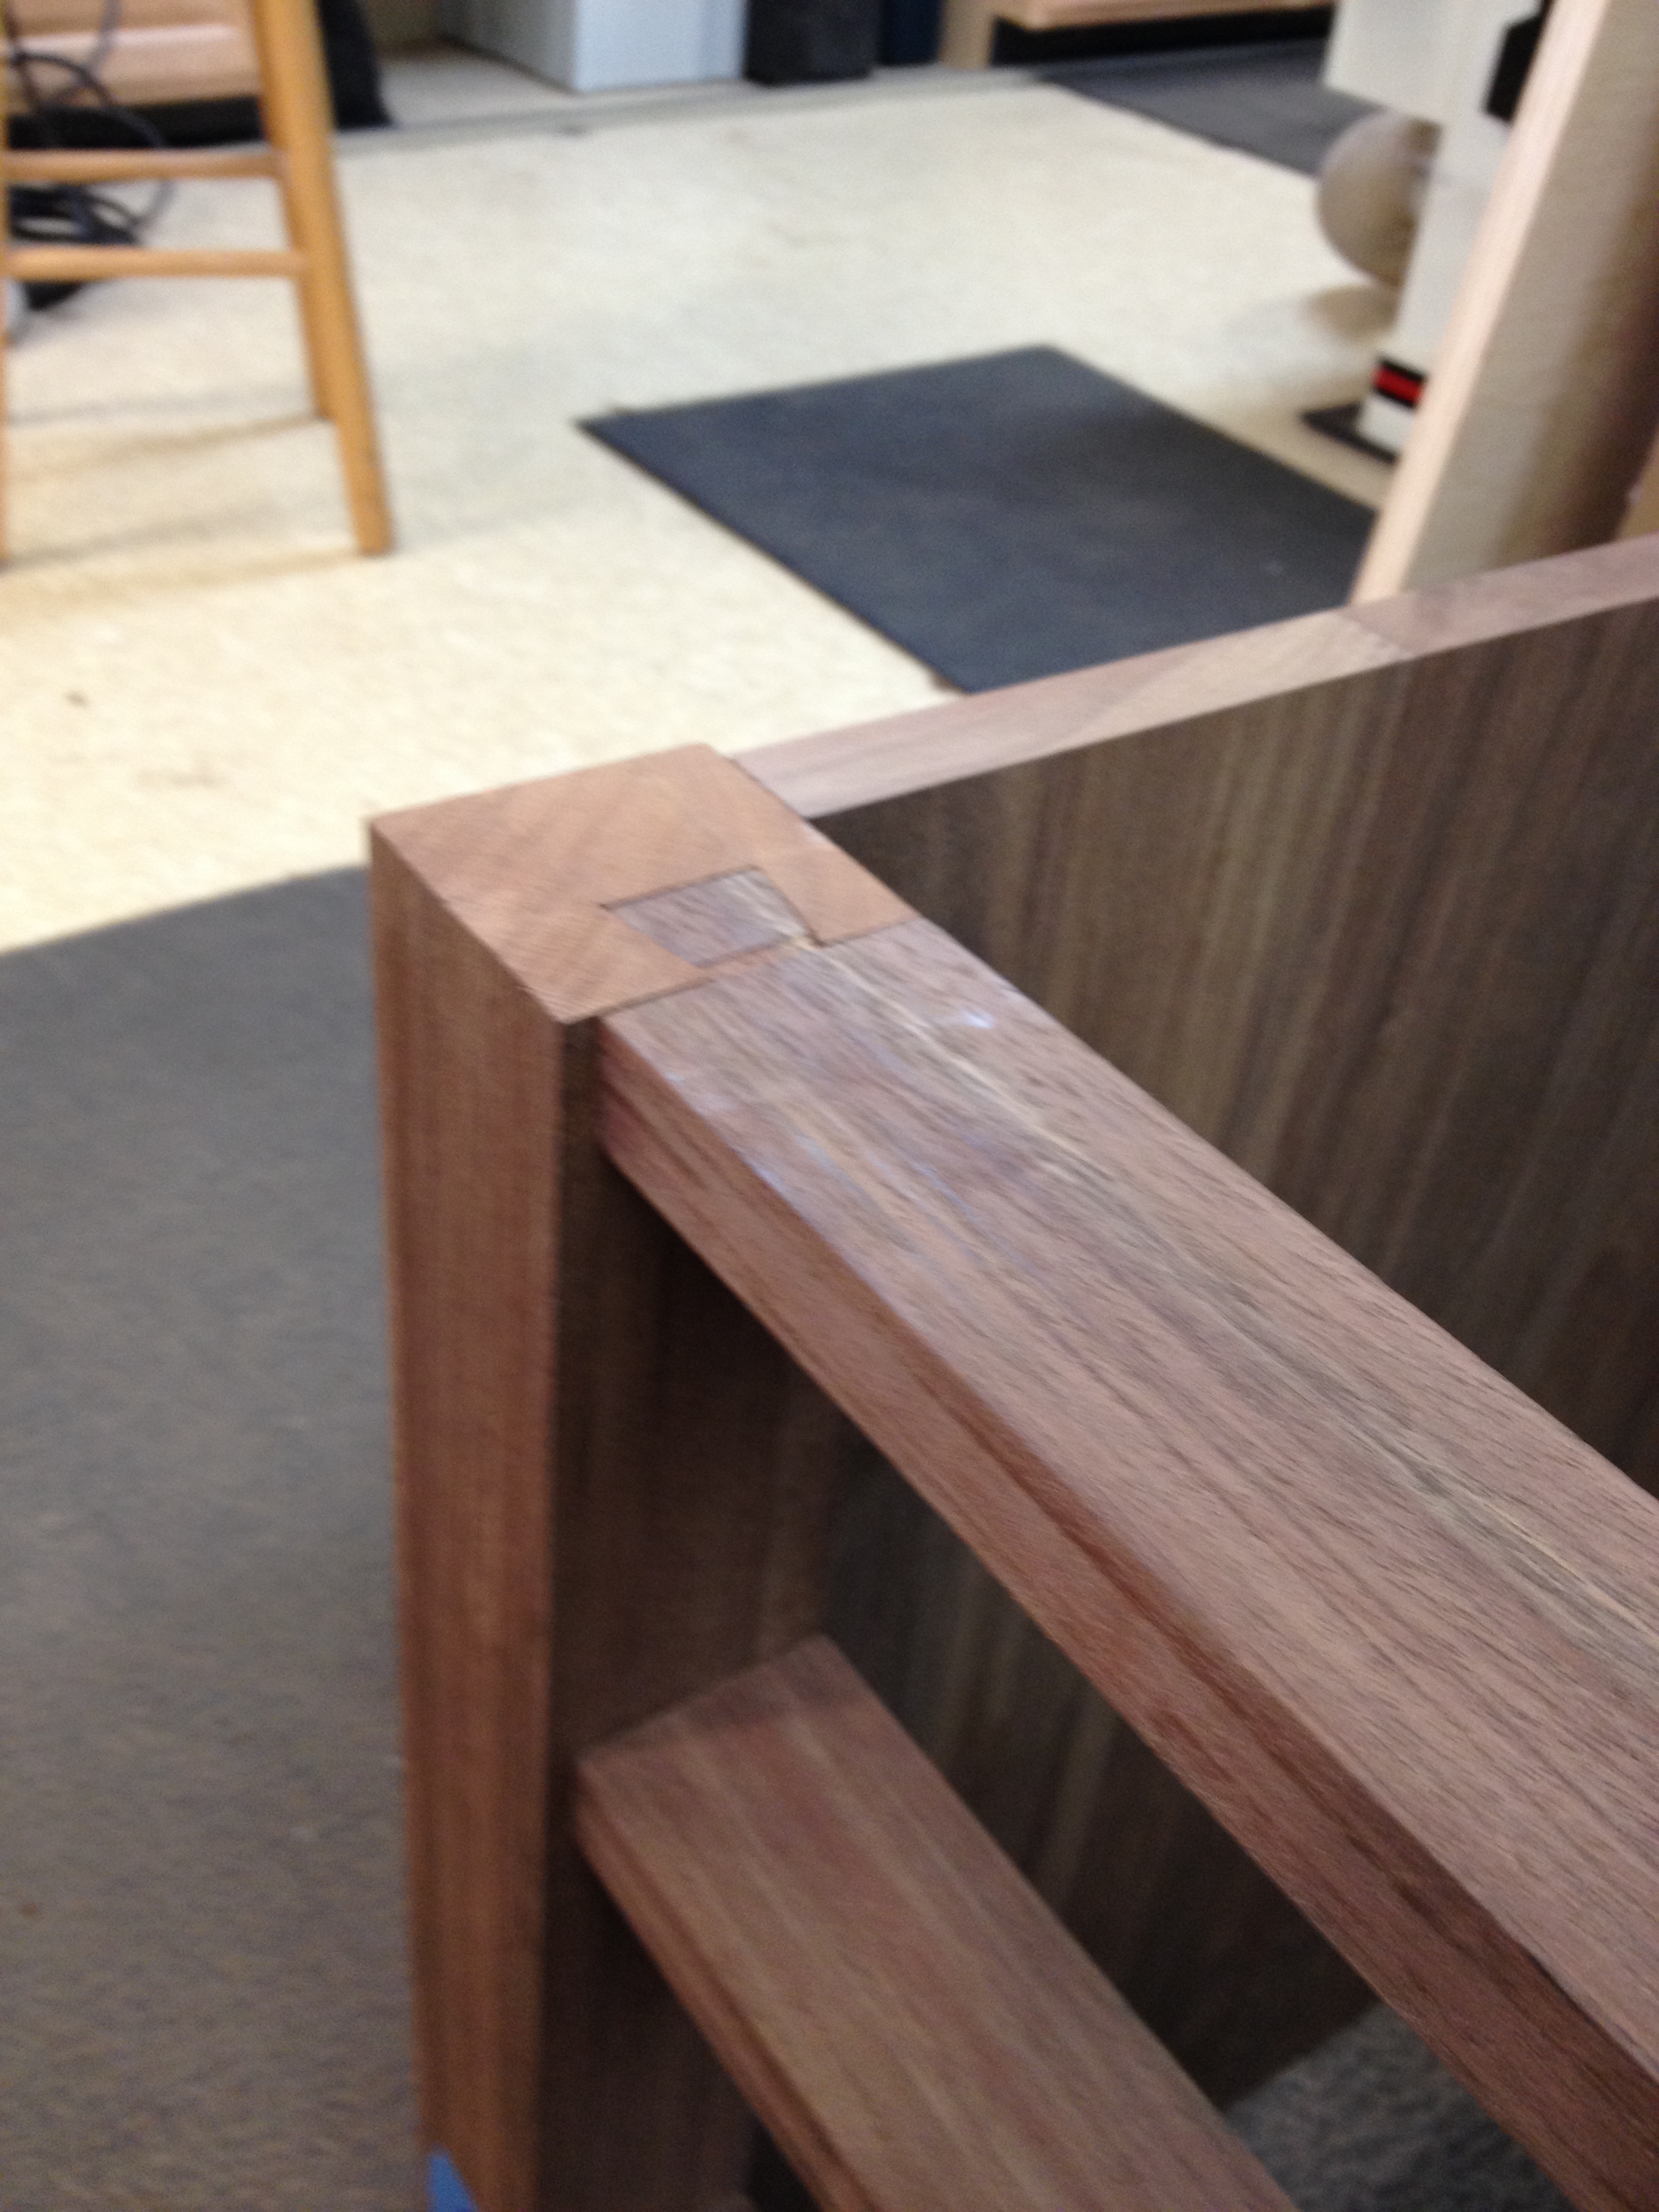
Photo intentionally blurry so you can’t see the gaps.
There were a couple other areas where I made progress this week. The first isn’t really progress, but rather me figuring out a way to get around a mistake. I’ve been working without plans, which means that I didn’t plan out my mortise locations ahead of time. Since I’m using slip-tenon joinery, I wound up with several places where the mortises would intersect. This would cause problems during glue-up. Typically, I wouldn’t realize this until the glue was drying and I had only 4 minutes to fix the problem. But in this case I realized it up front. To get around the issue, I decided to glue the slip tenons into the first sets of mortises and cut the second set after those were dry. Here you can see the rails where this would happen, and I’ve glued in the dominos.
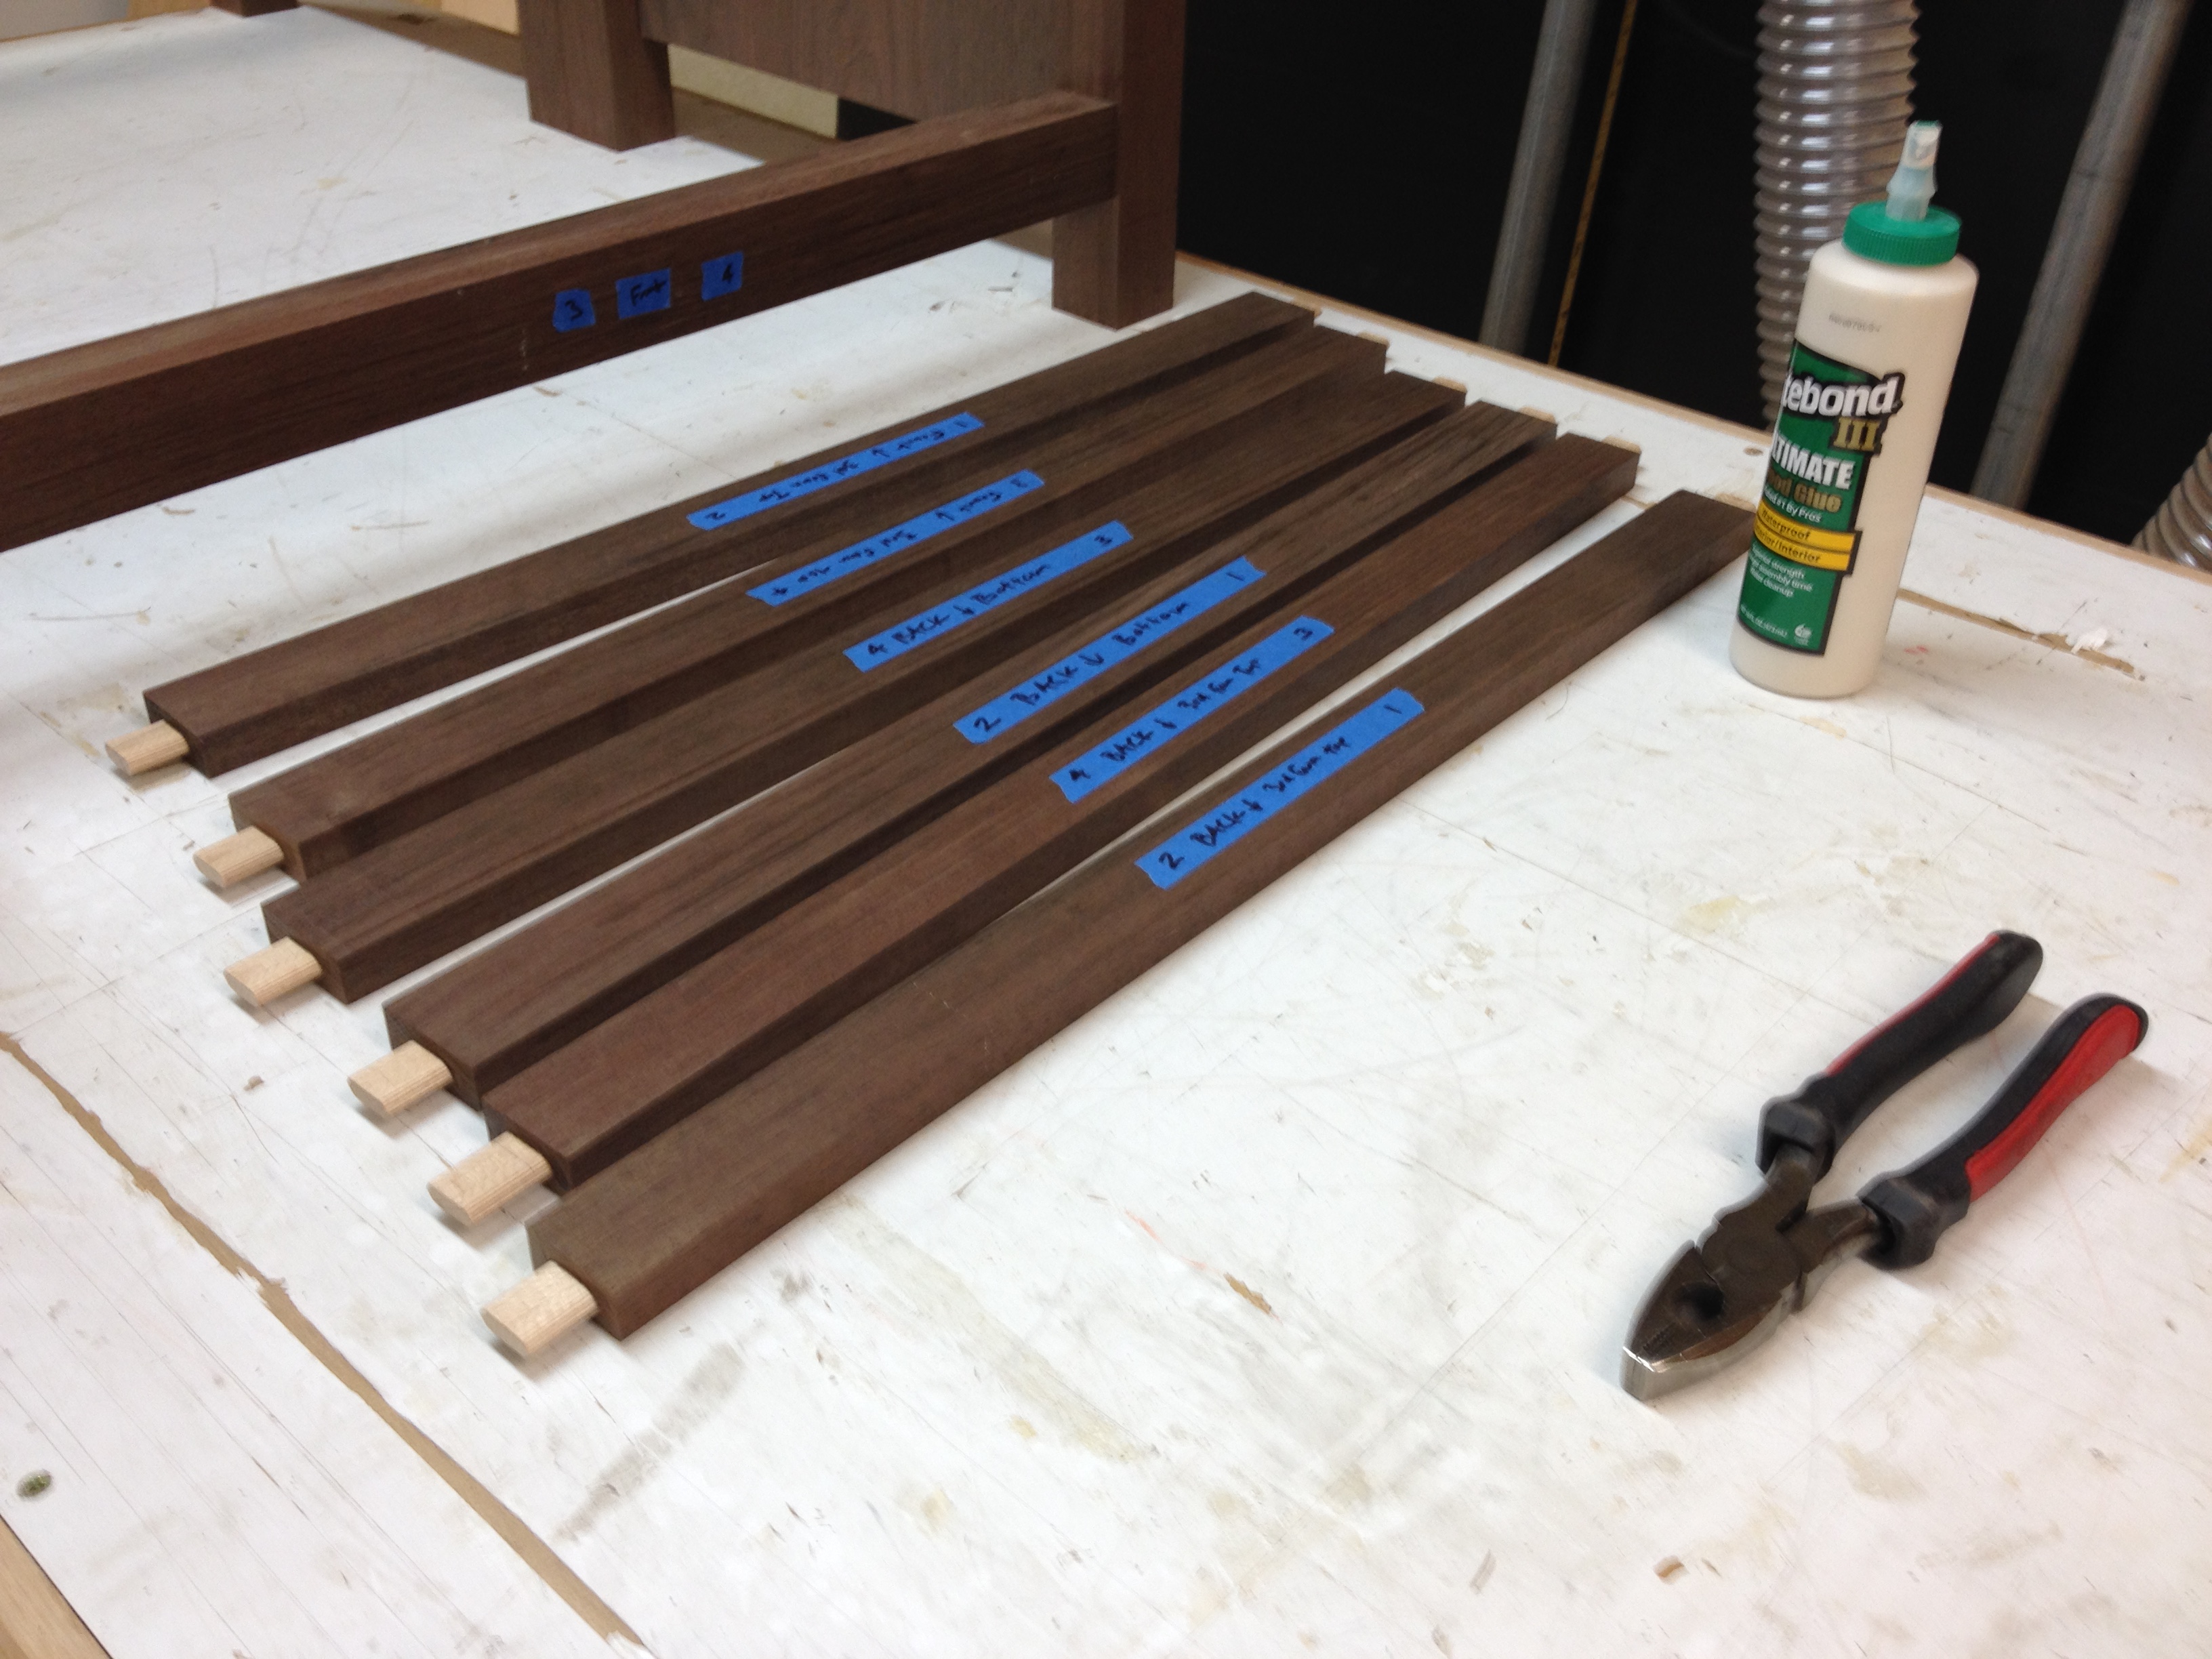
I’m using a LOT of blue tape by now to keep the pieces straight.
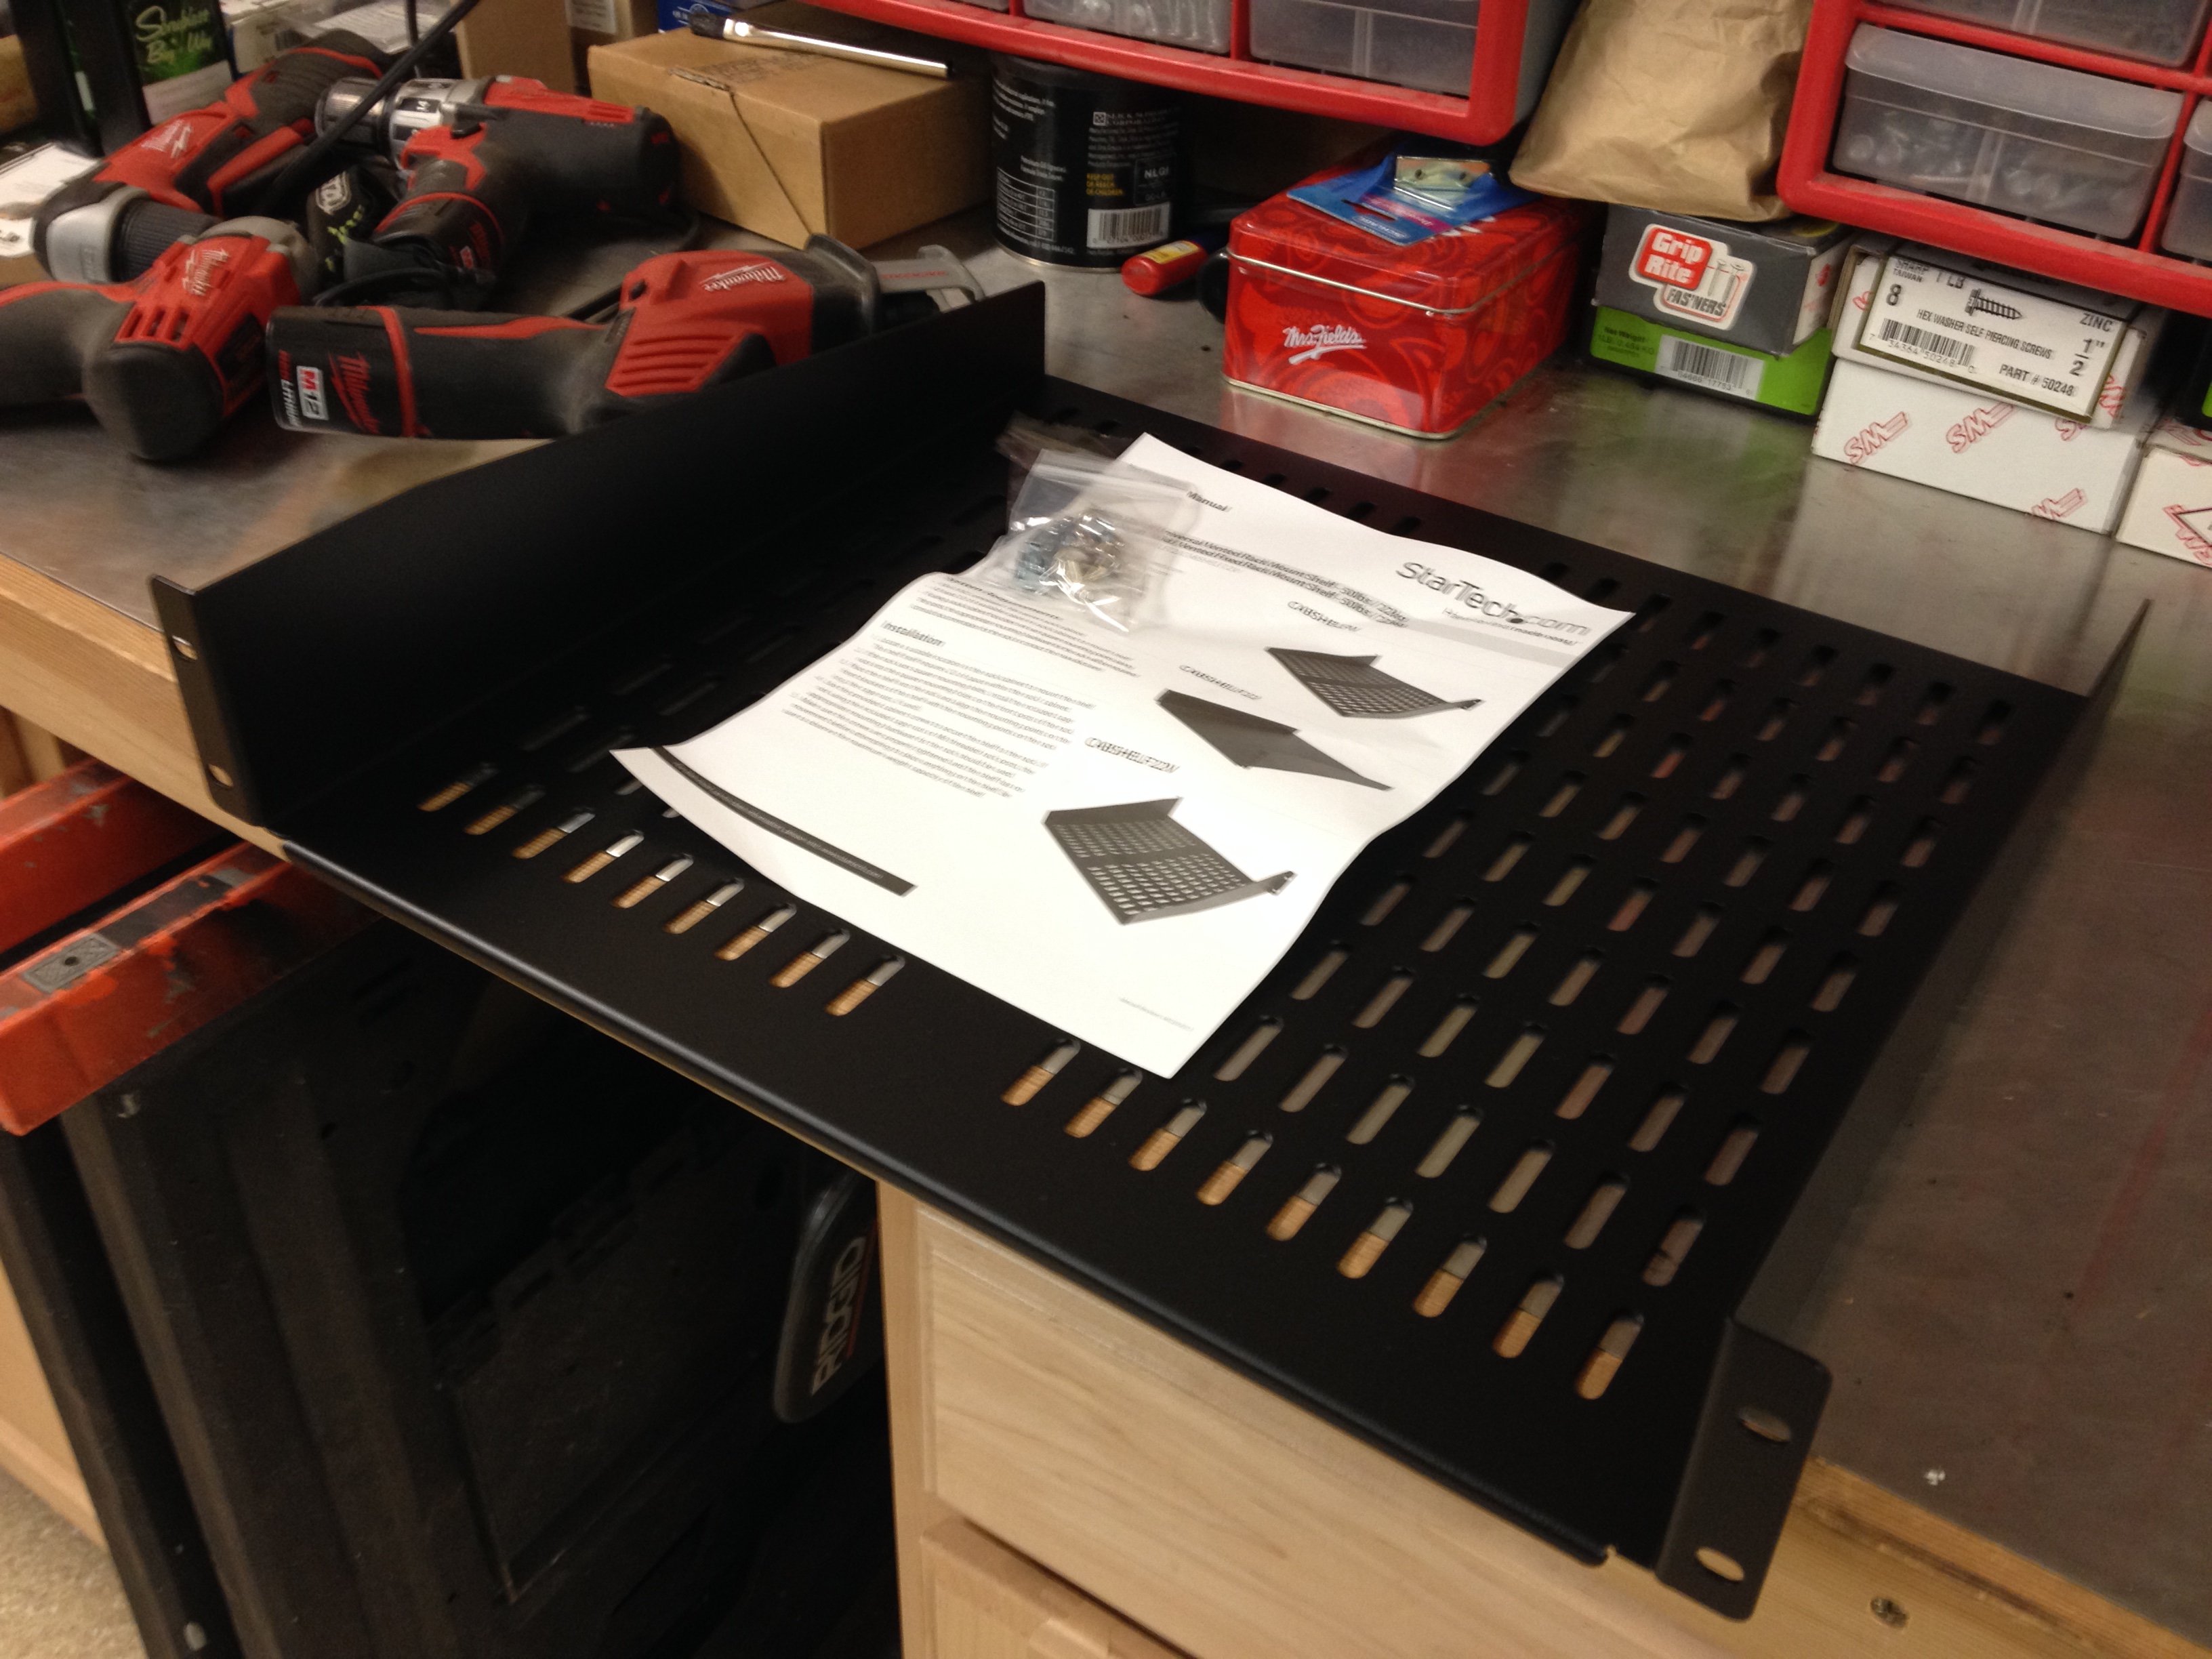
And finally, the center section of this piece will house the audio components. A typical design would have some adjustable shelves for this. But instead, I decided to mount the home audio gear like my pro-audio equipment, and I’m going to build a standard 19 inch rack into the center section. Some of the rack hardware has started to arrive. This one is a shelf for a component that doesn’t support rack mounting.
And that’s as far as I got this week. I did locate some leftover maple that I’m going to make the drawer runners and guides with. That’s the plan for next week.
Cheers!


James, philosophically, I appreciate that there are persons like yourself that will go the extra yard to create a piece of furniture, correctly. You remind me of an incident several decades ago when I drove to a major lumber/woodworking company in my hometown to consult on some stairs I wanted them to make for a spec house I was renovating. I was scheduled to meet the head of the woodworking division. However, as I was pulling into the parking area, I saw him quickly driving OUT OF THE PARKING LOT. I was a little peeved,at first, but I trusted that he must have had a very good reason to blow off our appointment. A day later, he called to tell me that he was rushing to the emergency room with an employee who had lost so many fingers using woodworking equipment, that if he were to lose yet one more finger, he would probably have to be let go. He had had yet one more accident using this machinery. To be honest, I don’t think I ever learned of the employee’s fate, but this taught me that I was way too absent minded to ever take up woodworking as a hobby. So, BE CAREFUL and don’t daydream about anything other than what you are doing with those machines.
Appreciate the comments. I’ll make sure Stef sees them, as I really want that new SawStop table saw… 🙂
But yes, safety is always a concern. I try to be as safe as I can, and always pay attention to my inner danger sensor. If I ever post a picture of using a dangerous piece of machinery, and I’m not wearing safety goggles – please call me out. Every woodworker can always use a friendly reminder about safety now and then. I don’t care how long they’ve been at it.
Oh before our full time RV adventure our woodshop had it all…left the 120 pc walnut 12 drawer dresser with our granddaughter…I sure hope at 17yo she’ll understand it’s beauty one day. Those were the days….can wait to see your finished project!
I KNEW IT! I just knew there had to be another woodworking RVer out there. Glad you’re enjoying the posts about the build.