This post may contain affiliate links.
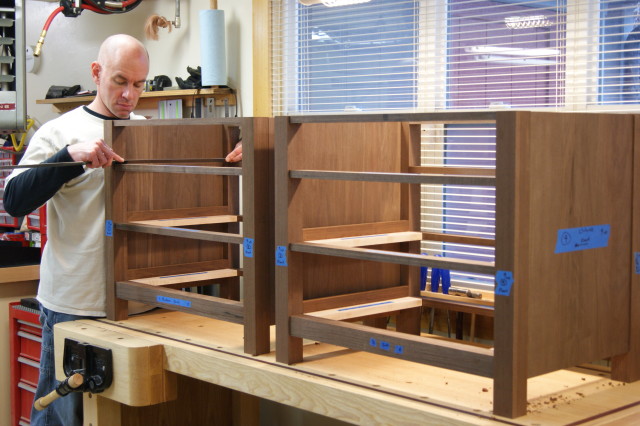
If you’ve been following the construction of our new entertainment center from the beginning, it should be pretty obvious by now that my building a piece of furniture is not a speedy proposition. I’ve been at it for five weeks now, and all I’ve got to show for it are a couple things that look like very short dresser skeletons…
If I were a sweat shop somewhere in Asia, I could have filled 5 container ships by now! But what I lack in efficiency I make up for with sluggishness. Nonetheless, progress is progress, even at my lethargic pace. Here’s what happened this week out in the shop,
I completed the drawer runners and guides for the two side cabinets. The drawers will ride on pieces of hard maple that run front-to-back (the lighter wood in the phots). Since the grain on these pieces is at odds with the grain on the sides of the cases, I can’t glue them in at both ends. They will be glued into the front, but the mortises and tenons won’t be glued in at the back so that they can slide while the wood in the sides of the cases expands and contracts.
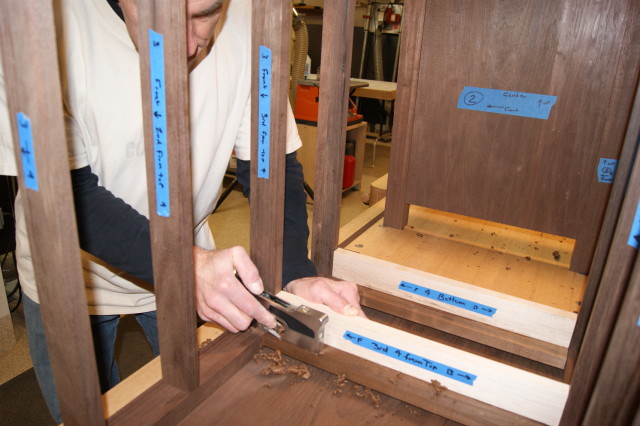 In the picture there, I’ve dry-fit the case together, and I am using another one of my favorite hand tools to bring the drawer guides flush with the sides of the legs. It’s a Veritas Medium Shoulder plane. The blade extends all the way to the sides of the tool, so it allows me to trim into corners like you see me doing there.
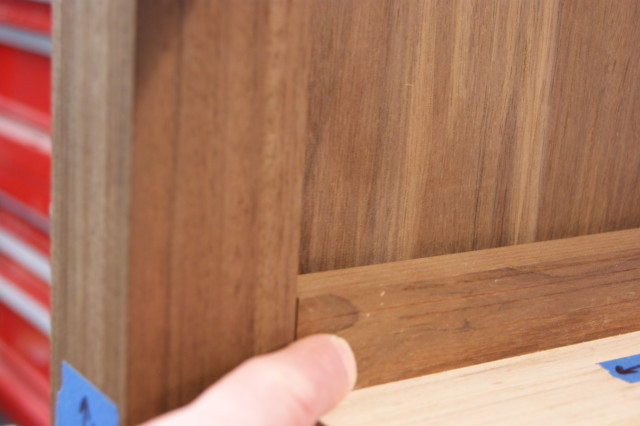
Something else of note. If you’re still with me from the beginning of the project, you remember that I wasn’t able to get the kind of wood I originally wanted. The main parts are made from Peruvian Walnut – but what I really wanted to use was Toasted Maple. Well, when I made the drawer guides I looked in my leftover piles for a suitable wood – and I came up with some scraps of the Toasted Maple I originally wanted to use. In the picture below, you can see the Toasted Maple (my fingertip is touching it), up against the Peruvian Walnut on the case sides. It matches well, don’t you think?
 Let’s talk Hardware:
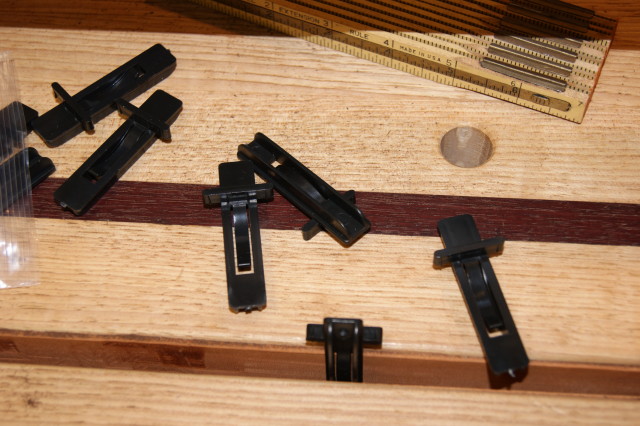
I’ve acquired (or found) some more of the hardware I intend to use on this piece. We’ll start with these things. They’re drawer dividers. I intend to use the drawers to house CDs, DVDs, etc. and it will be helpful to have some dividers. These dividers fit into a saw kerf in the drawer sides (with that little stubby cross piece), and then quarter inch plywood fits down the channel to divide the drawer.
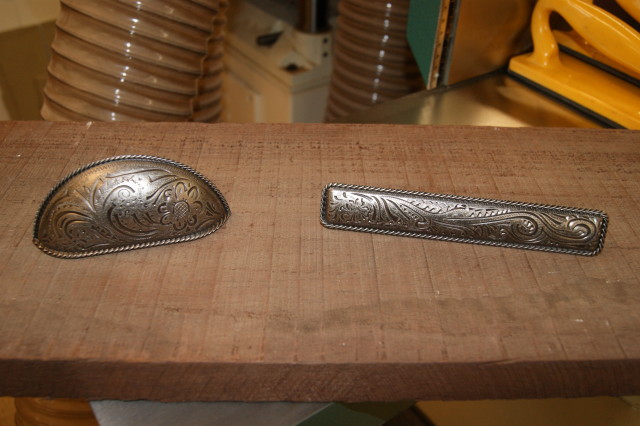
And I’m going to use one of these drawer pulls on the drawers. I really wanted to use the cup style pulls, but I think the width of the drawer is too big, and the little cup pull would seem lost. So, I’ll likely be using the bar style pulls instead. Either way, they’re cool looking.
I haven’t decided what I’ll be doing for the door hardware in the center section yet. Probably something invisible.
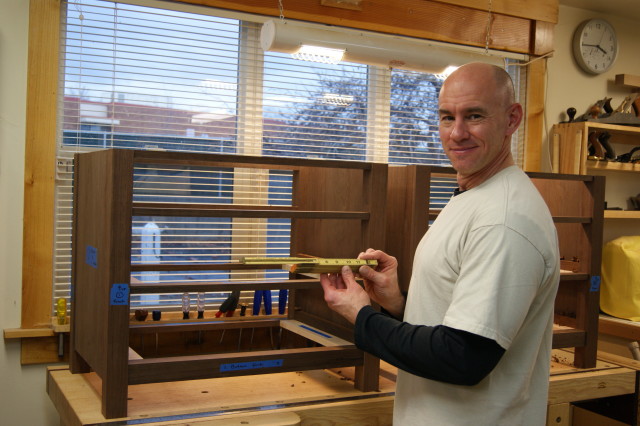
The last things I did this week were to start making the shelves that will sit in the tops of the two side cabinets. I actually used a folding ruler to take the inside measurements. A folding ruler! Besides carpenters in cartoons, who even HAS one of these any more? But hey, it worked!
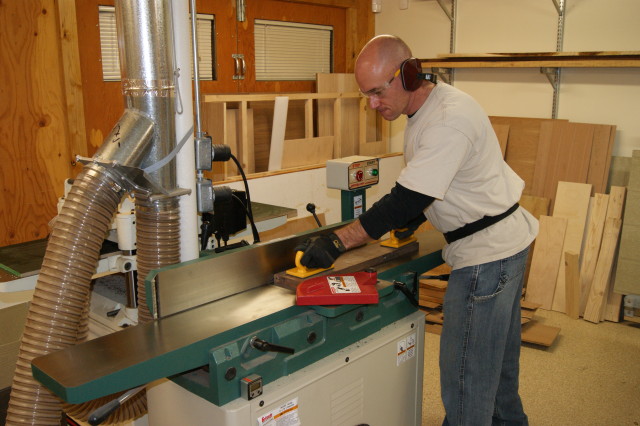
 And to make the shelves I needed panels, so it was back to more milling
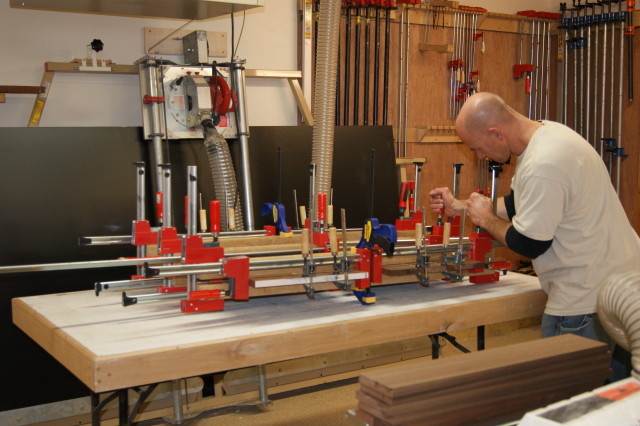
and clamping
Hopefully, I’ll have something more exciting to show next week – depending on what we do for Christmas.
Speaking of… Merry Christmas Everyone!





Hi James,
I was catching up on the woodworking project and saw your comment about the folding rule.
I actually do have one and use it from time to time. I pulled it out of an old carriage house on Long Island back in ’76..and it was old then!
I knew what it was, having seen my father use one when I was a kid and it is a keepsake from an earlier time.
Thanks again for the mélange of topics and language and philosophy: It’s a refreshing mix!
Tom
Tom – I actually have TWO folding rules!
I didn’t buy either of them. People have just given them to me when they find them in attics and barns and such, knowing that I like woodworking and will fix old tools.
My oldest functional tool is a Stanley No 6 Fore Plane. I think it was originally made somewhere around 1906 or 1907. I found it in my grandfather’s barn and returned it to service – very gratifying to be able to do that for a tool that was working long before I was.