This post may contain affiliate links.
If you’ve been wondering what I’ve been up to lately, wonder no more! Here are all the gory details (and pictures of Travato innards) to fill you in.
It started off with an RV electrical gizmo I wanted to test out. It arrived one day, and after unpacking it, reading the directions, and getting the Cross-Eyed-Cat-Seal-of-Indifference from Mel (who was really more interested in the box), I decided to head out to Lance to see where to mount this thing up.
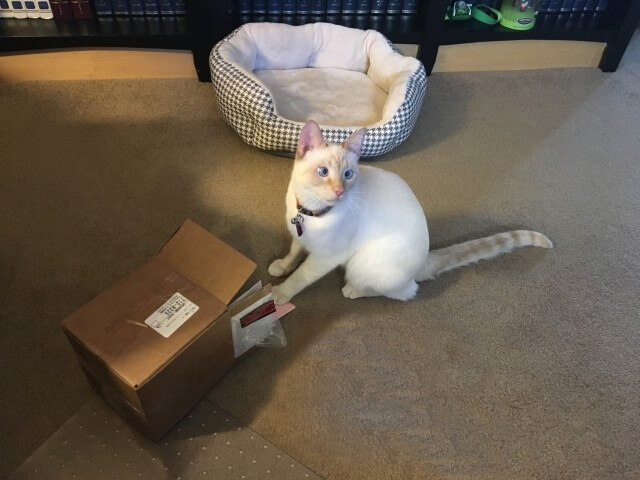
“Meh.”
The device required 12 volt power, and a high mounting location. The best spot I could find that had (I assumed) 12 volt power nearby, and was high up in the rig was behind the television.
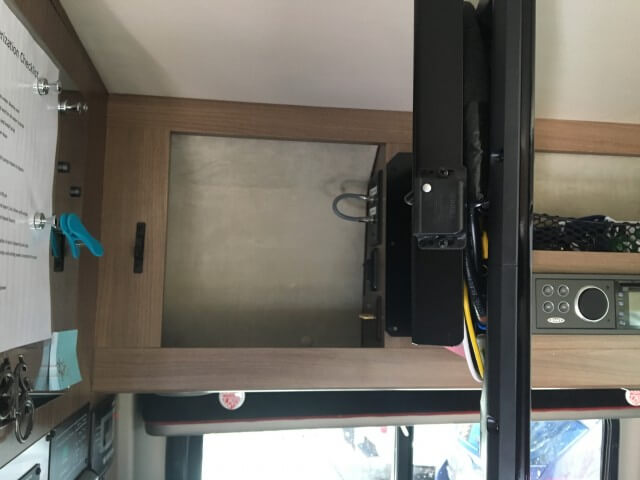
Clearly lots of power in the vicinity, and a decent amount of un-used space.
However, in my zeal to quickly get the job done, I sort of accidentally but kind of on purpose damaged one of the pieces of trim inside the cabinet, like this:
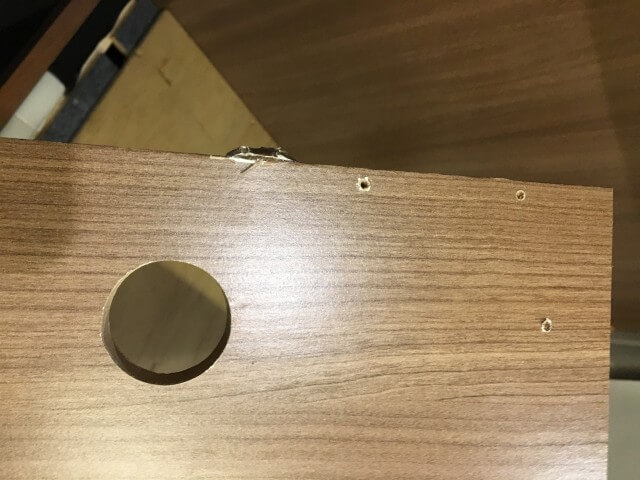
Well clearly this is damaged well beyond repair, and now a much larger project is called for… 🙂
So, I went inside to ask Stef a series of guided questions to get approval for what I wanted to do. Here’s how that went:
Me: Hey Stef, um… when’s the last time we watched the TV in Lance?
Stef: I don’t know. Last August?
Me: Yeah. I think that’s right. So, you know how you’re always mentioning bringing the grandkids along in the RV?
Stef: Yes… Where is this going?
Me: Well, not that I’m saying it will happen, but if we ever did bring grandkids along, we’d need more storage, right?
Stef: Well yeah, I guess.
Me: So getting rid of the TV and getting more storage in its place would be a good thing, right?
Stef: Uhhh… I… I guess? Wait. What?
Me: Sweet!! I’m off to the wood store!
And just like that, I had myself a project!
The most awesome part of any project is tearing stuff out, because you get to be careless. First out were the TV and mount (which were actually heavier than I thought they would be), and the rather substantial wiring harness that came with it.
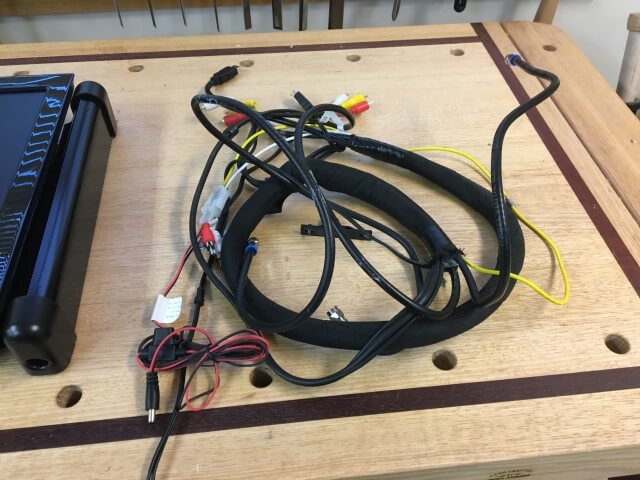
At this point, there were actually still some wires I hadn’t removed yet.
Then the rest of the electronics came out. Then the rest of the cabinet, which was assembled mainly with Pocket Screws.
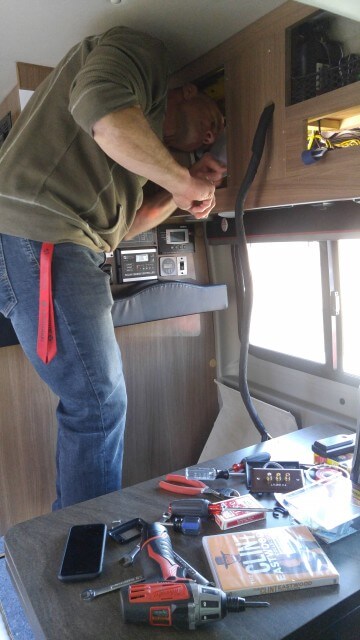
“This is James.”
And eventually, I was left with this, with all the wires labeled, of course:
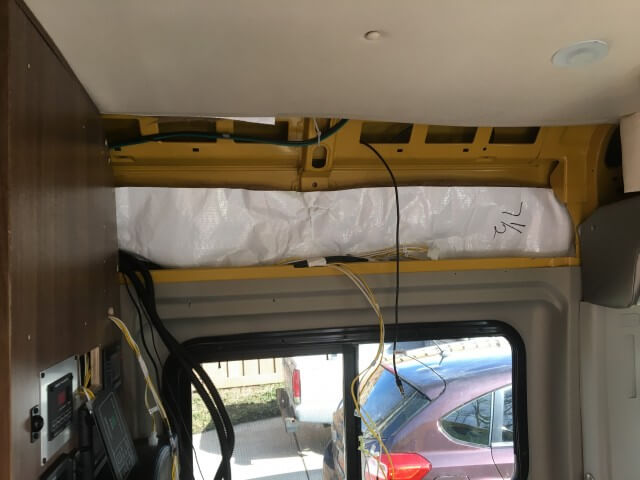
“This is your Travato on James.”
Well, pretty much the first thing I do whenever I tear apart some part of our RV is to take the opportunity to insulate it better. This was no exception, and so I immediately did this, because I’m me:
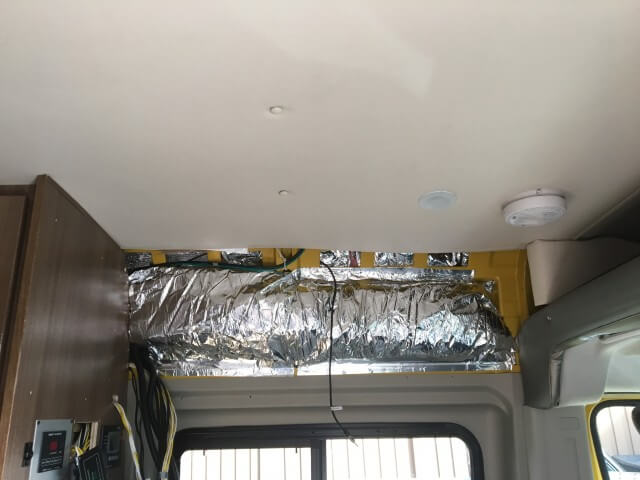
Naturally… But hey – that’s NOT Reflectix. It’s foil backed insulation.
So with the cabinet out, I could turn my attention to building the new one. I actually decided to do this with Melamine. I know Melamine is heavy, and doesn’t hold screws as well as plywood. But since this cabinet was small, and I had removed about 15 pounds of TV and wire, I figured I could get away with it. The main advantage melamine had was that it was immediately available, and I didn’t have to take the time to laminate it myself. Also, it meant I got to try using Melamine Glue, which I had never used before, and I saw it at the wood store and it looked like fun and I thought for a fraction of a second that the glue might actually dry purple because of the label. (It didn’t.)
The cabinet itself if basically two end caps held together in the front with a frame. I also used some plastic T-edging on the exposed ends of the end caps and face frame. I did this for two reasons: First, I thought the plastic edging would be more durable than standard melamine edging. Second, it meant I got to buy a new slot cutting router bit.
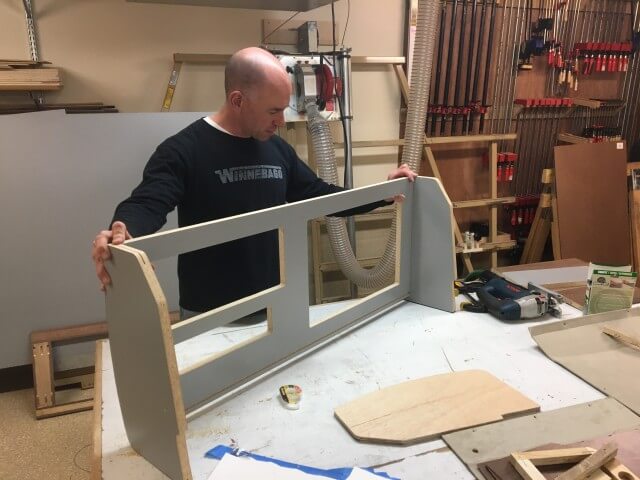
You’re on the inside of the cabinet looking out in this picture.
I won’t go into the step by step on this part of things, but just suffice to say that I used a jigsaw, some creative pattern making, template routing, and my new slot cutter. I actually did wind up using parts of the original cabinet to form the template for the new one.
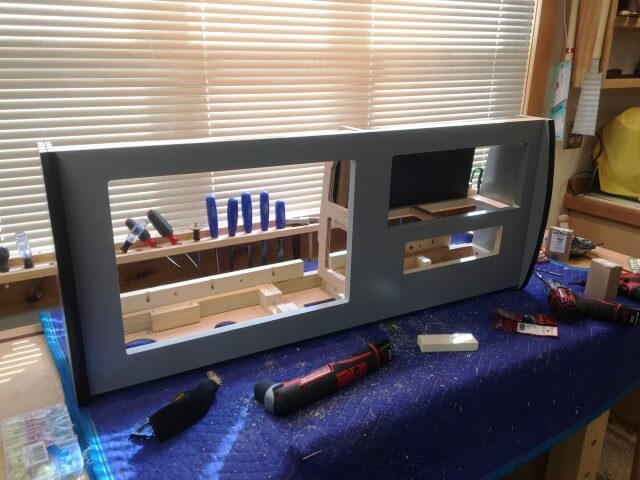
I also wound up using parts of the old cabinet to build up a lightweight frame for the bottom, as well as to locate the holes I would need for lighting, switches, electrical boxes, etc. While I was at it, I beefed up the mounting cleat on the back so I could get it really secure on the rail inside the van. Here it is on the bench in my shop, waiting to go in.
Getting it back into Lance though, was a bit challenging. Due to the clearances and the way things had to mount up, there was a very specific order in which I had to assemble things. It was so particular, that I actually made myself instructions after I had figured them out. The first step was to hold the cabinet in one hand, and thread wires through with the other.
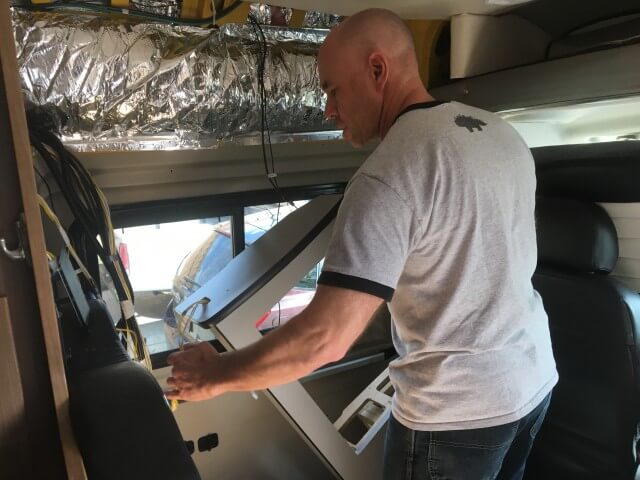
AWWWWW!!! Come on!!
Then, swear a lot, take it all down, and head back into the shop to fix things where I didn’t cut a big enough hole to allow the connectors to pass through…
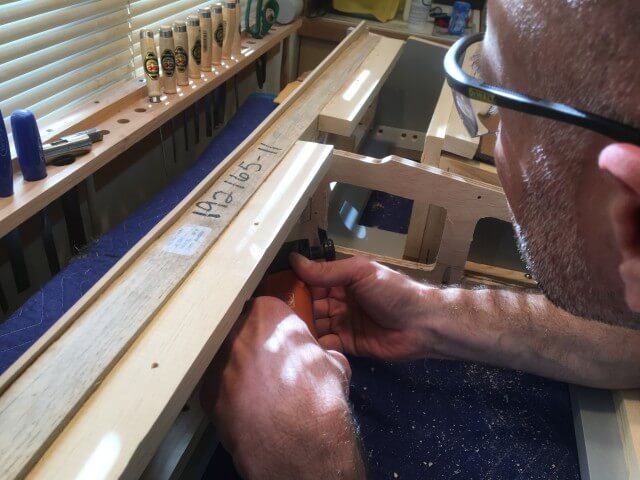
That tool I’m using is a Fein Multi-Master. It really only does one thing well (plunge cut). They advertise it like a Dremel tool though, with attachments to do a million things and make you breakfast. In the real world, it royally sucks at all those other tasks. But when you need that plunge cut thing, this tool is a life-saver.
Anyway, with that fixed, it was time to re-thread the wires, and mount the cabinet inside of Lance. There are actually 11 screws holding this cabinet to either the metal frame of the Travato itself, or to another cabinet member. So if the storage doesn’t work out, I can use it for a chin-up bar.
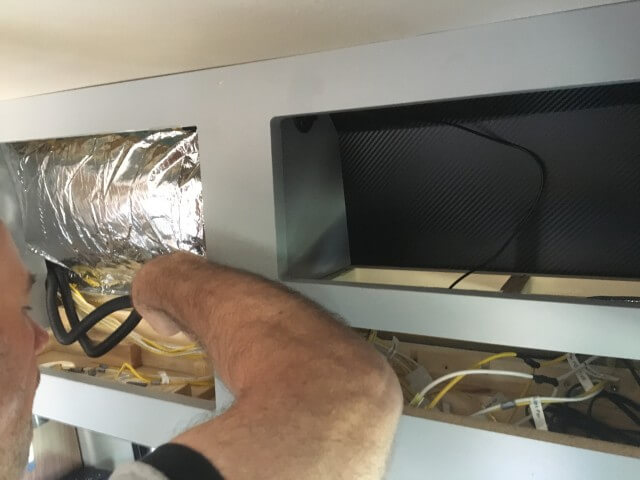
And yes, what you see in the back of that cabinet section does look like carbon fiber. It isn’t though. That part is just a decal. I needed something that would hold the back pieces together and act as a hinge. It worked.
The only thing remaining to do was to rewire the lights and other electronics, and to mount up this, which we had been meaning to do for some time.
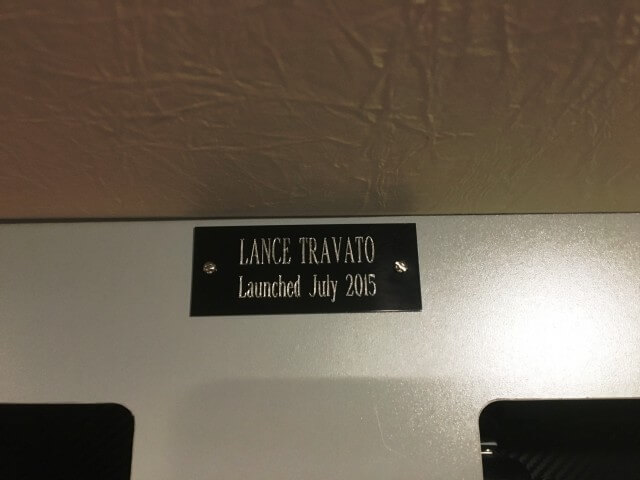
I always find humor in this next bit. The picture below shows all the hardware that was “left over” from reassembling the cabinet. To be fair, the construction of my cabinet is quite a bit different from the original, but I still wondered if I should be alarmed by this:
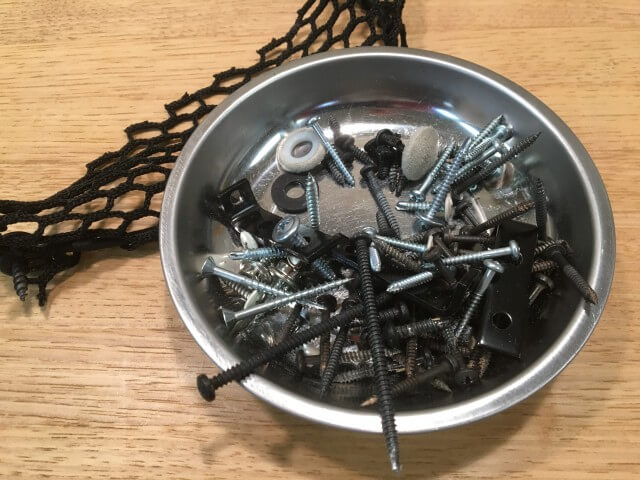
Seriously – these are the parts I had left over. Not counting the TV and its hardware!
With that done, it was time to turn my attention to the doors. After working with the melamine for a while, I had resolved not to use it for the doors. Partly because it was heavy, and even bigger partly because I was really sick and tired of cutting my hands to shreds on the exposed edges, which are really sharp. So I got to head back to the wood store (YAY!) and pick up a sheet of Ultra Light Plywood.
But a raw plywood door meant I needed to have something to laminate over it. Plain grey laminate would have looked boring. So the next most not-really-logical-but-it-sounded-like-fun-so-I-wanted-to-do-it choice was… wait for it… Carbon Fiber! But this time, not a sticker. Actual carbon fiber sheet.
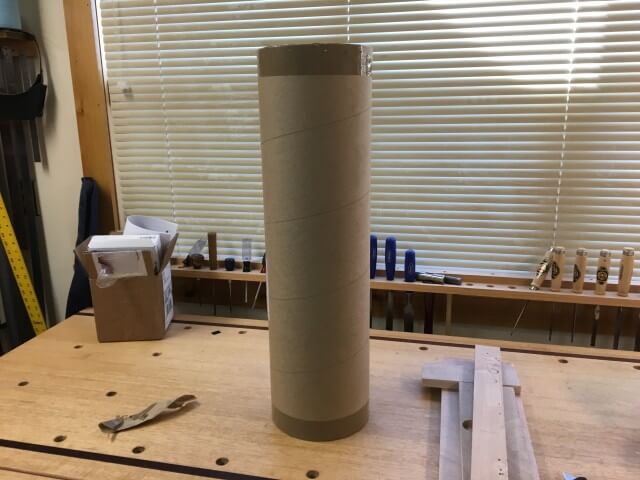
When you order carbon fiber sheet, this is how it comes packaged.
I ordered the carbon fiber from Protech Composites. It’s not cheap, but it’s not like I built million dollar cabinet doors either. Working with the stuff is actually pretty straight forward. It cuts with regular shop tools. So in this case, I used a razor knife to cut the sheet just slightly larger than the door substrate.
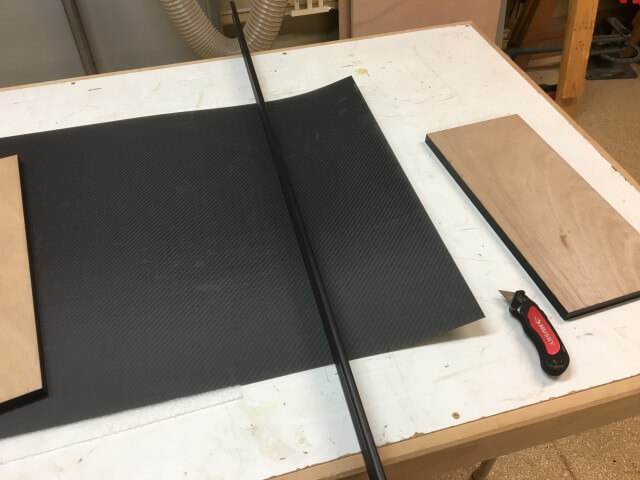
This also was an opportunity to pick up some of the most high-tech splinters I’ve ever had!
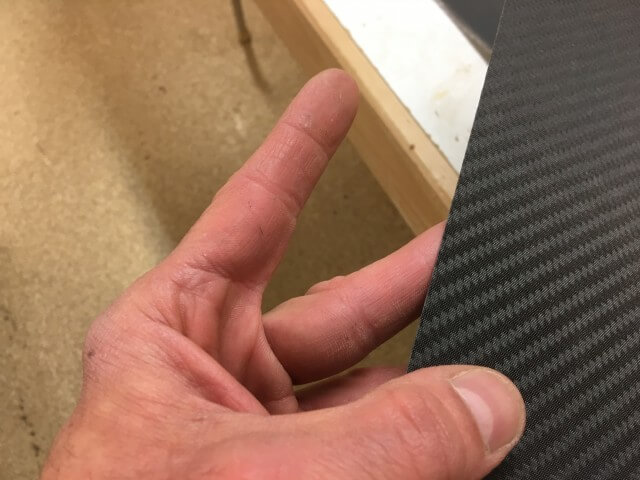
I’m such a hard core cyclist, even my splinters are carbon fiber!
Then, it’s just a quick wipe-down of the plywood with denatured alcohol, and you apply the sheet to the substrate with a double-sided film adhesive from 3M. They shipped the carbon fiber with this adhesive, so I didn’t have to shop it separately. Once you’ve got things lined up, apply pressure (I used a hand roller) and you’re good to go.
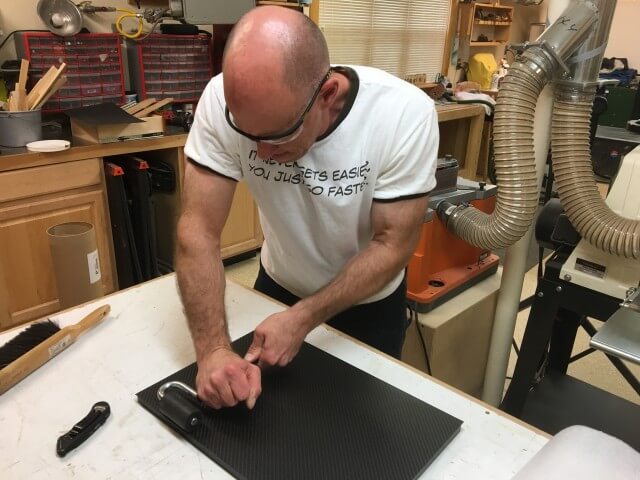
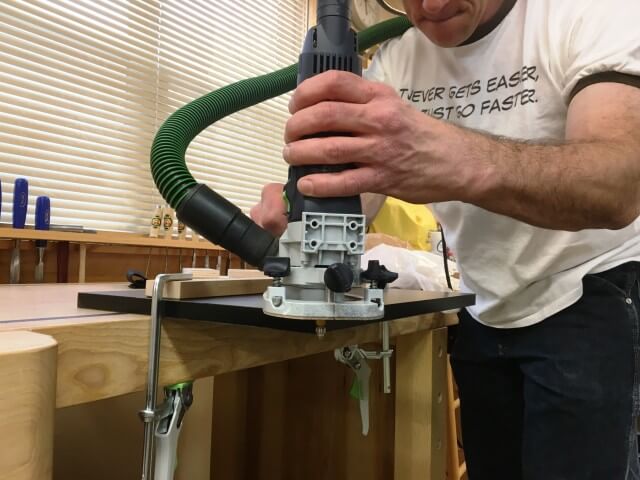
I cut the carbon fiber ever so slightly larger than the door to allow me some slop in laminating it. So after each side of the door was laminated, I cleaned up the edges with my new toy tool, a Festool MFK 700 trim router, because none of the other tools in my shop would have done this job and I needed it. That’s what I told Stef anyway.
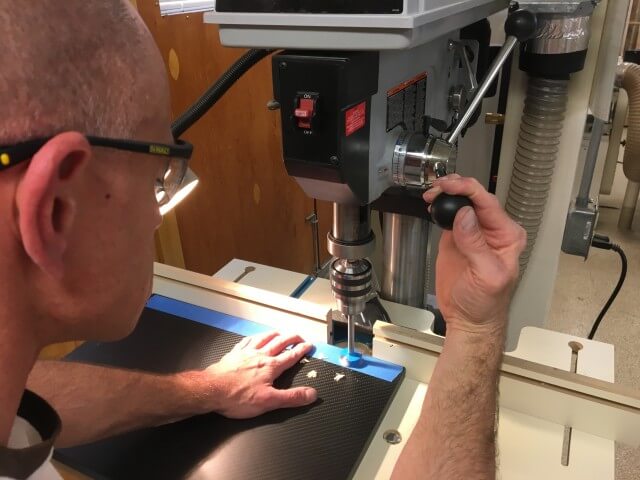
The last thing to do to complete the doors was to break the rather sharp edges of the carbon fiber with sand paper and then mount the doors. I decided to go with frame mounted European cup hinges, which require boring 35mm holes in the door. Fortunately, once it’s laminated to the plywood, the carbon fiber works more or less like wood. I already had the 35mm bit, so this part was easy.
Then it was mount the doors, install the handles, and add a gas strut to the larger door and we were done.
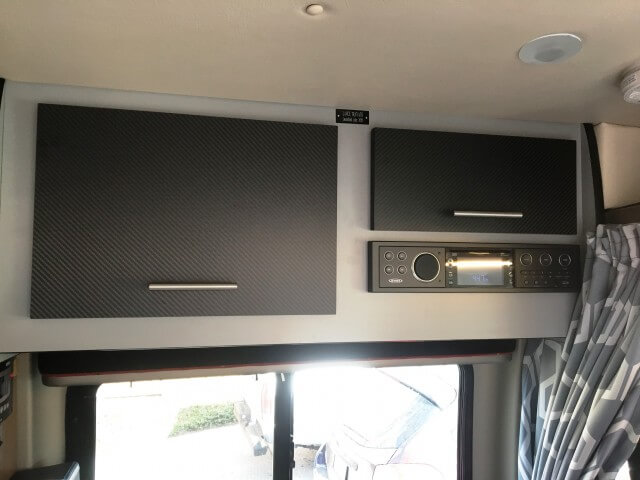
For only $1100 in parts and tools, you too can have a cabinet like this! lol.
And there you have it. All in all, I’m calling the project a success. I mean, sure, there’s a new cabinet with carbon fiber doors. But more importantly, I got to buy plenty of new tools, and I have carbon fiber remnants that I can use to laminate nearly anything in carbon fiber. Surely the cat needs something made out of carbon fiber, right?


Hey James, as a fellow woodworker, it would be fun to see a tour of your shop on a video.
One other thing, since you are both avid bikers and exercise enthusiast, can you suggest a bike style for someone with neck fusions and chronic back pain, other than a stationary? I don’t like in an area where I can check out lots of bikes, so any direction would be helpful.
I am sure I am not the only one who is an RV enthusiast with back issues, given the numbers who suffer from it in the US. Maybe you could address in a video for lots of us.
A shop tour, huh? That would be an easy enough video to make. Not really RV related, but probably interesting.
Perhaps some time this winter, when we’re not out, we can take that on.
As far as more comfortable bikes – are you thinking just something with a more upright geometry and taller head tube? Or are you thinking of getting away from the diamond frame style bikes altogether?
Next time use Kevlar instead of carbon fiber. That way you get the same look but with some added protection just in case you find yourself camping in Chicago. Looks sweet!
Lol!
Love your posts, and as I always tell my sister, Tools are men’s version of jewelry. Besides, they are functional first. What R value do you put into your upgrade insulation and do you keep the OEM insulation in place in addition to?
Tools are really a contest to see who can get the most… 🙂
Usually when I add insulation, I shoot for R-6.
I don’t remove any of the factory insulation. I just add to it.
Whoa! Looks great! At first I thought it was crazy to get rid of the TV if grandkids are coming aboard but I guess they watch video on their personal devices.
Yeah – we’re finding we don’t really “sit around the TV” anymore. I don’t think we’re alone in that.
As always I enjoy your blog posts and videos. Thanks. Still in the planning stages of buying in the distant future. Since you interact with manufacturers and dealers and fellow RV’ers do you have a sense that some of the mods that you are making will be standard equipment on more brands and models in the future? I notice Road Trek is offering Lithium batteries charged by an additional engine alternator (like yours) and eliminating the generator. I can’t swing a hammer (or a volt meter) to save my life and doing an aftermarket mod is cool for me to read about but beyond (way beyond) me. It would be fine if I wanted a Road Trek but it missing things I want. Another thing that makes sense is Hydronic Radiant Heat. We have rented a couple of times and once when it was cold and the forced air furnace drove me crazy. Too Loud! The Advanced RV (which I know about from your list so thanks again!) guys look like they have a nice solution and I like they way they heat their water and waste tanks for more 4 season camping. Do you think this is a cost issue that it is not offered in more RVs?
Hi Tom –
Yes, I do think that some of the things we are trying out in our rig will eventually be mainstream. As an example, Winnebago has already moved the water lines inside on the Travato 59G. This was something they first tried out for us, but now everyone benefits from greater cold-hardiness. So yeah, eventually, all RVs will have some of this stuff.
We remember our loud furnace from Das Bus. The Truma we have now is whisper quiet. Hydronic heat is also quiet, but wasn’t available on the Travato.
If you see something in an Advanced RV, you can be sure it’s top notch – they only use the best solutions they can find. But naturally, there’s a price associated with that. I don’t think you’ll ever see an Advanced RV sitting on a lot for $70k. So cost definitely has an influence in what features you’ll find in the mainstream RVs.
Nice job. Of course the grandkids will ask for a TV once you take them with you, so I will be looking forward to part two of this article. In part two I expect to see how you replace the carbon fiber cabinet door with a TV that serves as a cabinet door.
LOL!!!
Too bad I already sold the parts!
Ha,ha,ha… Tell Stef the kids will appreciate “The View” with this mod:
http://www.digitaltrends.com/cars/verizon-hum-rider/
Great looking cabinet and way to go with acquiring all the “necessary” tools!!! Now back to the beginning of the story – what was the RV electrical gizmo that started all of this?
Ironically, I’m still not done with that. More on that in a later post!
You are great for a morning laugh..yes that is a great to get new tools.
Man you had me laughing about the “needed” tools. This is why I don’t share your stories with my wife…she’ll figure out the secret man-code! I hope I never have to build an $1100 cabinet but it’s sure fun watching you spend that much to get a great looking product.
I assume you are aware of the danger of carbon fibre splinters and how they tend not to migrate out of the body like regular splinters?
Really nice looking doors. Now if they were 100% carbon fibre, they you would have had a real weight saving (which ironically would weigh heavily on the wallet).
Well, I did make sure to get the splinters out right away. 😉
Hmmm wonder why this cost to project +tools story sounds so familiar ? Could it be because our GMC bus remodel went just like that. I’ve lost track of how many tools we bought because we “needed” them on that project! Enjoy your added storage!
Funny thing is… the cabinet didn’t get that much bigger!
(It did get bigger, but just not by a huge amount.)