This post may contain affiliate links.
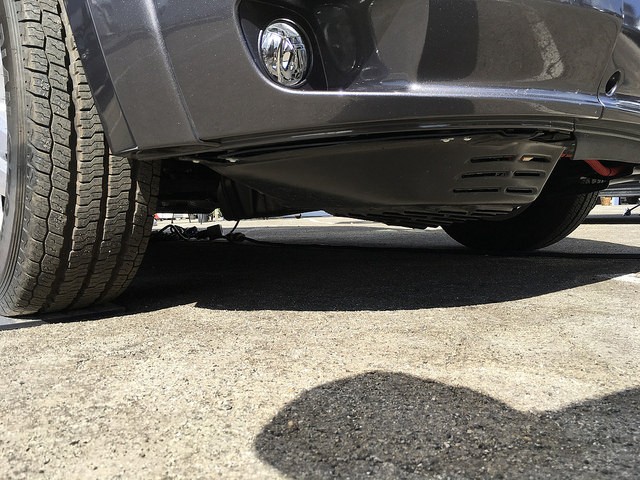
If you read my post on our Generator Free RV, you know that one of the main components of that install is a second alternator. You also know that said second alternator rides pretty low up front. It’s all but daring me to run over road debris, curbs, gutters, and what have you. Doing something to protect that very expensive second alternator was one of the items on my “Next Steps” list in that post.

Lance’s “glass jaw”
Since that time, I’ve been wondering what exactly to do about it. Out of desperation, I even started checking out HymerTrek rigs at Pomona to see what they were doing (since they have a similar alternator set-up). I saw that they were doing pretty much what I had already with the plastic factory skid plate, except they made a “bubble” of sorts to allow the alternator some room to breathe. The HymerTrek “bubble” was actually just made of flexible plastic as well.
They HymerTrek Alternator Cover. Photo Credit: Navanod – the Class B Forum
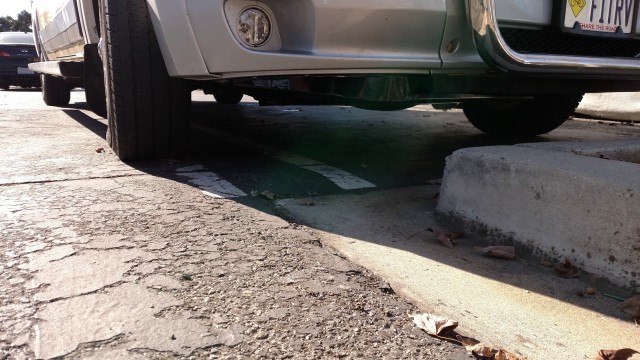
So the HymerTrek solution still didn’t even get me what I wanted. And then there was this:
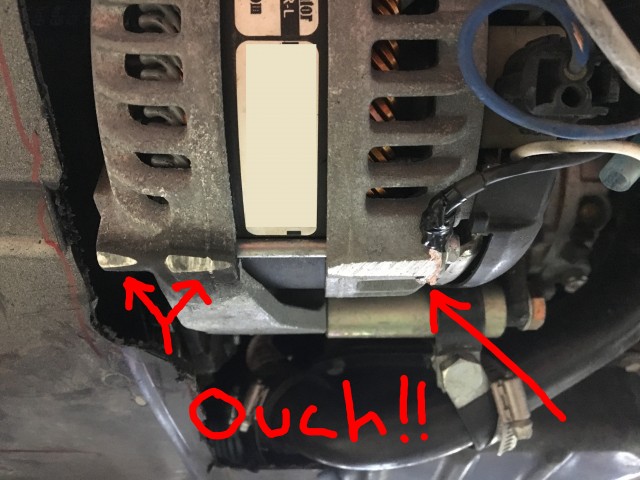
As you can see from the picture above, banging that alternator into things is a very real possibility. Frankly, I don’t recall hitting anything at all, but apparently, it happens. Seeing this only underlined the need to do something to protect the second alternator. With no options on the market that worked for me, I needed to build something. And while I can build nearly anything out of wood, but I’m just not very experienced with metal.
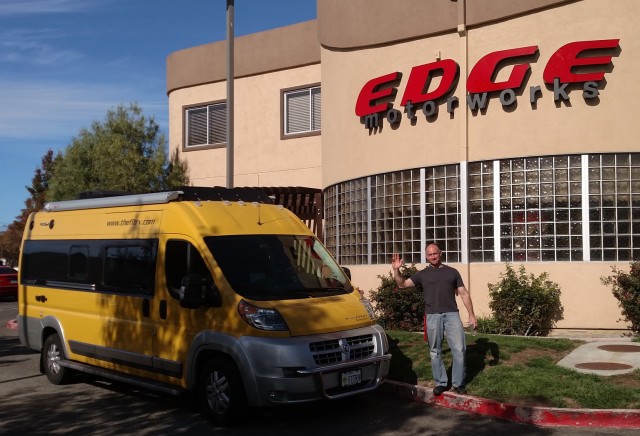
While I was at the Pomona show, I had the good fortune to meet up with Gordon White, from Edge Motorworks in northern California. Edge Motorworks typically specializes in performance and track needs for German vehicles. That seemed like a good background for fabricating a skid plate. A few emails back and forth, a few pictures and measurements sent, and we were off on a quest to build a skid plate.
Design Criteria
There were a few things we wanted to accomplish with this skid plate, so let’s lay those out up front.
- More substantial protection than flexible plastic
This was the main goal. The factory skid plate was flexible plastic. In fact, it was flexible enough that it was basically stretched around the alternator, as you can see here:
Even the HymerTrek solution used this factory skid plate as a starting point, cut a hole in it, and then riveted more flexible plastic on top of it. That just didn’t seem sturdy enough to withstand an impact from, honestly, anything at all. So the first version of our skid plate was to be made out of 16 gauge steel. That should protect better than plastic, but still allow for easy enough machining as a prototype.
- Adequate clearance for alternator and hoses
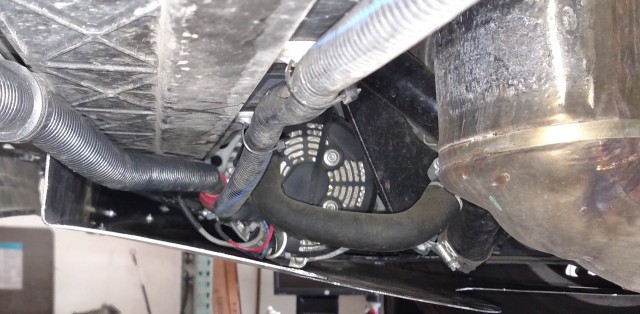
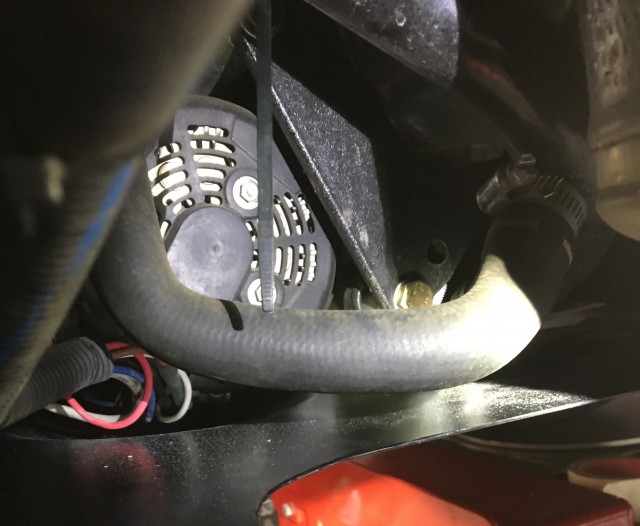
As you can see from the picture above, the factory skid plate was actually touching the alternator near its exhaust ports. That can’t be good for cooling, so we wanted any new solution to stand off from the alternator a bit. Further, there’s this:
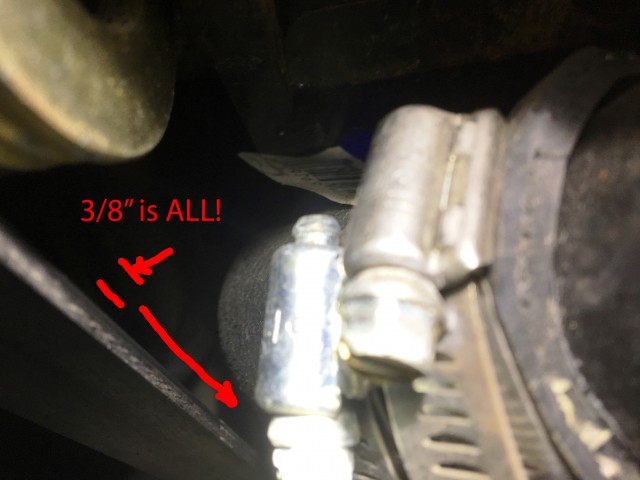
That 3/8 of an inch of clearance is all that separates the belt running the second alternator from the nearby radiator hoses. If something moves 3/8 of an inch in the wrong direction, the belt will cut through the hose, and it’s sudden death for the engine. Lance was already taken out by this once. So besides protecting the alternator itself, another reason to keep things from making contact is to preserve the integrity of this 3/8” gap.
- Protect hoses left exposed by factory solution
The factory skid plate protects the belt side of the second alternator. That’s great, but there are some re-routed coolant hoses that curve around the alternator and hang low on the other side as well. We wanted a new skid plate that would also protect these hoses because that just seems to make sense. The HymerTrek version doesn’t protect these hoses at all either.
Fitting the First Prototype
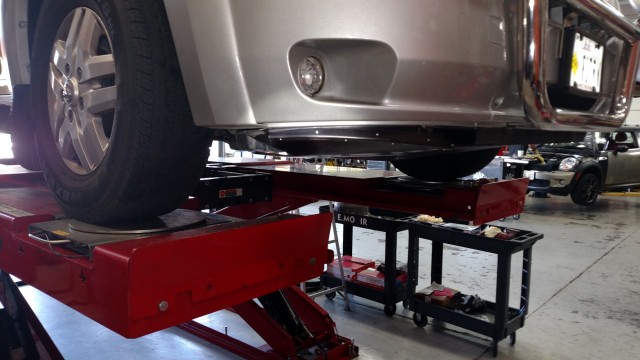
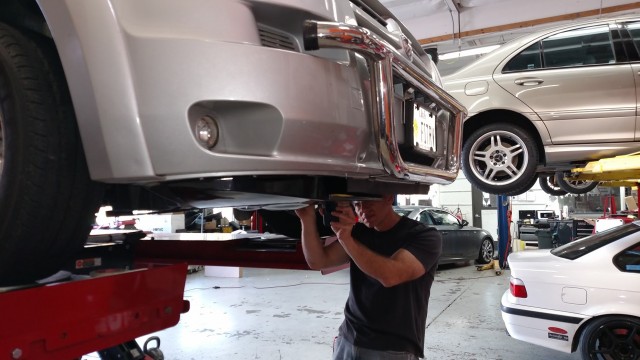
After a few weeks, Gordon had version 1.0 of the Fit RV ProMaster Skid Plate ready, and it was time for a test fitting. This meant a trip to Mountain View, California that Stef deemed completely uninteresting. So I was on my own on this one. After a halfway stop in Winnemucca , Nevada:
This Wal-Mart parking lot in Winnemucca is immediately next door to the Highway Patrol. Safest parking lot I’ve ever stayed in!
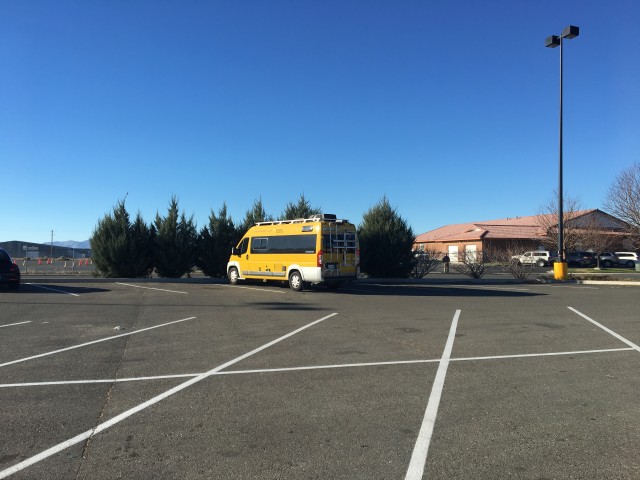
It was on to the Edge Motorworks facility in Mountain View. This parking lot is where Lance would spend the next few days.

See all the awesome you missed out on, Stef? I bet you’re sorry you stayed home now, huh?
The first thing to do was to fit the first prototype version. This initial prototype was a steampunk sort of affair, with rivets, bolts, and extra flanges. It had a “Mad Max” appearance to it when mounted up, but basically looked more or less OK.
This version provided adequate protection for the extra belts and hoses, but it came up short in the clearance department, as you can see here:
So we resolved that the next version would be machined to have a bit of a “bulge” in a couple places to provide the extra clearance we needed.
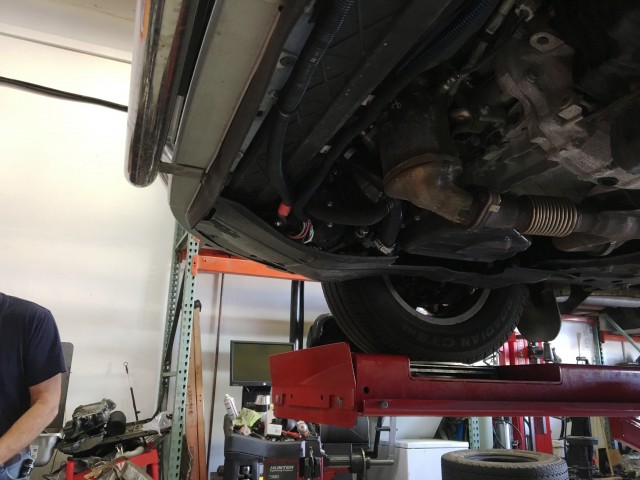
With data from the fitting of the first prototype, Gordon set out to make version 2. Meanwhile I worked from inside Lance (while he was on a lift in the garage, which is one of the more interesting places I’ve ever worked from).
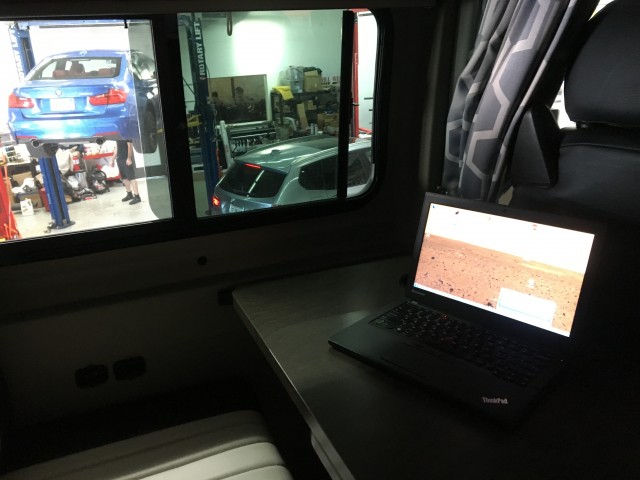
Weird penthouse office.
Making the Second Prototype
Much of the work on the second prototype was done at the nearby “Tech Shop”. This is an interesting facility. It’s kind of a shared-use workshop that offers memberships which include use of the tools. It’s a great idea, actually, and if they had something like this closer to home, I’d probably be a member because they had all kinds of cool CNC machines, 3D printers, shop-bots, etc.
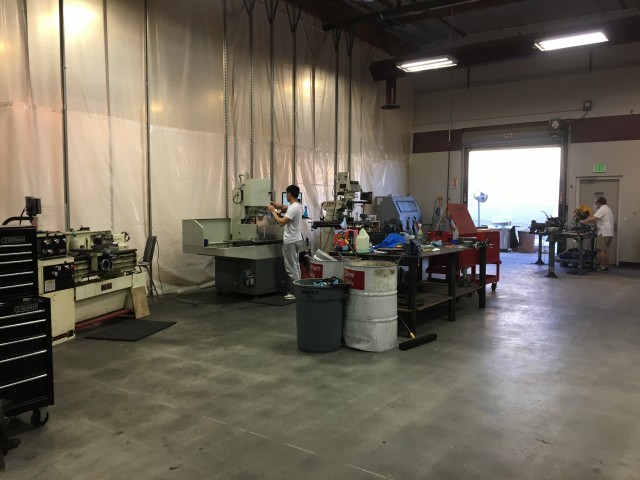
They also had this thing. And since I’m not really a metal worker, I had to ask someone if the warnings on this machine were a joke or not:

They just told me that the machine was a “finger brake”… Which left me still wondering if the warnings were a joke or not!
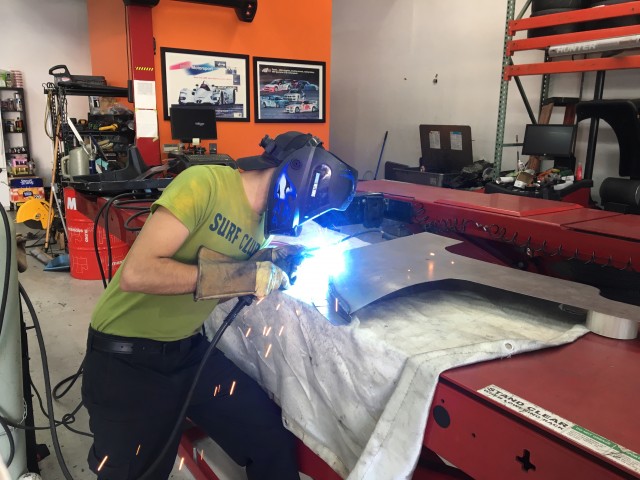
Anyway, the second prototype was cut out of a single piece of steel, which was then welded back together to form the curves.
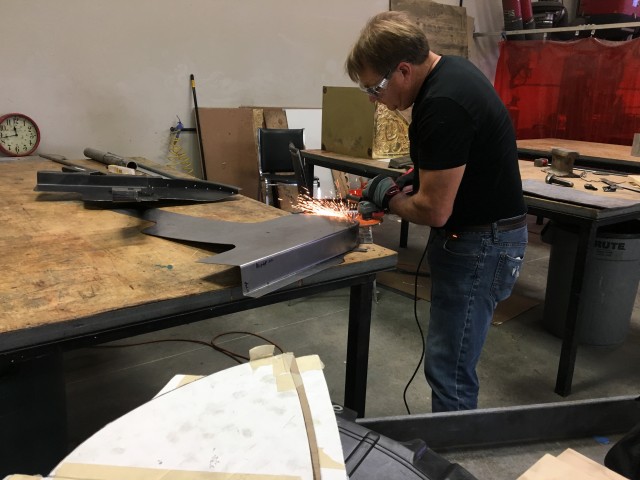
After that, there was some polishing up of the weld, which made lots of gratuitous sparks that I have to include pictures of because I’m a guy.
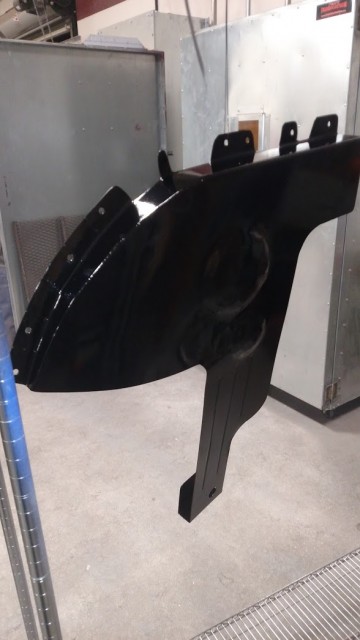
And after that, some additional forming to get the clearance we wanted around the alternator and the hoses. Then, we powder coated the part and baked it in the oven at the Tech Shop (have I mentioned how cool the Tech Shop is?). When it was done, we had this:
And when we put it on Lance, it looked like this:
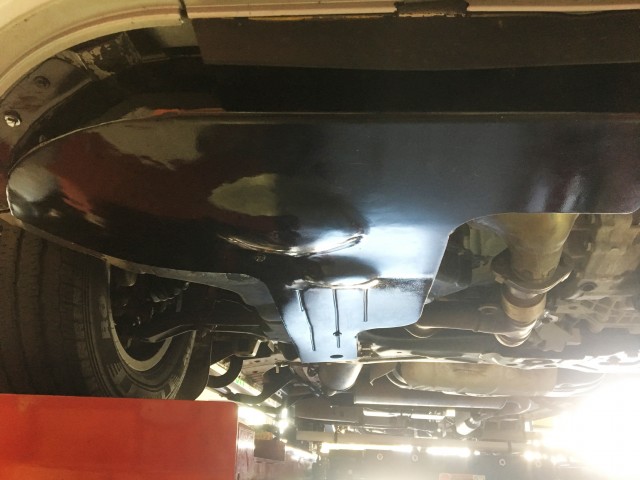
The clearances to the alternator and the hoses looked good:
And from the outside, it blended in with the rest of the undercarriage pretty smoothly, like so:
After that, it was time for a road test. Thankfully, we got no strange whistles, rattles, hums, clanks, or other strange noises or behaviors out of the skid plate. And finally, it was time for the all-important curb test, which we passed!
So we’re calling version 2.0 of the prototype Fit RV ProMaster Skid Plate a success.
Future Improvements
So while this one fits well and is riding on Lance today, there’s always room for improvement. We’ve already started working on improvements for version 3, which would be closer to a final production version. Some of the improvements we’re working on are:
- Thicker Material. 16 gauge steel is fine, but for real bullet-proof toughness, we’re thinking of upping the ante to 11 gauge steel – think diamond plate. That way, if we ever wind up off road, we’ll have a better chance of keeping things protected.
- Better Mounting. Currently, the skid plate is mounted in more or less the same way as the factory one. But if the skid plate is to be tougher, then the mounting needs to be tougher as well. We may have to make a bracket, or do something else to make sure it’s mounted securely.
- Angles. We need to angle or curve the front section to avoid presenting a 90 degree face to obstacles. This will make it more likely to encounter a glancing blow rather than a full-on whack.
So that’s where things are and where we’re thinking of taking them. It’s not totally dialed in yet, but we’re closing on it. When we get it finalized, I’ll post back here. (And maybe take orders? Who knows!)


Alt skid plate can I purchase one
You’d have to contact Gordon!
James – we’ve also been working with Adam Nations and Lithionics and are moving slowly (think Saturdays) toward a total buildout from cargo van to full service RV (in floor heat, heated tanks, etc.) I am now running 4/0 cable from the alternator to the batteries to the Inverter. The Nations installation diagram shows a fuse right after the alternator in the positive wire. I don’t see a fuse on the wire in your photos above. Is it installed later in the wire? between the alternator and the batteries? If so, what is the amperage? 300? 350? Any and all help is hugely appreciated.
It would be hilarious if you ended up being a Roadtrek supplier for this part.
Oh yes! That would be! That’s my new goal now!
Is this plate available for purchase? I taught machine shop and welding and have all the skills to build it, but know that if it is available, we might want to purchase it! 14 ga. 1018 steel or 12 ga. 6061-T6 aluminum seems about right!
We have a “electric” 2016 Roadtrek Zion on the Promaster Chassis with this alternator. I have already built skid plates for the vulnerable water tank, and each of the Thule electric steps (one of which got bashed early on). In addition, I’ve augmented the 400Ah AGM Northstar house battery with two Lifeline AGM’s, a Group 24 and a Group 31 to bump that capacity by 200Ah. I think it is a beautiful under-chassis installation, and I can send photos if anyone is interested.
It’s not yet available for purchase. (Sorry)
We’re working on it though!
I think the original plastic piece should be called a splash guard, not a skid plate. If you want to test your skid plate, trying putting a floor jack under it. You should be able to lift it an inch or two without the plate collapsing. I’m also concerned about the risk of a short. Yes, the fuse provides protection, but I think a thin sheet of silicone, glued to the plate, would give some piece of mind.
I had a skid plate installed on my car this summer, and knew it was rubbing on acceleration, but was surprised to find when I pulled it off that it had been rubbing in three places. So, you might want to take yours off after the next trip to see if there are any clearance issues.
Well, this one will be coming off eventually when we fit version 3, so I guess we’ll see then.
Hadn’t heard of the jack test, but I think v3 will fare much better there also.
We haven’t decided yet if we should do anything about a potential short.
James,
That’s a neat bit of fabrication. Those guys are artists!
Bill
Nice write-up as always. Definitely agree on the need for some “front angle” on 3.0 to deflect “whacks”. Questions – (1) Are there ventilation holes? Hard to see from the photos, with all the black. (2) is this now where you have lowest clearance under Lance? How much now?
Hey –
Currently, there are no ventilation holes. We never had a problem with the original setup with the factory plastic thing – and there’s more room in there now than before. So I figured it was good. If I planned to sit in place in west Texas and run the engine without moving, I might think more about airflow. But Stef and I don’t travel that way, and I just don’t see that scenario happening ever.
The lowest clearance under Lance is still the bottom of the rear axle. The axle is probably able to fend off debris on its own. 🙂 This new skid plate is just about tied for the lowest point up front.
Any thought regarding small hole for water drainage?
There is one! 🙂
But there’s a bit of a slant to it anyways.
And before someone asks, yes, you can change the oil with the skid plate in place. (Just had it done yesterday.)
Hi James,
Unless you also moved the alternator “up” a little bit at the same time, it seems like since you did scrape it on occasion before the skid plate, wouldn’t you be scraping even more now that you have the plate in place? You will not be scraping the alternator itself, but wearing a couple of holes in the skid plate seems a possibility…
BTW, I like the entire project! It will be interesting to see how things shake out over time with energy from the panels Vs. from the 2nd alternator and the total effect on vehicle MPG…
Cheers!
Tom
Yeah – I don’t know how those scrapes got on there exactly, but obviously, I did scrape something. There are no scrapes on the skid plate yet, so I’ll keep an eye on it.
I don’t expect much of an impact at all to MPG. 1 horsepower is 750 watts or so. Even at full rated output (which I’ve never seen yet) the alternator would only consume about 4.5 HP.
That’s the upper limit. More typically, I’ve seen 2.5HP.
On a 300HP engine, it’s just not that much.
Sounds good…and 1% of 300 is not much, even 2% is pretty trivial!
Any concerns about electrical contact with the plate in the event of a serious hit? Not really able to tell from the photos how much separation there is between the connections on the alternator and the skid plate.
We actually thought about that, and in the end, I’m not concerned for two reasons.
First – the positive contact on the alternator (which leads to the battery) is fused. Before anything bad would happen, the fuse would blow.
Second – in the event of a serious hit, there’s just all kinds of metal down there that could ground things out, so we really didn’t change the situation that much.
We thought about rhino-lining the tray, but decided it wasn’t worth the trouble. Could still do it if it keeps me up at night.
rhino lining won’t add any mechanical protection in case of crimping the plate against the alternator, but there are materials that are designed exactly for this, such as ‘fish paper’. Also, any piece of rigid plastic would do as well.
Sign me up for one. Where do I send the check?
Lol! We’re not selling them… yet…
Version 6 or 7 will be reader for retail 😉
Hi James,
I forgot why the 2nd alternator is needed. Is there an alternative?
Thanks,
Drew
Our second alternator more or less takes the place of the generator.
It mainly charges the battery (really quickly) when the engine is running.
I suppose the alternative would be to have kept the generator.